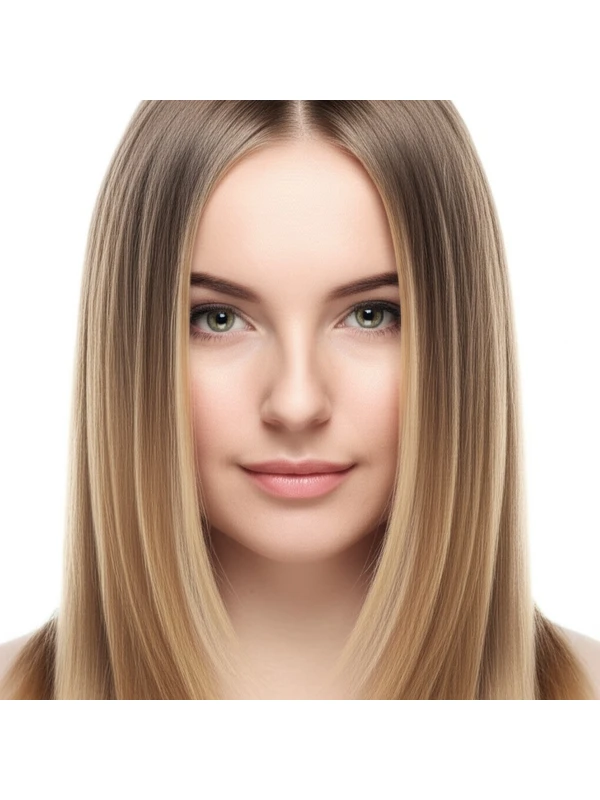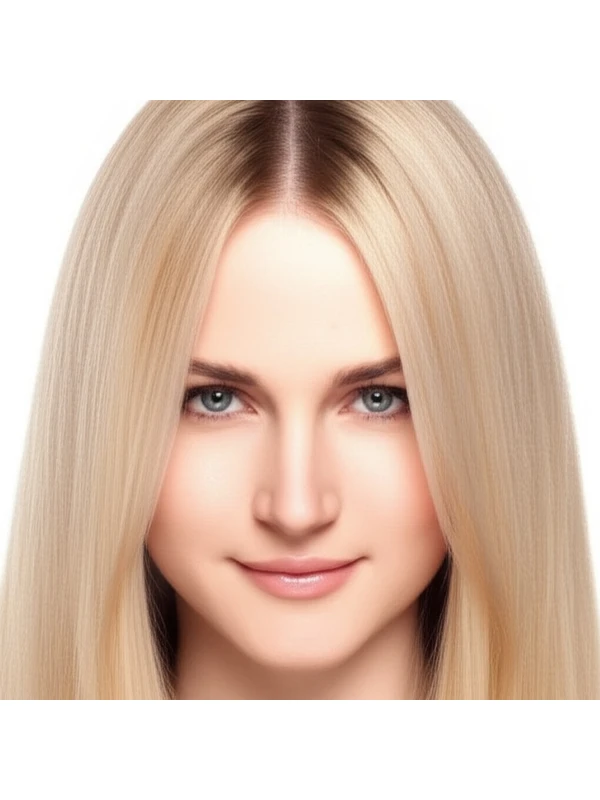
#Highlights: A Complete Guide
Highlights are a classic hair coloring technique that can add brightness and dimension to your look. But what exactly are highlights? This guide breaks down everything you need to know – from how they’re done to how to care for them afterward.
#1. What Are Highlights & How Do They Work?
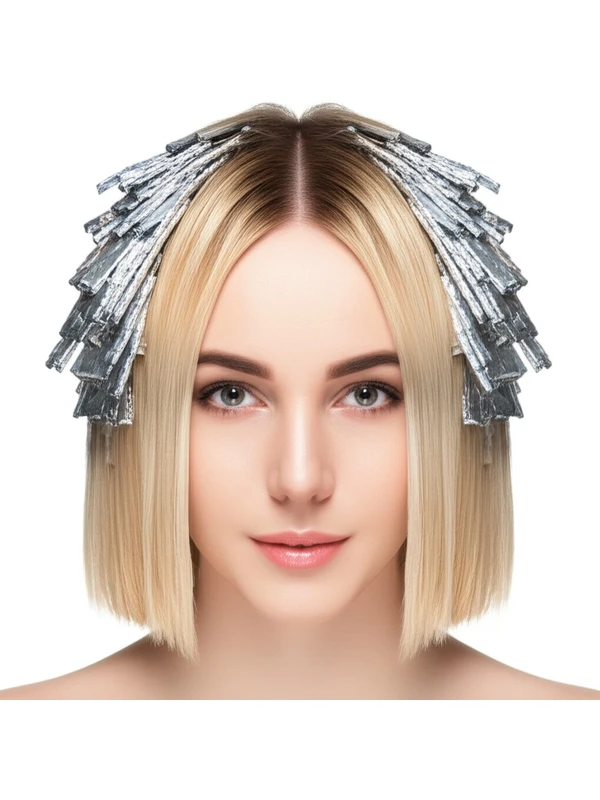
Highlights involve lightening strands of hair, creating a brighter effect than your natural color. The process uses bleach or a lightener mixed with developer (a chemical oxidizer). The combination lifts the pigment from your hair shaft.
Tools Used:
- Lightener/Bleach: Different strengths are used based on desired lift and hair health.
- Developer: Activates the lightener; volume varies for different results.
- Foils: Thin strips of paper or aluminum foil to isolate strands being highlighted. (Not always used – see alternative techniques below.)
- Brushes & Bowls: For precise application.
- Gloves: To protect your skin!
- Toner (Optional): Used after highlighting to refine the tone and neutralize unwanted brassiness.
Placement Matters:
Highlight placement dramatically affects the final look:
- Face-Framing Highlights (“Money Pieces”): Brighten around the face.
- Partial Highlights: Focus on the top or front sections of hair.
- Full Highlights: Lightening strands throughout the entire head.
- Babylights: Very fine, subtle highlights mimicking a child’s natural sun-kissed look.
Timing is Everything:
The processing time depends on your hair's current color, desired lightness, and the strength of the lightener used. Your stylist will monitor progress carefully to avoid damage. Rinsing and toning follow the lifting process.
#2. Best Use Cases: What Can Highlights Achieve?
Highlights are incredibly versatile! They can accomplish a variety of goals:
- Adding Dimension: Break up solid color, creating visual interest and movement.
- Softening Root Transition (Root Blur): Blends darker roots into lighter lengths for a more gradual change.
- Face-Framing & Contouring: Brighten or shadow specific areas of the face to enhance features.
- Camouflaging Grays: Blend gray hairs with lighter strands, reducing their visibility. (Note: highlights don't remove grays.)
- Bringing Warmth/Coolness: Strategic placement and toning can add warmth (golden tones) or coolness (ashy tones).
#3. Who Are Highlights For?
Highlights aren’t a one-size-fits-all solution. Here’s what to consider:
- Natural Color Level: Generally work best on levels 2–7 (light brown to medium blonde), but can be adapted for darker or lighter shades.
- Undertone: Warm undertones (golden, yellow) may require toners to avoid brassiness. Cool undertones (ashy, blue) often look beautiful with brighter highlights.
- Hair Type/Texture:
- Straight Hair: Highlights show up clearly and evenly.
- Wavy Hair: Highlights enhance the wave pattern, creating a more dimensional effect.
- Curly & Coily Hair: Requires careful consideration to avoid breakage; smaller sections are key. Hydration is crucial.
- Density: Thicker hair can handle more highlights for maximum impact; finer hair may need fewer strands to prevent damage and maintain volume.
- Hair Length: Highlights look great on all lengths, but the overall effect will vary – shorter styles show less contrast than long ones.
- Lifestyle: Consider your maintenance commitment (see section 5).
#4. Highlights vs. Similar Techniques
It’s easy to get confused! Here's a breakdown:
- Balayage: Hand-painted highlights, creating a softer, more blended look with no harsh lines. No foils are used.
- Foilyage: A combination of balayage and foiling techniques; sections are painted on then folded into foil for faster processing and increased lift.
- Root Smudge/Shadow Root: A technique where the roots are gently blended into the mid-lengths, creating a softer transition – often used after highlights or balayage to minimize root visibility.
- Babylights vs Highlights: Babylights are finer and more subtle than traditional highlights, mimicking natural sun-kissed hair.
#5. Maintenance & Longevity
Highlights require upkeep!
- Salon Timing: Typically every 6–12 weeks, depending on growth rate and desired brightness.
- Toner/Gloss Refresh: Toners help maintain the desired tone and add shine; glosses seal in color and moisture. Usually done every 4-8 weeks.
- Grow-Out Behavior: Root regrowth is visible with highlights. The more contrast between your natural root color and the highlighted strands, the faster this will be noticeable.
- Budget & Time Planning: Highlights can range from $100–$500+ depending on length, density, and stylist experience. Factor in toning/gloss appointments as well.
#6. At-Home Care Tips
Protect your investment!
- Wash Cadence: Reduce washing to 2-3 times per week to preserve color vibrancy.
- Heat Protection: Always use a heat protectant spray before using styling tools like straighteners or curling irons.
- Color-Safe Products: Use shampoos and conditioners specifically formulated for color-treated hair. Look for sulfate-free options.
- Deep Conditioning Masks: Incorporate deep conditioning treatments weekly to replenish moisture and prevent dryness/breakage.
#7. Pros & Cons
Pros:
- Adds dimension and brightness.
- Versatile – can be customized for various looks.
- Can soften facial features.
- Blends grays (doesn't remove them).
Cons:
- Potential for damage if not done correctly or with low-quality products.
- Requires regular salon visits and maintenance.
- Can be expensive.
- Visible root regrowth.
#8. Salon Consultation Script: What to Discuss With Your Stylist
Here are some prompts to guide your conversation:
- "I'm interested in highlights – what level of lightness do you think would suit me?"
- “What placement will best enhance my face shape and features?”
- "I’m concerned about damage. What steps can we take to minimize it?"
- “How much time and money should I budget for this, including ongoing maintenance?”
- "Can you show me examples of the type of highlights I'm envisioning (e.g., babylights, face-framing)?"
- "What toner would best complement my skin tone and hair color?"
#9. FAQs
- Can I get highlights if I have dark brown or black hair? Yes, but it will require more lifting and may be more damaging. A gradual approach over multiple sessions is often recommended.
- Will highlights damage my hair? Any lightening process has the potential to cause some damage. Proper technique, quality products, and good aftercare can minimize this risk.
- How long do highlights last? The color itself fades gradually over several months. Root regrowth becomes visible sooner.
- Can I highlight my hair if it's already colored? It’s possible but requires a skilled stylist who understands how different colors interact and avoids unpredictable results.
- What's the difference between highlights and “sun-kissed” hair? Sun-kissed hair is often achieved through subtle, natural-looking highlights (like babylights) that mimic the effect of sun exposure.
- Can I do highlights myself at home? While DIY kits are available, professional highlighting requires expertise in color theory and application techniques to avoid damage and achieve a desirable result. It’s generally best left to the professionals.
- How can I prevent my highlights from turning brassy? Use purple shampoo/conditioner regularly, apply a toner as needed, and avoid excessive heat styling.
- What if I hate my highlights after they're done? Don’t panic! A stylist can often adjust the tone with color correction techniques or blend the highlights with other colors. Communication is key – let them know immediately so they can address your concerns.
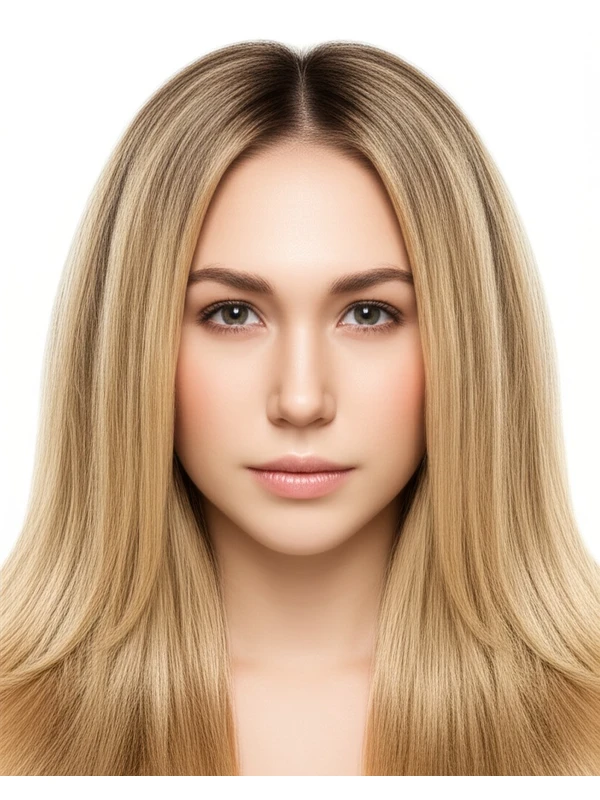
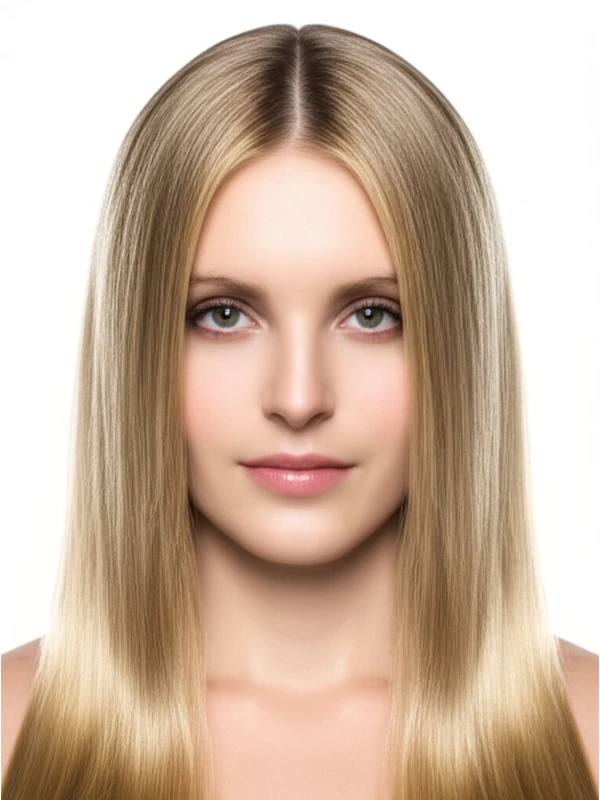
#Highlights: Adding Dimension & Light
Highlights are a fantastic way to brighten your look and add dimension without drastically changing your overall hair color. They involve lightening strands of hair, creating contrast and visual interest. But getting highlights that really flatter you is more than just picking a blonde shade! Let’s break down how to choose the right highlights for you.
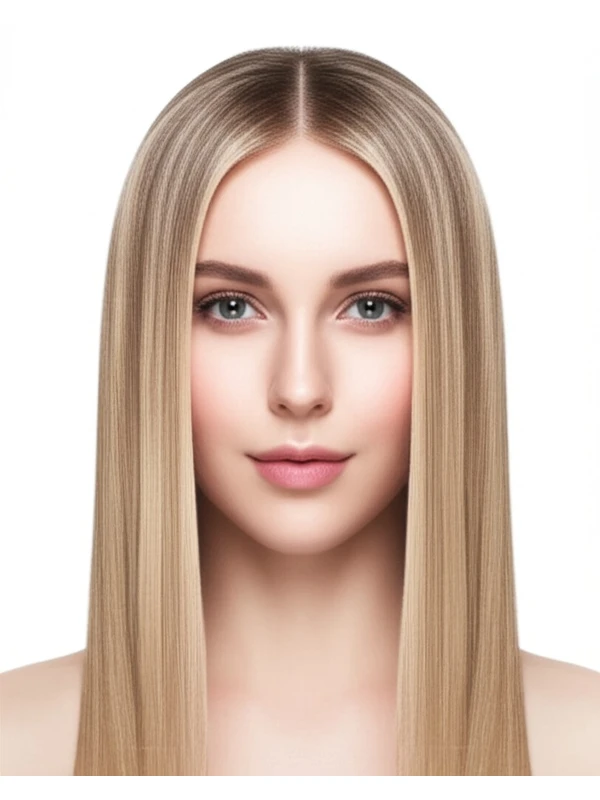
#Finding Your Highlight Shade: More Than Just “Blonde”
Highlight shades aren't just about color names like "platinum" or "honey." They need to work with your skin tone, eye color, and natural hair color.
- Warm Skin Tones (yellow/golden undertones): Think caramel, honey, golden blonde, copper highlights. These enhance the warmth in your complexion.
- Cool Skin Tones (pink/blue undertones): Consider ash blonde, icy platinum, beige blonde, or even very light browns with subtle cool-toned highlights.
- Neutral Skin Tones: You have more flexibility! Experiment with a range of tones – warm golds and coppers can look stunning, as can cooler beiges and silvers.
Eye Color Considerations:
- Blue/Green Eyes: Warm golden or copper highlights make these eyes pop. Cooler blondes work beautifully too.
- Brown Eyes: Almost any highlight shade will complement brown eyes, but caramel and honey tones add warmth and richness.
- Hazel Eyes: Highlights that mirror the different colors within hazel eyes (gold, green, brown) create a captivating effect.
#Face Shape & Highlight Placement: A Strategic Approach
The placement of your highlights can dramatically alter how they impact your face shape.
- Oval Faces: You're lucky! Most highlight placements will look great – try balayage for soft dimension or traditional foil highlights for more defined contrast.
- Round Faces: Strategically placed vertical highlights (along the sides of your face) visually elongate and slim. Avoid concentrated, all-over brightening as it can widen the face.
- Square Faces: Soften angles with face-framing highlights that curve around the jawline. Balayage is an excellent choice for a blended, less harsh look.
- Heart-Shaped Faces: Highlights placed around your cheekbones and temples draw attention to your best features while balancing a wider forehead.
- Long/Rectangular Faces: Horizontal or face-framing highlights add width and softness. Avoid vertical placement which can further elongate the face.
#Body Proportions & Height: Visual Balance
Consider how highlights impact overall visual balance, especially if you have unique body proportions or height. Shorter individuals might benefit from brighter, more concentrated highlights to create an illusion of volume. Taller individuals can handle bolder, more dramatic highlight placements without appearing overwhelmed. Those with longer torsos should consider face-framing techniques to draw attention upwards and maintain proportion.
#Texture & Density Mapping: Tailoring Highlights for Your Hair Type
Your hair's texture and density significantly influence how highlights will look.
- Fine, Straight Hair: Highlights show up beautifully but can be prone to damage. Use a lower developer volume (less lift) and consider babylights (very fine, subtle highlights).
- Medium, Straight/Wavy Hair: Balayage or foil highlighting work well for adding dimension without harsh lines.
- Thick, Wavy/Curly Hair: Highlights can add bounce and definition. Strategically placed face-framing highlights are a great starting point to assess the effect before committing to more extensive lightening.
- Coily/Kinky Hair: Highlights require extra care due to potential dryness and breakage. Focus on strategic placement around the face or crown for maximum impact with minimal processing. Consider using highlighting techniques designed for textured hair, like hand-painted balayage. Density plays a role – those with denser hair can handle more highlights than someone with thinner density.
#Maintenance Cadence: Keeping Your Highlights Looking Fresh
Highlight maintenance depends on the technique used and how quickly your roots grow out.
- Traditional Foil Highlights: Every 6-8 weeks to maintain color vibrancy and blend regrowth.
- Balayage/Hand-Painted Highlights: Every 3-6 months, depending on desired effect and root visibility. The "grow out" is more gradual with balayage.
- Babylights: Can last longer (up to 12 weeks) as they are so subtle.
#Grow-Out Roadmap: Planning for the Future
Thinking ahead about how your highlights will look as they grow out prevents awkward transitions and allows you to plan future appointments.
- Balayage/Hand-Painted: The soft, blended nature means a gradual fade is achieved over time. Periodic trims help maintain shape.
- Traditional Foil Highlights: Root shadow becomes more noticeable. Consider strategically placed glosses or toner to blend the line of demarcation as roots grow out.
- Babylights: The subtle effect remains consistent during growth, requiring less frequent touch-ups
#FAQs About Highlights: Your Burning Questions Answered
- Are highlights damaging? All lightening processes involve some degree of lift and can impact hair health. Using bond-protecting treatments (like Olaplex or similar) helps minimize damage.
- Can I do highlights at home? While possible, it's best left to professionals for even application and color accuracy, especially with complex techniques like balayage.
- What’s the difference between foils and balayage? Foils create more defined lines of contrast; balayage is a freehand painting technique that offers a softer, blended look.
- How much do highlights cost? Prices vary based on location, stylist experience, and highlight complexity (ranging from $100 to $500+).
- Can I get highlights if I have dark hair? Absolutely! Darker bases require more lifting, so it’s important to consult with a skilled colorist experienced in working with darker tones.
- What is the best way to protect my highlighted hair? Use sulfate-free shampoo and conditioner, deep condition regularly, avoid excessive heat styling, and use leave-in treatments for added moisture and protection.