#Root Melt: A Gentle Blend for Natural-Looking Color
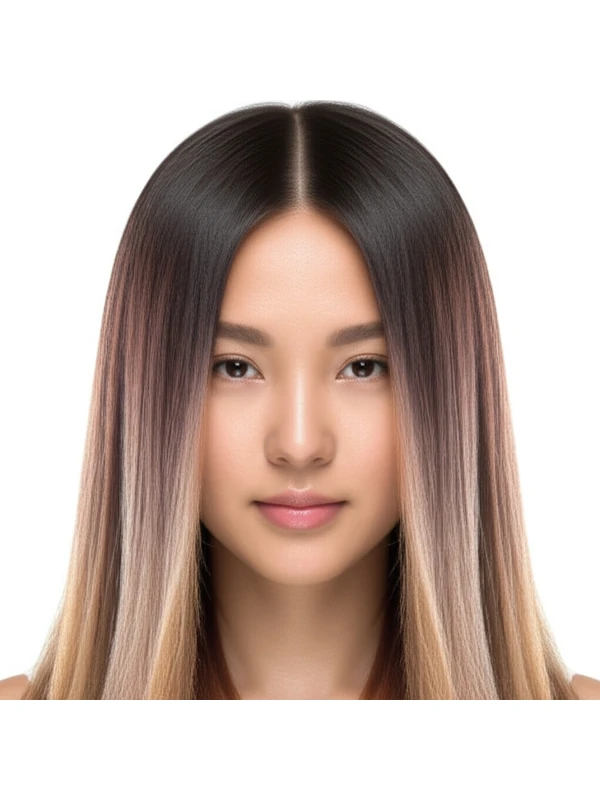
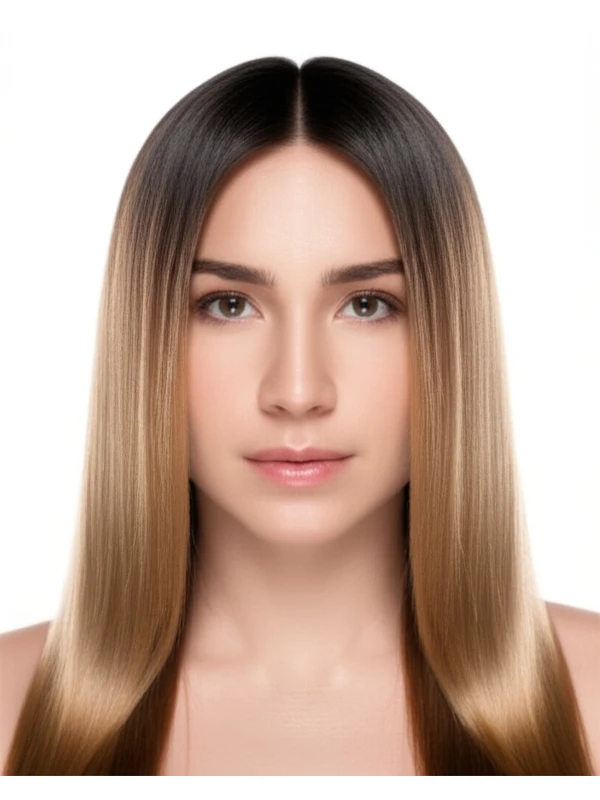
Root melt is a popular hair coloring technique that creates a soft transition between your natural roots and colored lengths. It’s all about blending! Instead of harsh lines or obvious demarcation, root melts offer an effortless, lived-in look. Let's dive into everything you need to know.
#1. Definition & How it Works
A root melt isn’t a single process; it’s more of a philosophy applied to color techniques. The goal is gradual blending – think watercolor painting on your hair! It avoids the sharp contrast often seen with traditional highlights or balayage.
Tools Used:
- Foils (sometimes): While not always necessary, foils can help control placement and lift.
- Balayage Brush/Paintsicle: These allow for precise application of color at the roots.
- Color Mixing Bowls & Brushes: Standard coloring tools are essential.
- Gloves: Protect your hands!
The Process - Key Steps:
- Consultation: Your stylist assesses your hair's condition, natural color, and desired outcome (more on this later).
- Color Mixing: The stylist will mix colors to match your natural root shade and the existing lengths of your hair. Often multiple shades are used for a seamless blend.
- Application: Color is applied directly to the roots and blended downwards into the previously colored sections, often using feathering or smudging techniques. Foils might be strategically placed if more lift is needed in specific areas. The placement will depend on your hair’s natural part and how you style it.
- Processing Time: This varies based on your hair's porosity, desired level of lift, and the color used. Your stylist monitors closely – timing is crucial for a gentle melt.
- Rinsing & Toning (optional): After processing, the hair is rinsed thoroughly. A toner or gloss may be applied to refine the tone and add shine.
#2. Best Use Cases: What Root Melt Achieves
Root melts are incredibly versatile! They can achieve several aesthetic goals:
- Dimension: Adds depth and visual interest without a high-contrast look.
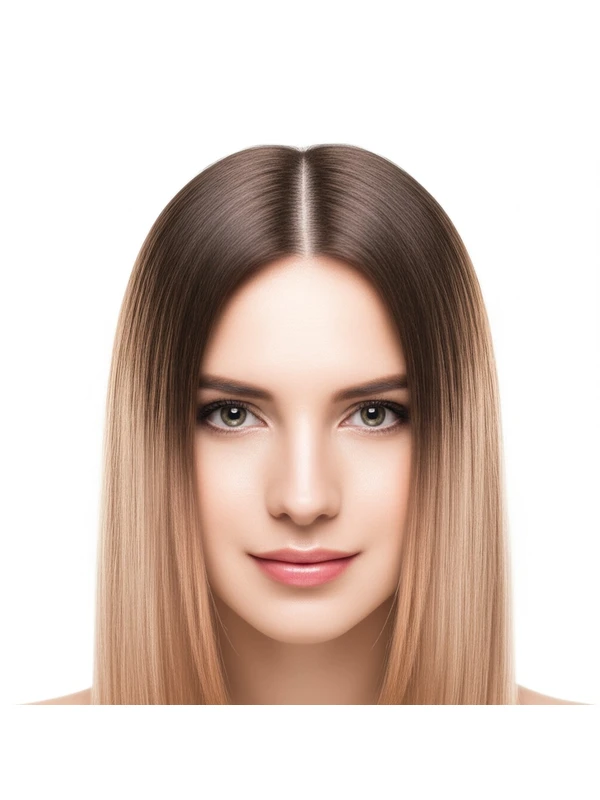
- Root Blur: Softens the line between your natural roots and colored hair, minimizing regrowth visibility.
- Face Framing: Strategically placed highlights or lighter pieces around the face brighten and enhance features.
- Subtle Coverage: Can help to tone down brassiness or cover a few stubborn grays without looking obviously dyed. It's not designed for full gray coverage.
#3. Who it Suits: Finding Your Root Melt Match
Root melts are generally flattering, but some factors make them particularly well-suited:
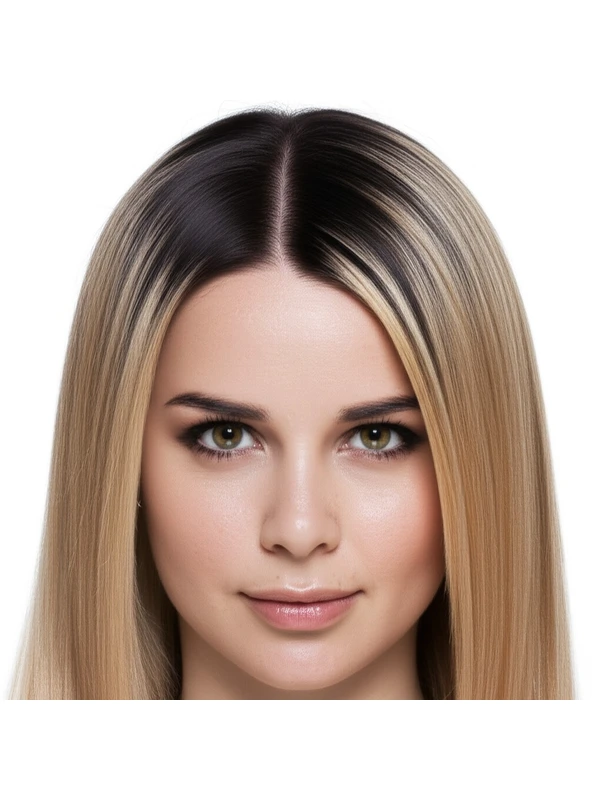
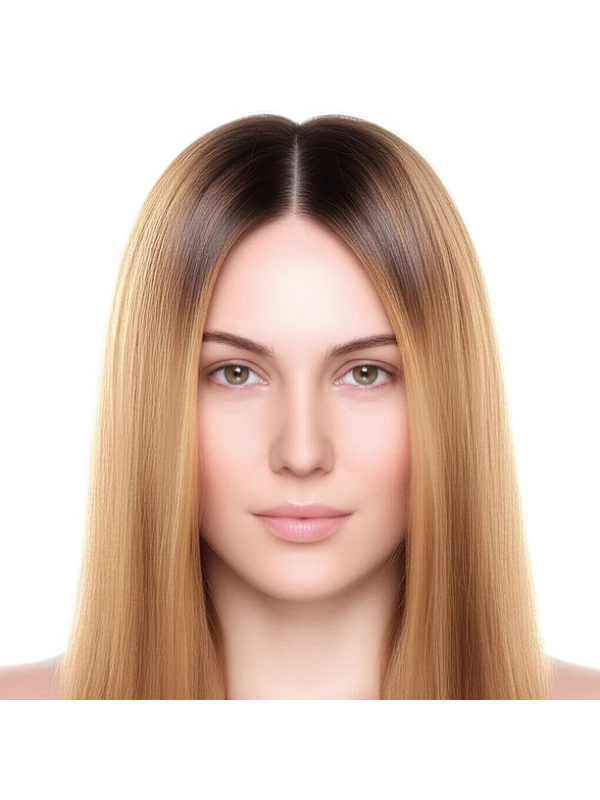
- Natural Color Level: Works beautifully on all natural hair colors – from dark brown to blonde!
- Undertone: Consider your undertones (warm/golden, cool/ashy, neutral). The stylist will choose tones that complement your skin. Warm root melts look amazing with warmer complexions; cooler shades suit cooler undertones.
- Hair Type & Texture:
- Straight Hair: Creates a soft, blended effect.
- Wavy Hair: Enhances natural waves and adds movement.
- Curly/Coily Hair: Provides dimension without disrupting curl patterns; careful application is key to avoid frizz.
- Hair Density: Works well on both thick and thin hair – adjustments are made in product placement.
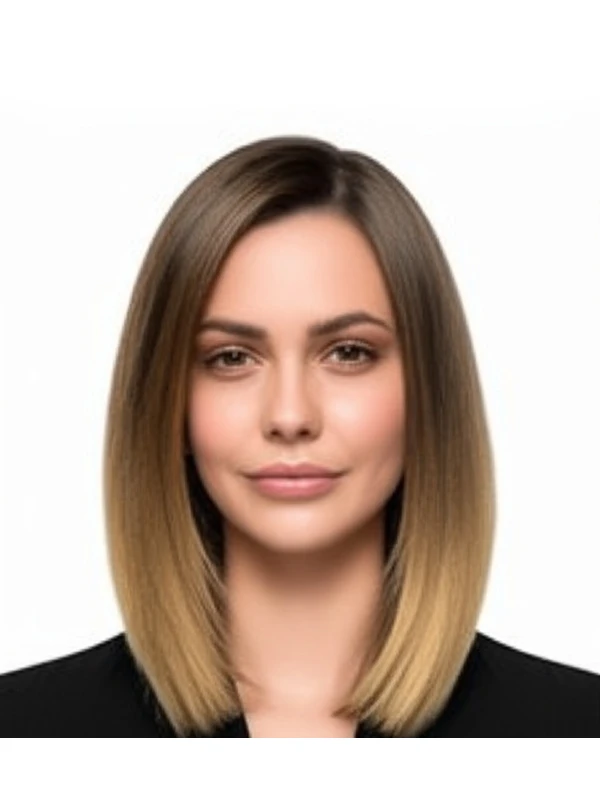
- Hair Length: Suitable for all lengths, from bobs to long hair.
- Lifestyle: Ideal for those who want a low-maintenance look with minimal regrowth visibility. It's great if you don’t love frequent salon visits!
#4. Compared to Similar Techniques
Understanding the differences between root melt and other color techniques helps clarify its unique appeal:
- Balayage vs. Root Melt: Balayage focuses on hand-painted highlights throughout the hair, often with a more noticeable contrast at the roots. A root melt incorporates balayage principles but prioritizes seamless blending near the scalp.
- Foilyage vs. Root Melt: Foilyage uses foils to lift sections of hair, creating brighter highlights and greater dimension. A root melt can incorporate foiling for more lift, but it's less intense than foilyage and emphasizes a softer transition.
- Highlights: Traditional highlights involve distinct strands of lighter color, often with a defined line of demarcation at the roots. Root melts avoid this sharp contrast.
- Root Smudge/Shadow Root: These techniques also soften root lines but typically use a single shade blended through the roots. A root melt usually involves multiple tones for a more complex and natural result.
#5. Maintenance & Longevity
Planning ahead ensures your root melt stays looking its best:
- Salon Timing: Typically, a refresh is needed every 3-6 months, depending on hair growth and desired level of brightness.
- Toner/Gloss Refresh: A toner or gloss can be applied between full color appointments to maintain tone and shine (every 6-8 weeks).
- Grow-Out Behavior: Root melts are designed for a gradual grow-out, minimizing harsh lines as your roots reappear.
- Budget & Time Planning: Expect to pay more than you would for a single process color due to the complexity of blending and multiple tones involved. Appointments can take 2-4 hours.
#6. At-Home Care Tips
Proper care extends the life of your root melt:
- Wash Cadence: Wash hair less frequently (2-3 times per week) to prevent fading.
- Heat Protection: Always use a heat protectant spray before using hot tools like straighteners or curling irons.
- Color-Safe Care: Use color-safe shampoos and conditioners formulated for colored hair. Sulfate-free formulas are best.
- Cool Water Rinses: Rinse your hair with cool water to seal the cuticle and prevent color loss.
#7. Pros & Cons
Pros:
- Low maintenance regrowth.
- Soft, natural look.
- Adds dimension without harsh lines.
- Versatile for various hair colors and types.
- Can subtly cover grays or brassiness.
Cons:
- More expensive than single-process color.
- Requires a skilled stylist to achieve the desired blend.
- Not suitable for full gray coverage.
#8. Salon Consultation Script (Prompts)
Your stylist should ask you these questions:
- What is your current hair color and what are your natural undertones?
- Do you have any previous coloring or chemical treatments?
- What level of lightness are you hoping to achieve? (Show examples!)
- Are there any areas where you want more/less brightness?
- How much time can you realistically commit to salon visits and at-home care?
- What is your hair texture, density, and length?
#9. FAQs
- Can I do a root melt on my own? While DIY color kits exist, achieving a seamless blend requires significant skill and experience. It's best left to professionals.
- How long does a root melt last? Typically 3-6 months before needing a refresh, but this depends on your hair growth rate and desired brightness.
- What if my roots grow in quickly? The blended nature of the technique minimizes the appearance of regrowth, even with faster growth.
- Is root melt damaging to my hair? Like any coloring process, it can cause some degree of dryness or damage. A skilled stylist will assess your hair's condition and use gentle techniques and products to minimize impact.
- Can I get a root melt if I have very dark hair? Yes! While the results may be more subtle than on lighter hair, a root melt can still add dimension and soften lines.
- What’s the difference between a root smudge and a root melt? A root smudge usually involves blending one shade at the roots, while a root melt incorporates multiple tones for a softer, more natural blend.
- Will my hair feel dry after a root melt? It's possible! Deep conditioning treatments are often recommended before and after the process to help maintain moisture levels.
- Can I get highlights with a root melt? Absolutely! Combining techniques can create even more dimension and personalization.