#Dive into the Depths: A Guide to Seafoam Green Hair Color
Seafoam green hair is having a moment! It’s eye-catching, playful, and offers a refreshing twist on traditional colors. But achieving that perfect aquatic hue requires understanding its nuances. This guide breaks down everything you need to know about seafoam green – from the technicalities of application to long-term care – so you can confidently rock this trend or advise your clients accordingly.
#1. Understanding Seafoam Green: Shade Definition
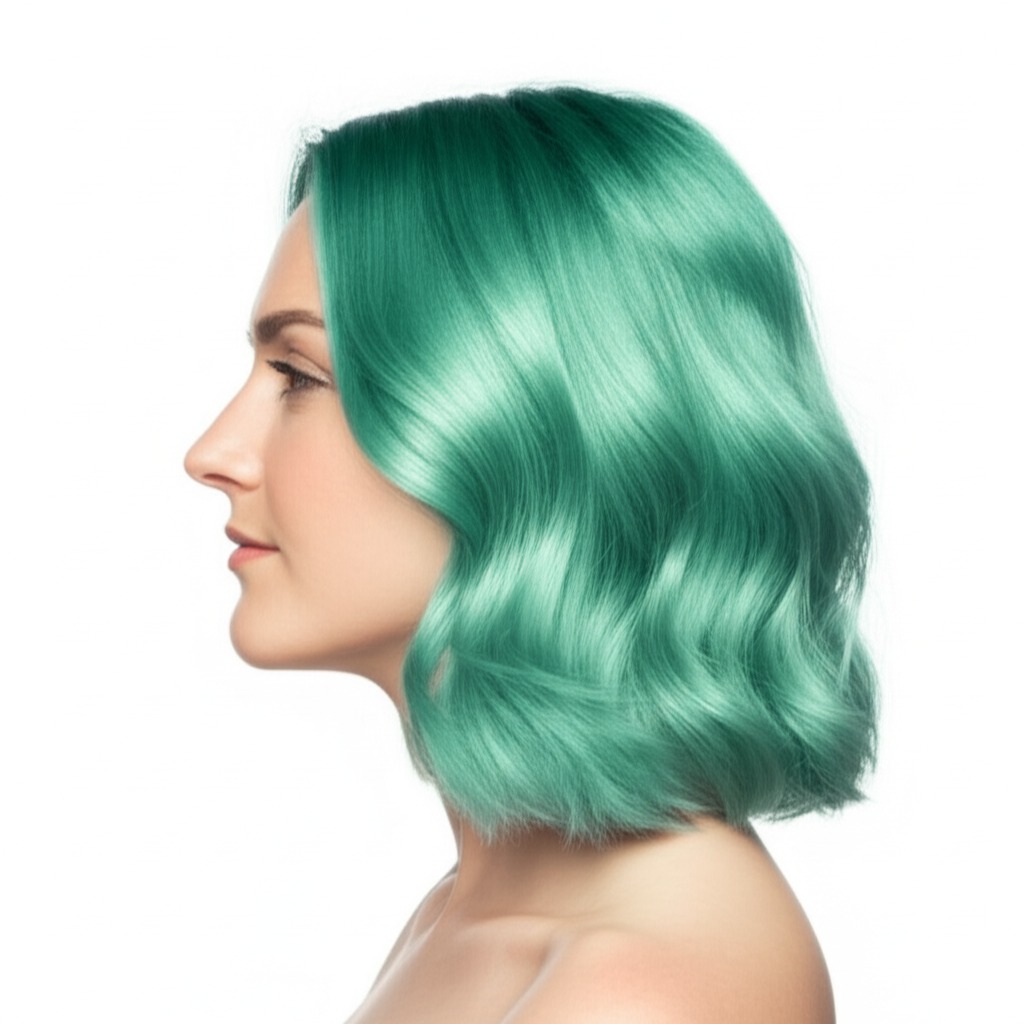
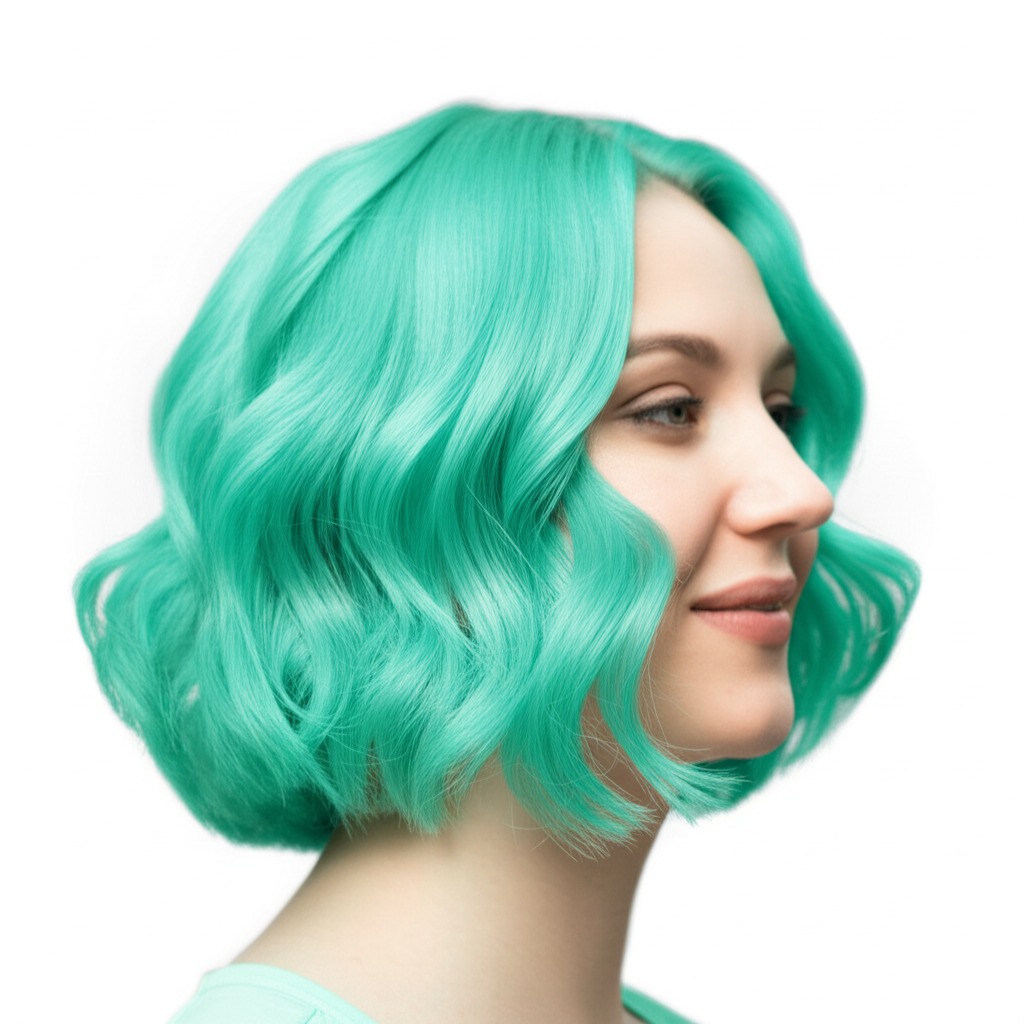
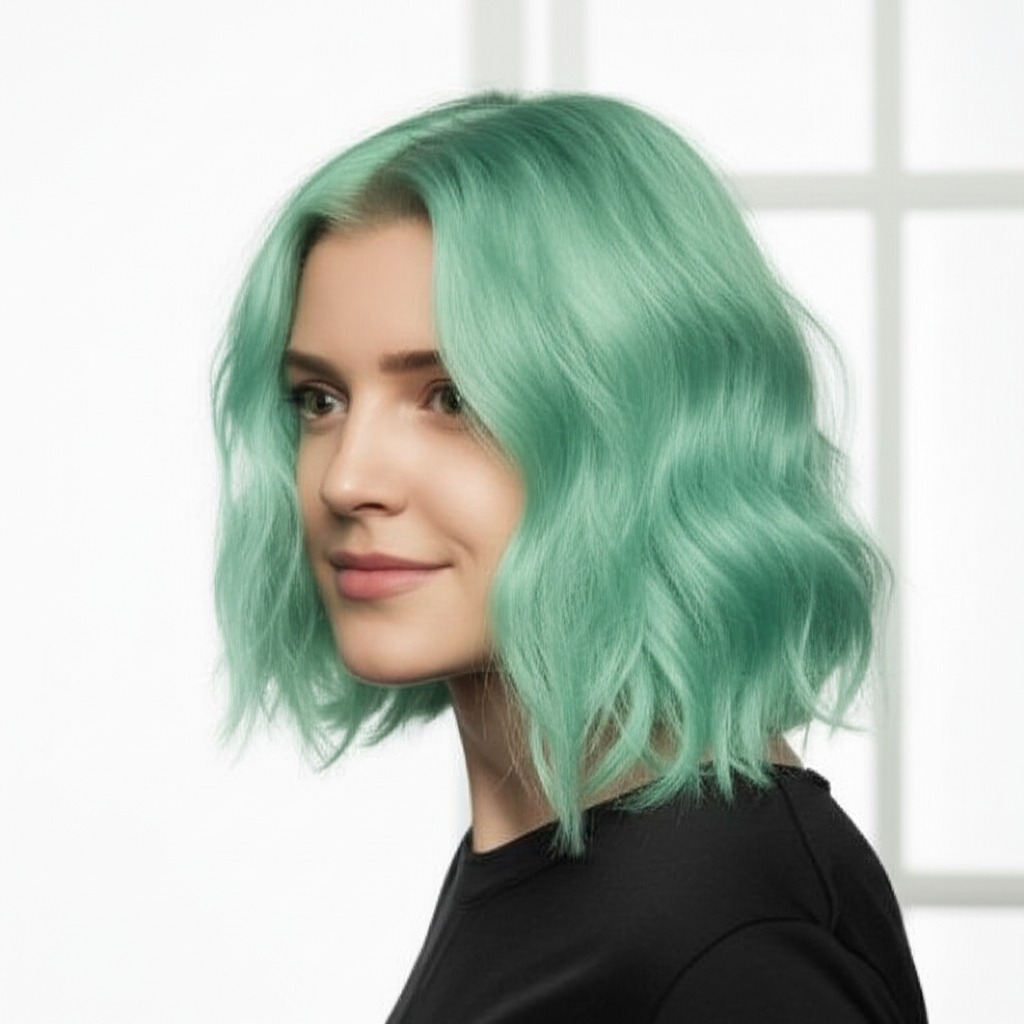
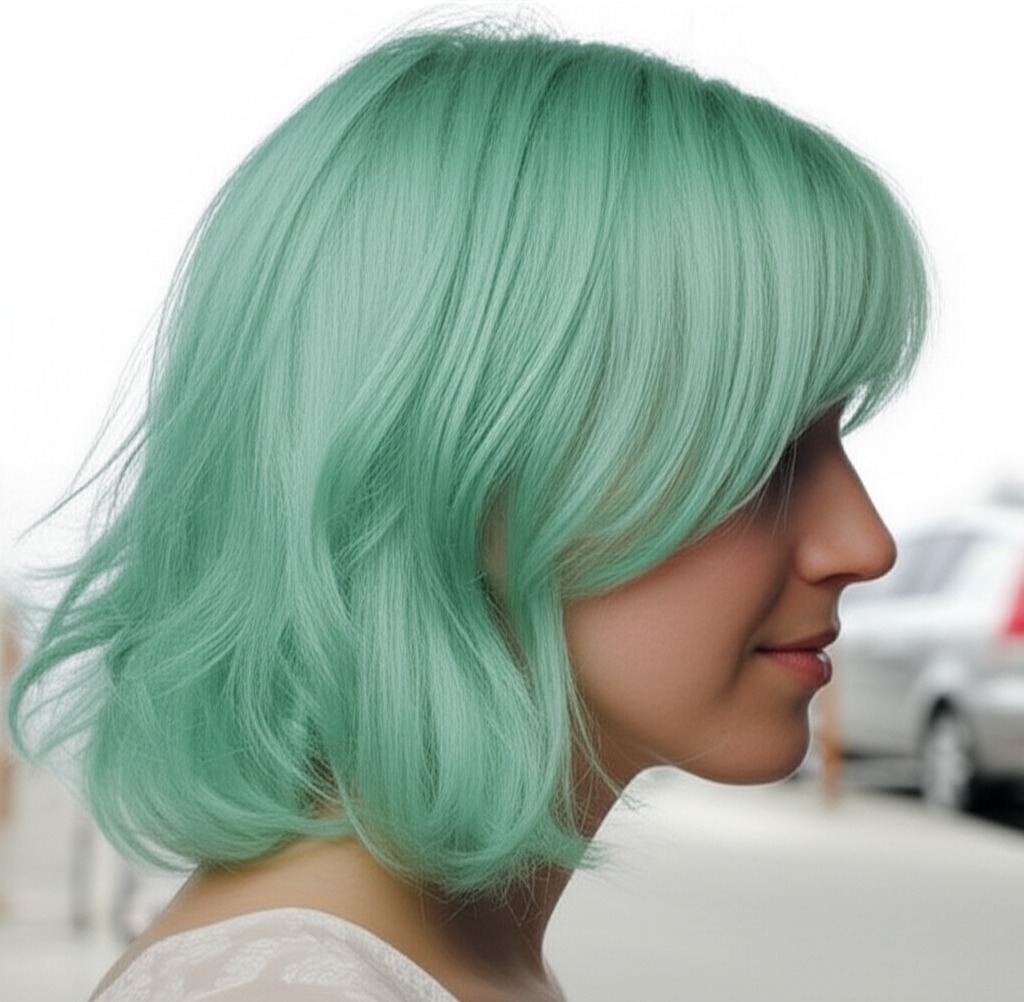
Seafoam green isn't just green. It’s a very specific shade, and getting it right is key. Think ocean foam after a wave breaks - that soft, muted quality is what we're aiming for.
- Undertone: This color leans decidedly cool. It has blue and grey undertones which contribute to its ethereal look. Warm greens tend towards more yellow or gold tones – not the seafoam vibe!
- Depth (Levels): Seafoam green works best on lighter bases. We're talking levels 7-10, ideally. A level is a hair color chart measurement; Level 1 is black, and Level 10 is the lightest blonde. Darker hair will require significant lightening which can impact health – more on that later! The depth you choose impacts how vibrant or muted the green appears; lighter levels create a brighter pop while darker levels offer a softer, more subtle effect.
#2. Who Does Seafoam Green Flatter?
While seafoam green is bold, it can be surprisingly flattering with careful consideration of your features.
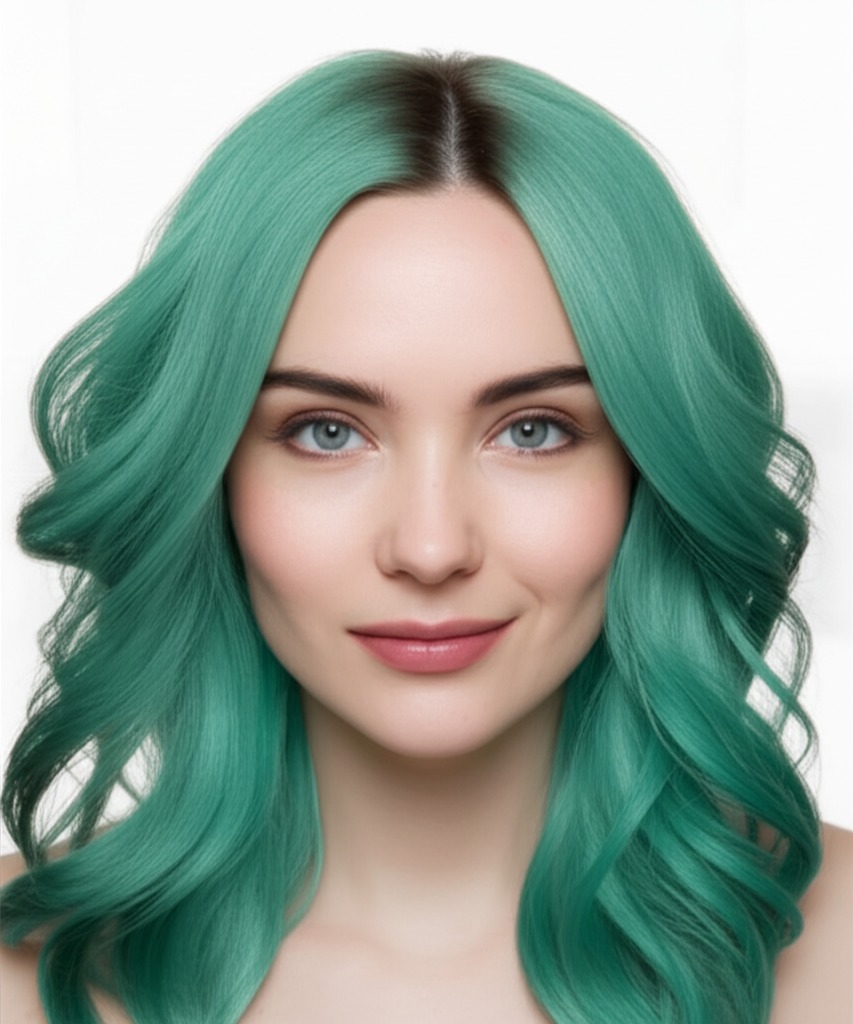
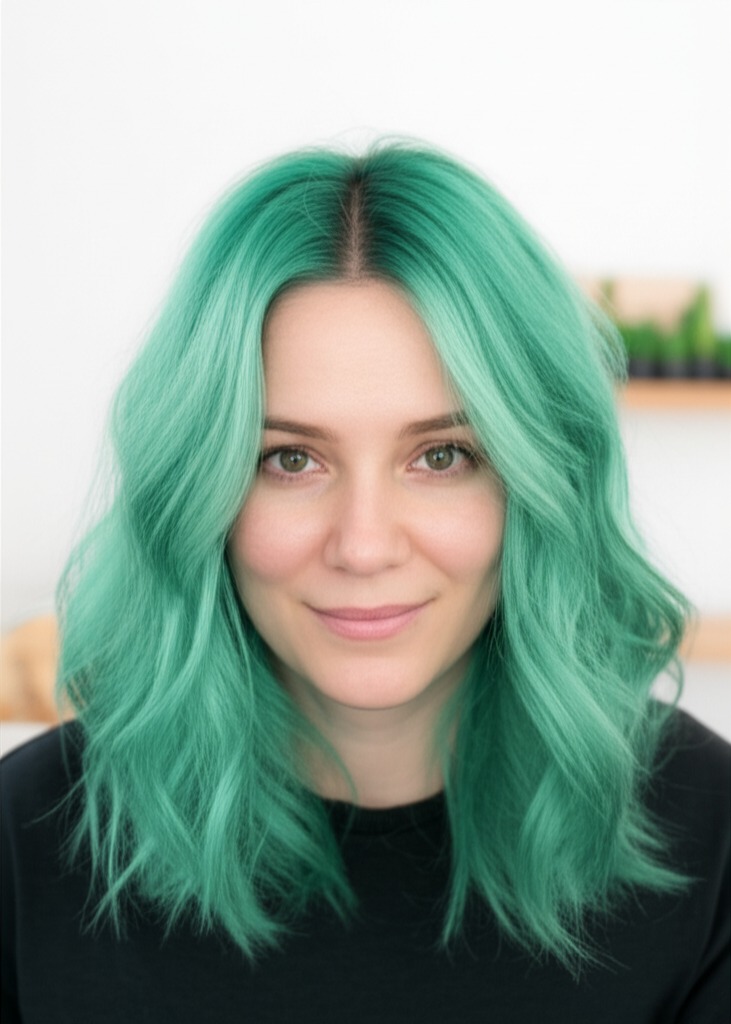
- Skin Tone & Undertone: Cool skin tones (think pink or blue undertones) are the ideal canvas for this color. If you have fair, cool-toned skin, seafoam green will make your complexion look luminous. Medium to deep cool skin can also pull it off beautifully – just be mindful of contrast and potential ashy effects. Warm skin tones (yellow/golden undertones) often find that seafoam green washes them out or looks unnatural. A skilled stylist might adapt the shade with a touch of muted violet, but proceed cautiously.
- Eye Colors: Seafoam green enhances almost any eye color! Blue and grey eyes will be intensified, while brown eyes get a captivating contrast. Green-eyed individuals can achieve an incredibly striking, mermaid-like effect.
- Natural Level Starting Points: As mentioned before, seafoam green needs a light base.
- Levels 1-4 (Dark Brown to Light Brown): Requires significant lightening – multiple sessions are likely needed and hair health is paramount. This involves the most risk of damage.
- Levels 5-7 (Medium Blonde): Still requires lifting, but less drastic than darker bases. A good starting point for achieving a noticeable seafoam tone.
- Levels 8-10 (Light Blonde to Platinum): The easiest canvas! Minimal color deposit is needed; the focus shifts to perfecting the shade and adding depth.
#3. Technique Options: From Subtle to Statement
How you apply seafoam green dramatically impacts the final look.
- Single Process: This applies a uniform color all over, creating a solid block of seafoam. Best for those with already light hair (levels 8-10) or wanting a bold statement.
- Highlights/Lowlights: Adding subtle highlights in lighter shades of green can create dimension and movement. Lowlights (slightly darker than the base) add depth.
- Babylights: Very fine, delicate highlights that mimic natural sun-kissed streaks. This is a softer approach for those hesitant about a full commitment.
- Gloss/Toner: Used after lightening to refine the shade and enhance shine. Essential for seafoam green to achieve its cool, muted tone – it’s what prevents brassiness!
- Balayage-Effect vs Solid: Balayage (hand-painted highlights) creates a more natural, blended look with softer roots. A solid application offers a bolder, more uniform color.
#4. Maintenance & Longevity: Planning for the Long Haul
Seafoam green isn't low maintenance! Be prepared to invest time and money.
- Wash Frequency: Limit washes to 2-3 times per week using cool water (hot water fades color faster).
- Toner Refresh: This is crucial. Expect to tone your hair every 4-6 weeks, depending on how quickly the green fades or brassiness develops.
- Root Growth Pacing: With a vibrant color like this, root regrowth will be very noticeable. Consider strategically placed highlights/babylights to blend roots and extend time between full color applications.
- Budget & Time Planning:
- Initial Application: $200 - $600+ (depending on salon, stylist experience, and hair length/density). Expect 3-5 hours in the salon.
- Toner Refresh: $75 - $150+. About 1-2 hours.
#5. Seasonality & Pairing with Cuts: Style it Right!
Seafoam green's versatility shines through different cuts and seasons.
- Cuts that Complement:
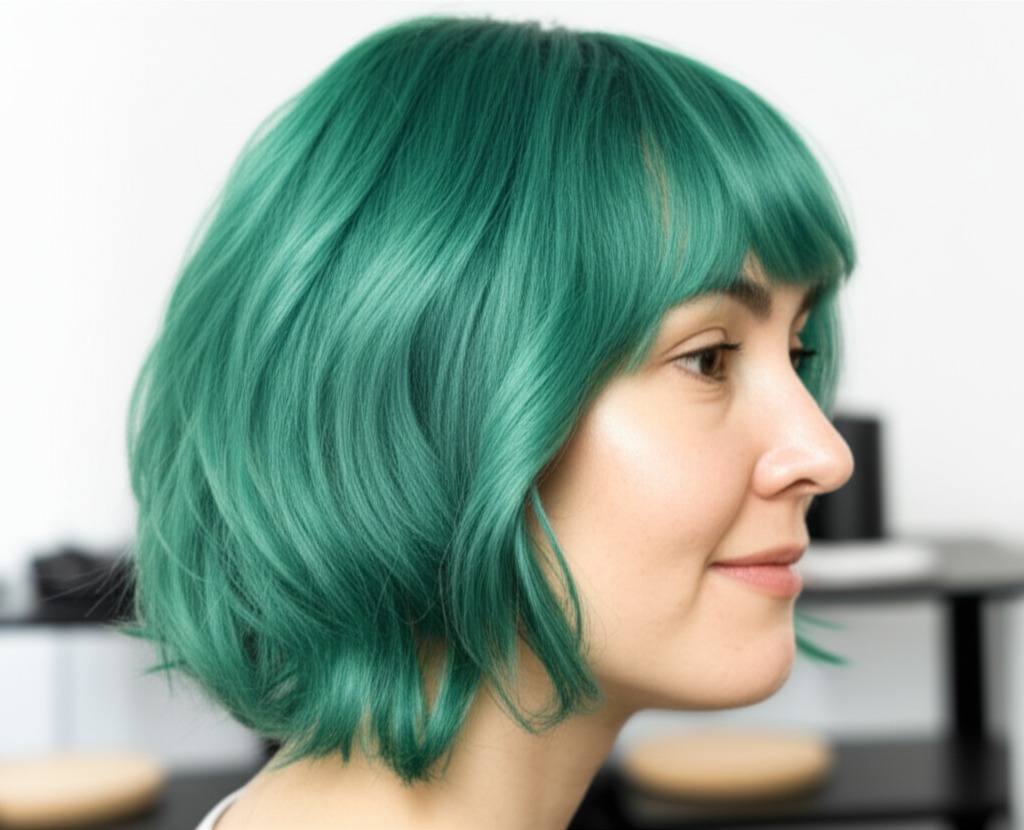
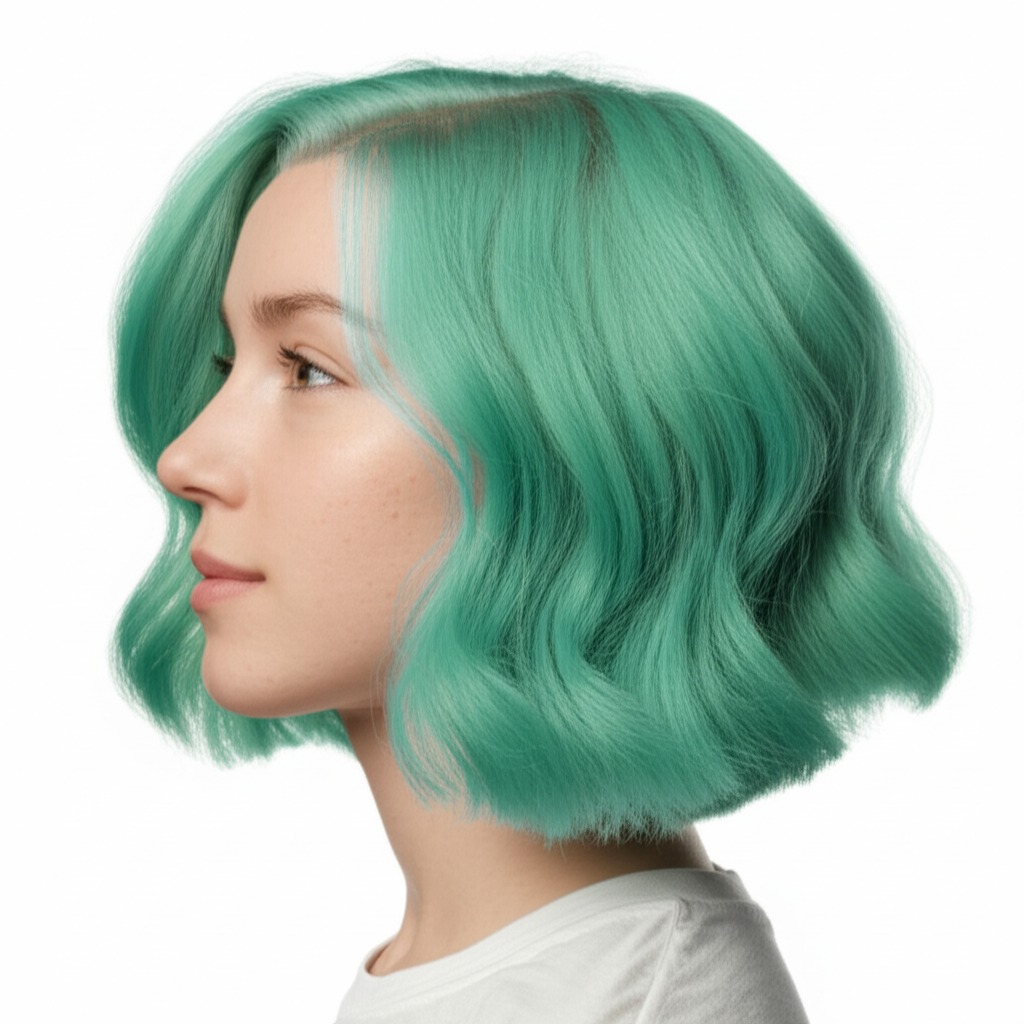
- Bob/Lob (Long Bob): A classic choice for showcasing the color’s vibrancy.
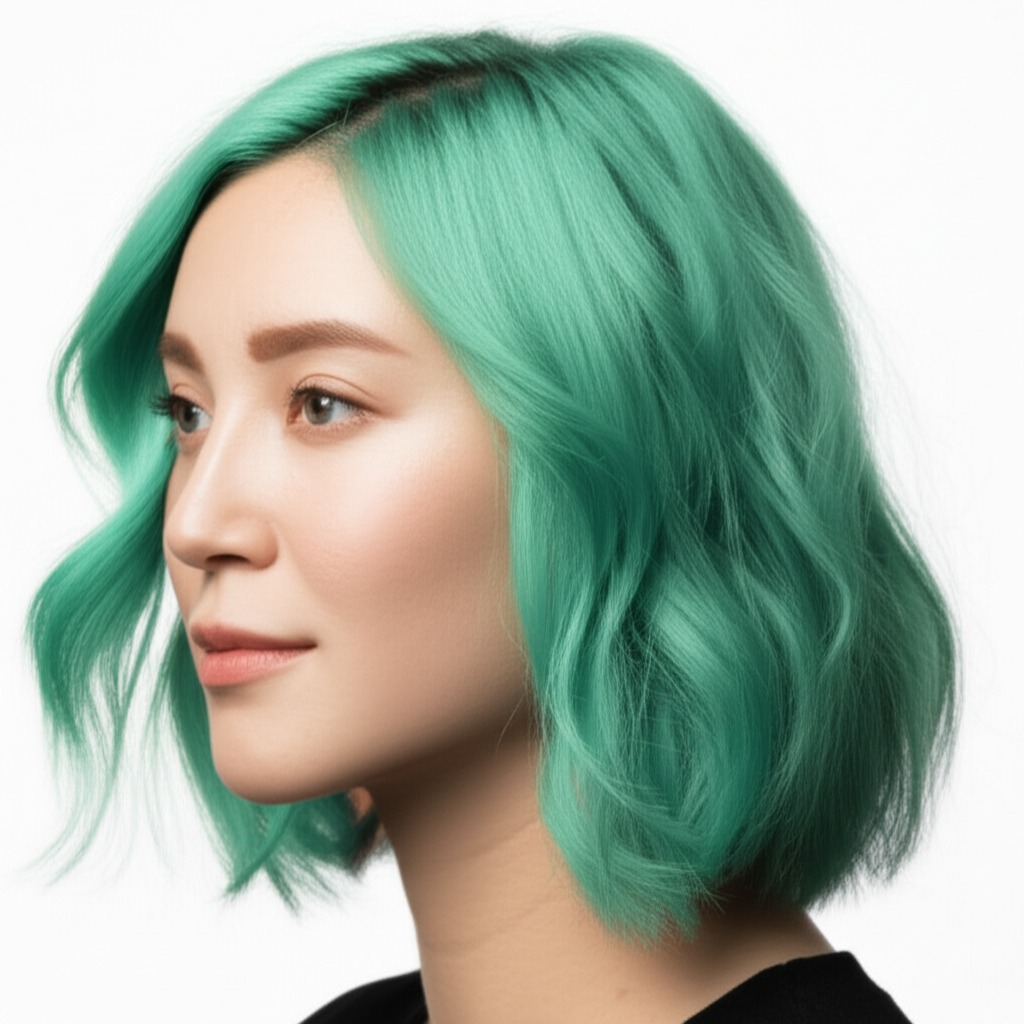
- Long Layers: Allows for movement and dimension, particularly with balayage techniques.
- Pixie Cut: Can be edgy and playful – a bold statement!
- Seasonal Tweaks: In winter, seafoam green can appear cooler; consider adding subtle silver or grey undertones. For summer, lean into the brightness with lighter shades of green.
- Event/Occasion Picks:
- Work: A more muted, balayage-effect approach is best for professional settings.
- Daytime: Perfect for a fun and playful look!
- Evening: A bolder, brighter seafoam looks stunning under event lighting.
- Weddings: Can be incredibly unique – just ensure it complements the overall wedding aesthetic.
#6. At-Home Care: Protecting Your Investment
Proper at-home care is vital to prolonging your seafoam green's vibrancy and health.
- Sulfate-Free Shampoo & Conditioner: Sulfates strip color, so opt for sulfate-free formulas specifically designed for colored hair.
- Clarifying Cadence: While sulfates are a no-no regularly, occasional clarifying shampoos (once every 4-6 weeks) can remove buildup without excessive stripping.
- Heat Protection: Always use heat protectant spray before using any hot styling tools (blow dryers, straighteners, curling irons).
- Color-Safe Styling Tips: Avoid harsh chemicals in styling products. Consider air drying whenever possible.
- Product Checklist: Sulfate-free shampoo & conditioner, color-safe leave-in conditioner, heat protectant spray, deep conditioning mask.
#7. Common Pitfalls: Avoiding the Color Fails
Let’s address potential problems and how to prevent them.
- Brassiness: The biggest enemy! Regular toning is essential. Use purple shampoo between toner appointments (but don't overuse it – it can create a muddy tone).
- Banding: Uneven color application, often due to inconsistent lightening. Proper foil placement or balayage technique minimizes this.
- Patchiness: Occurs when the base isn’t evenly lightened. Requires meticulous pre-lightening and even color distribution.
#8. Pros & Cons: Weighing Your Options
Before taking the plunge, consider these factors.
Pros: Unique, eye-catching, flattering on cool skin tones, versatile with different cuts. Cons: High maintenance (frequent toning), potential for fading quickly, requires significant lightening (potential damage).
#9. Salon Consultation Script: Setting Expectations
A thorough consultation is key to a successful seafoam green transformation. Here are some prompts for your stylist:
- "I'm interested in seafoam green hair color. Can you assess my current level and determine if it’s achievable without excessive damage?"
- "What lightening process will be involved, and what steps can we take to minimize damage?"
- “How often will I need toner refreshes, and what is the expected cost?”
- “Can you show me examples of seafoam green on different skin tones/hair lengths?”
- “What at-home care products do you recommend for maintaining this color?”
#10. FAQs: Your Burning Questions Answered
- Can I go from dark brown to seafoam green in one session? Highly unlikely without significant damage. Multiple sessions are usually required, spaced weeks apart.
- Will seafoam green stain my scalp? It can cause temporary staining, especially on lighter skin tones. A barrier cream can help minimize this.
- How long will the color last before fading completely? Without toning, expect 4-8 washes. With regular toner, it can last several months.
- Is seafoam green damaging to my hair? Lightening always causes some damage; minimizing it through careful technique and proper aftercare is crucial.
- Can I do this at home? Technically yes, but achieving the desired shade and avoiding damage requires expertise—a salon visit is highly recommended.
- What if my hair turns muddy or grey? This usually indicates an imbalance in undertones – a toner adjustment can correct it!
Seafoam green hair color offers a stunning aesthetic, but remember that informed decisions lead to the best results. By understanding the nuances of this shade and committing to proper care, you can confidently embrace your inner mermaid!