#Effortless Cool: Your Guide to Beachy Waves
Beachy waves are a perennial favorite for good reason – they’re relaxed, flattering, and evoke that just-back-from-the-beach vibe we all crave! But achieving true beachy waves isn't always as simple as a quick spritz of sea salt spray. This guide will break down everything you need to know about this versatile style, from finding the right cut to mastering your daily routine.
#1) Background & Definition: What Are Beachy Waves?
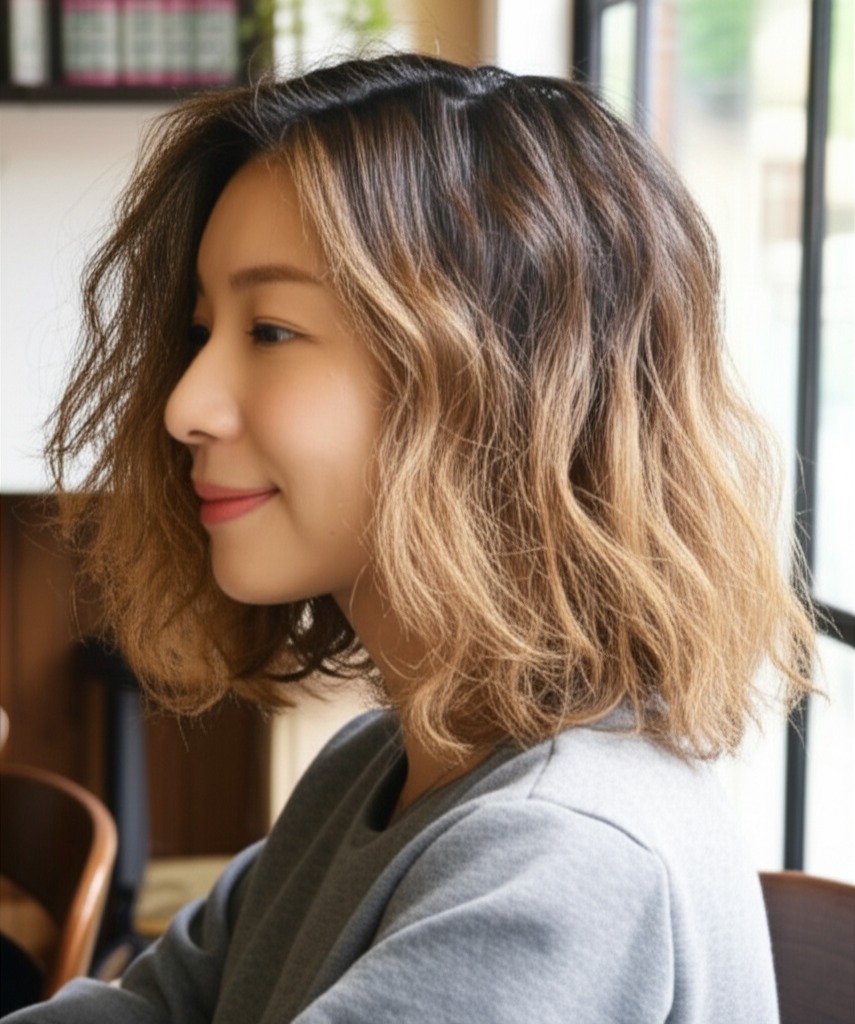
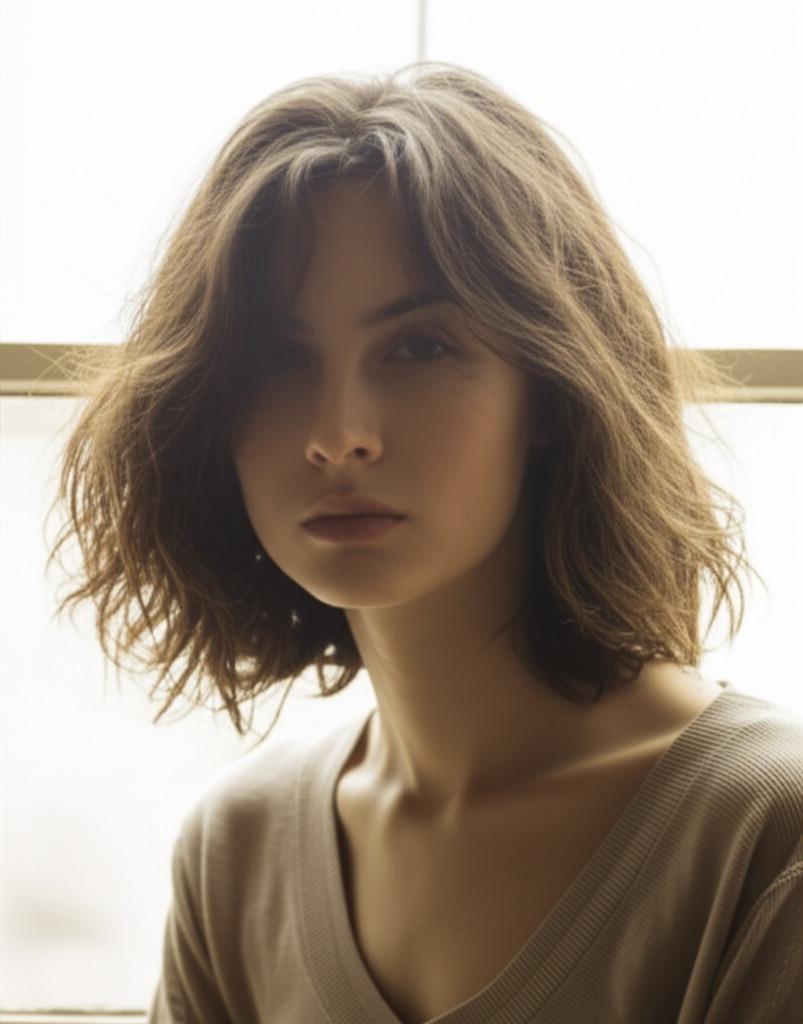
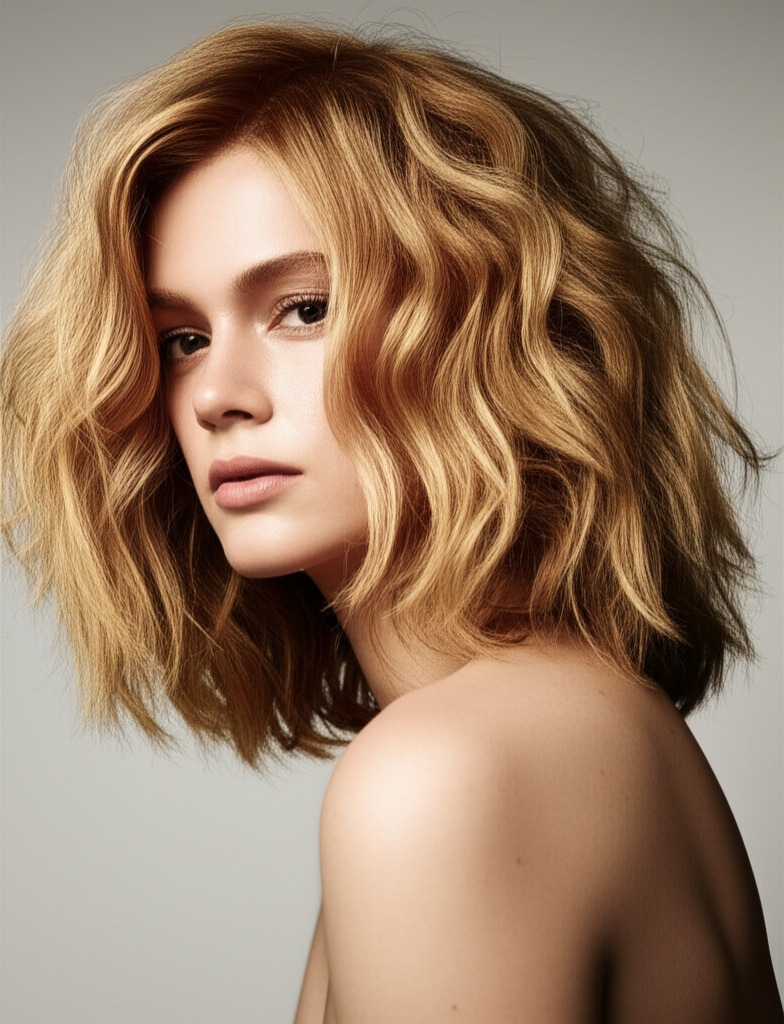
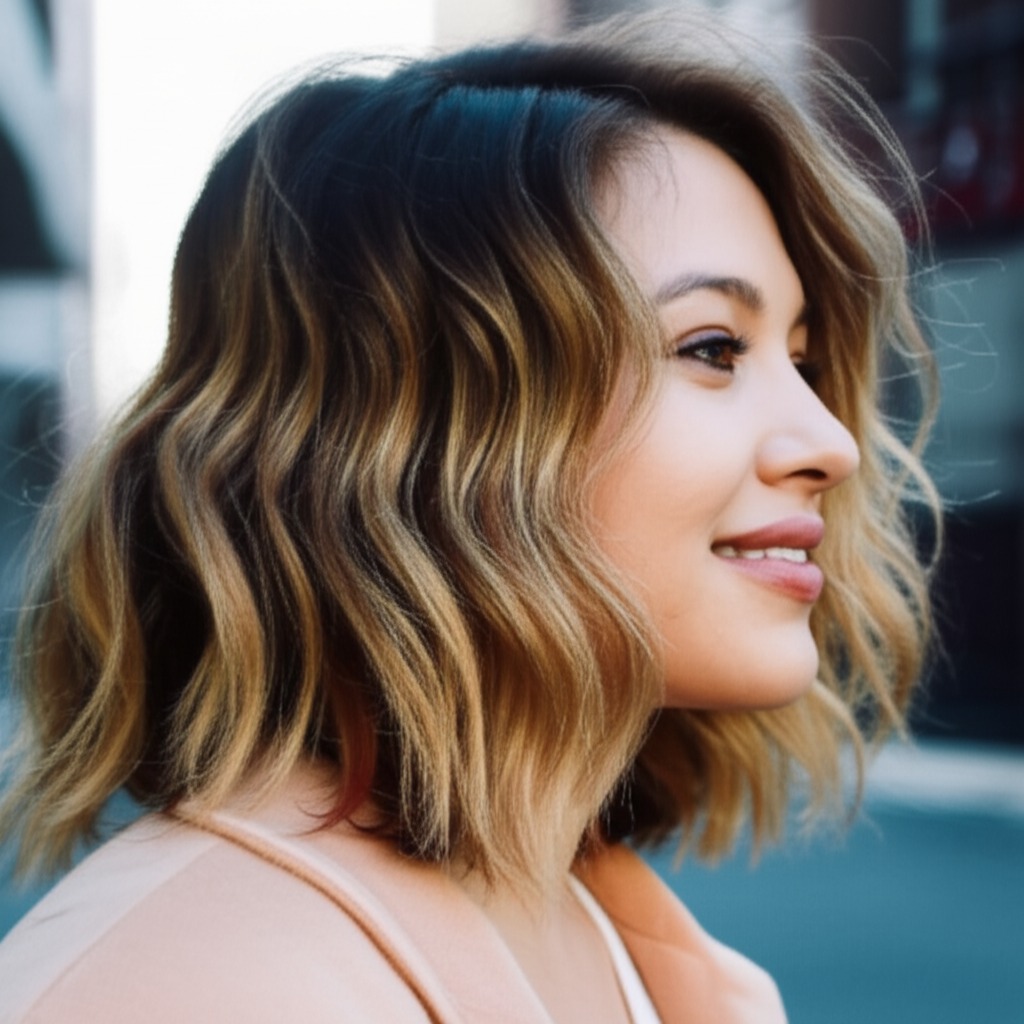
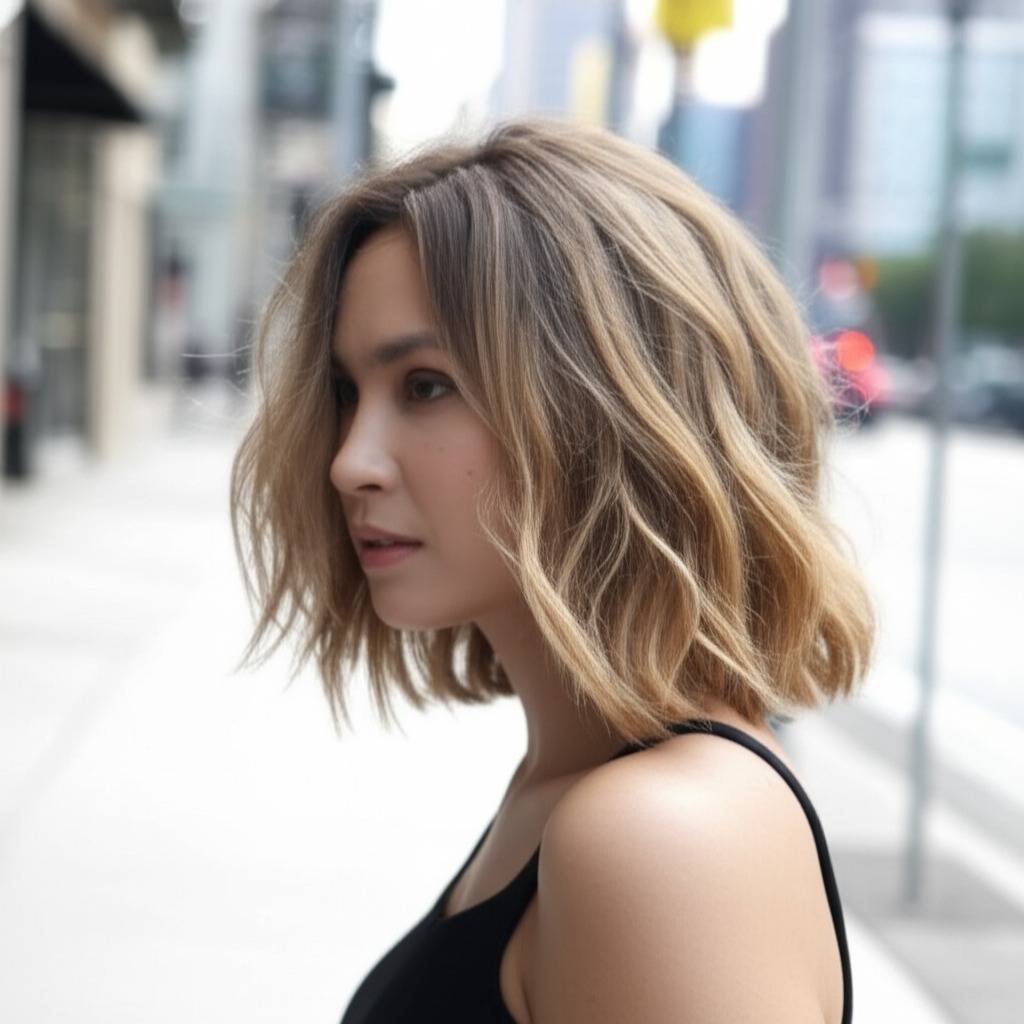
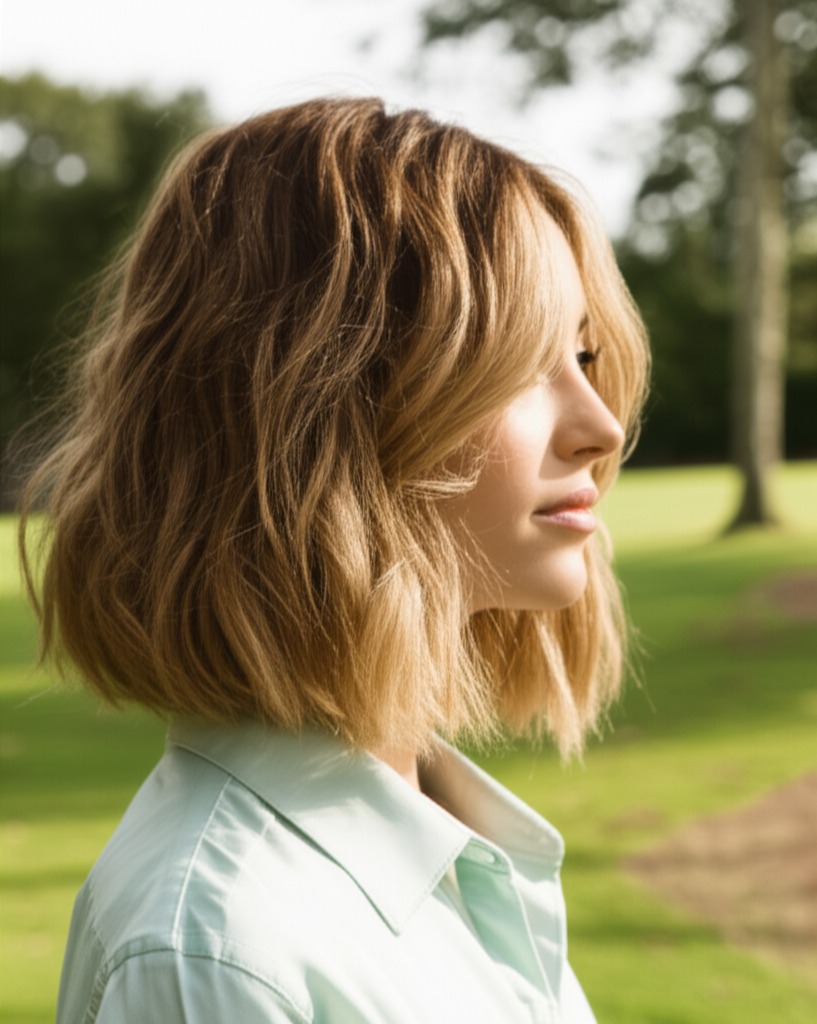
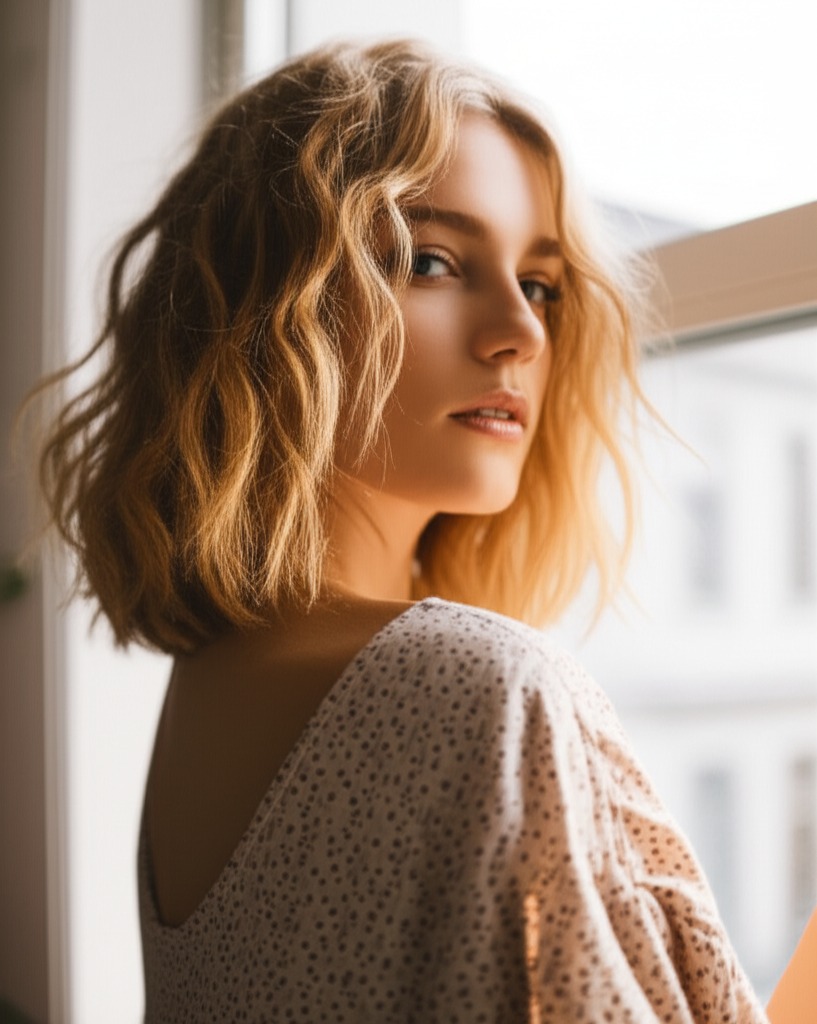
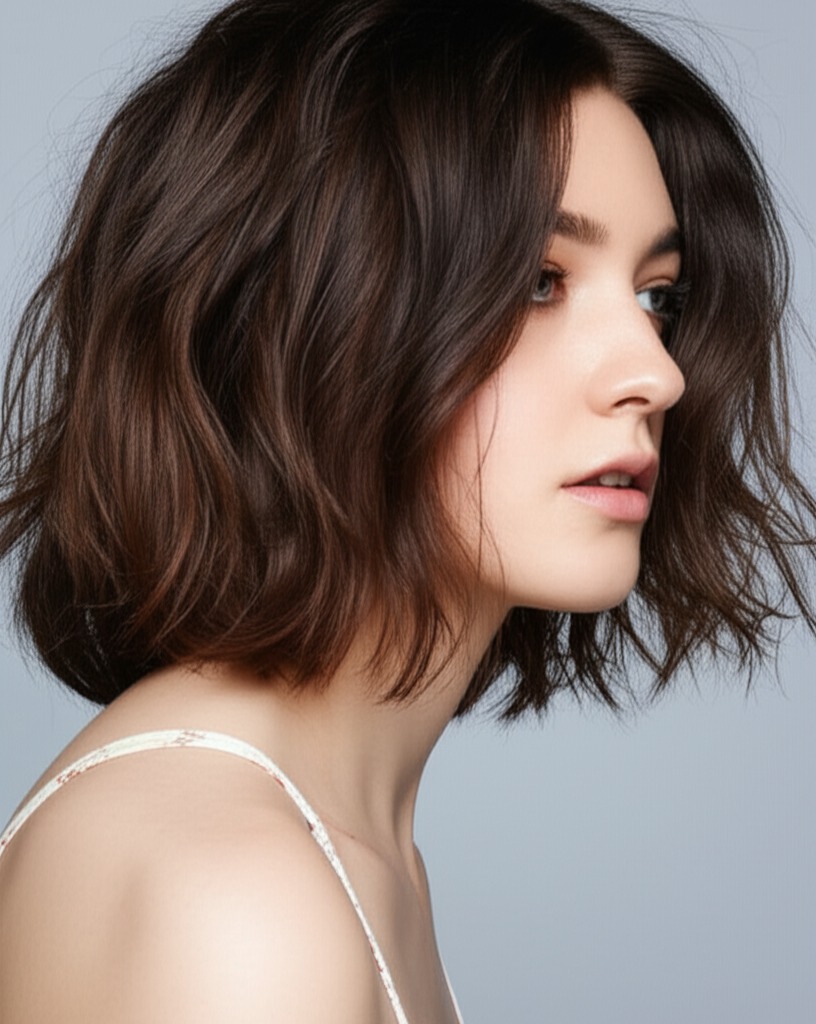
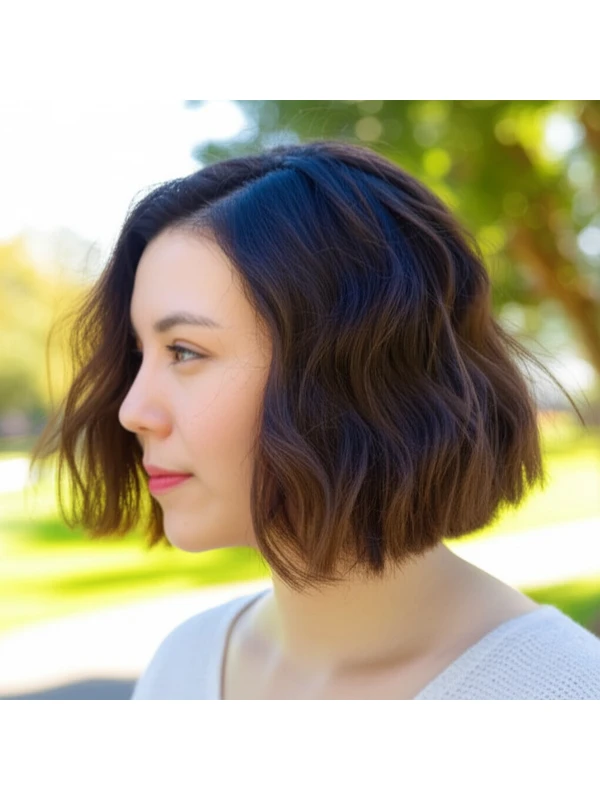
Beachy waves aren’t just about texture; they're a specific cut geometry combined with styling techniques. The core idea is a layered haircut that mimics naturally tousled hair, rather than perfectly uniform strands.
- Cut Geometry: Typically involves face-framing layers starting around the chin or collarbone, gradually blending into longer lengths at the back. This creates movement and prevents a blunt, heavy look.
- Key Features: Softly defined waves (not tight curls!), volume primarily at the roots with relaxed ends, an overall “undone” appearance. It's about suggestion of texture, not full-on curl definition.
- Typical Length Ranges: Works best on medium to long hair – generally shoulder length or longer. Shorter lengths can achieve a similar effect but require more precise layering and styling skill.
- Alternative Names: Tousled waves, lived-in waves, textured waves, surfer girl style.
#2) Face Shape Fit: Finding Your Flattering Angle
Beachy waves are remarkably adaptable, but small adjustments can maximize their impact based on your face shape.
- Oval: Lucky you! Beachy waves look fantastic with almost any variation. Play with the part (middle or side).
- Round: Soft layers around the cheekbones and jawline will slim the face. Avoid too much volume at the sides, which can widen the face further. A deeper side part helps break up roundness. A long, wispy fringe can also be very flattering.
- Square: Soften strong angles with gentle waves that begin higher on the face (around the cheekbones). Face-framing layers are key to diffusing a square jawline. Avoid blunt bangs; opt for feathered or side-swept instead.
- Heart: Volume at the chin and jawline balances out a wider forehead. Side-swept fringe can soften a pointed chin.
- Diamond: Beachy waves add softness to diamond shapes. Focus layering around the cheekbones and chin to create balance. A middle part works well, but consider subtle side parting for added asymmetry.
- Oblong (Long): Layers throughout the hair will add width and make the face appear less elongated. Avoid styles that pull hair straight up; keep waves flowing downwards. Bangs can shorten the appearance of a long face – try curtain bangs or soft, textured fringe.
#3) Body Proportions & Height Guidance: Tailoring to Your Silhouette
The way beachy waves impact your overall silhouette depends on your body proportions and height.
- Petite: Shorter layers (chin-length or slightly longer) prevent the style from overwhelming a smaller frame.
- Average: Most lengths work well, allowing for flexibility in styling volume.
- Tall: Longer layers create visual balance with a taller stature. More volume at the crown can add width and avoid looking too stretched out.
- Narrow Shoulders: Waves that start higher on the head (around the cheekbones) visually broaden shoulders.
- Broad Shoulders: Avoid excessive volume at shoulder height, which can accentuate breadth. Focus layering upwards to draw attention away from the shoulders.
- Short Neck: Layering around the jawline elongates a short neck. Avoid styles that are too voluminous at the sides or back.
- Long Neck: Volume throughout the hair creates visual mass and balances a longer neck.
#4) Works Best With Hair Types & Densities: Finding Your Sweet Spot
Beachy waves can be achieved with most hair types, but adjustments are needed!
- Straight Hair: Requires more effort to create texture. Heat styling (curling wand or flat iron) is often necessary. Consider a texturizing haircut with lots of layers.
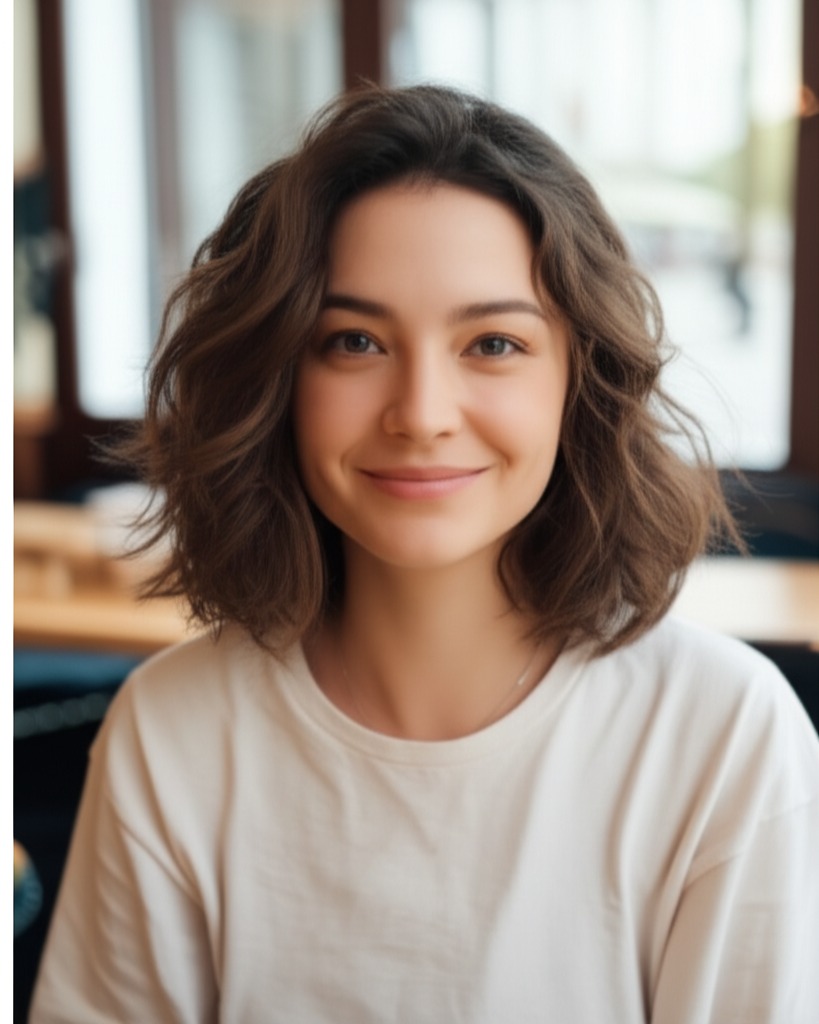
- Wavy Hair: The easiest canvas for beachy waves – the natural wave pattern provides a foundation. Focus on enhancing and defining existing waves, not creating them from scratch.
- Curly/Coily Hair: Can achieve a looser, more relaxed curl pattern with this style. Layering is essential to prevent a triangular shape. Shrinkage needs to be factored in – what looks like shoulder length when dry will appear much shorter when wet!
- Fine Hair: Needs strategic layering and volumizing products to avoid flatness. Avoid overly heavy conditioners that can weigh hair down.
- Medium/Thick Hair: Layers are crucial for removing weight and creating movement.
- Density Tips: For dense hair, more layers are needed to prevent a bulky look. For fine density, focus on root lift and strategic layering to create the illusion of volume.
#5) Styling Variations: Your Beachy Wave Personality
Customize your beachy waves!
- Sleek vs. Textured: Sleeker styles use less product and rely more on heat styling for definition. Texturized styles embrace a more undone, piece-y look with texture sprays or creams.
- Middle vs. Side Part: A middle part creates symmetry; a side part adds softness and can visually adjust face shape.
- Fringe Variations: Curtain bangs are universally flattering. Wispy, feathered fringe softens features.
- Occasion Styling: For casual days, air-dry with texturizing spray. For the office, use a flat iron to create more defined waves. For evening, add shine serum and a few strategically placed pin curls for extra polish.
#6) Maintenance: Keeping Your Waves Fresh
- Trim Cadence: Every 8-12 weeks to maintain shape and remove split ends.
- At-Home Routine: Wash 2-3 times per week with gentle shampoo & conditioner. Deep condition once a week (especially important for dry or damaged hair).
- Heat vs Air Dry: Air drying is gentler, but heat styling provides more control. Use heat protectant always.
- Product Checklist:
- Shampoo & Conditioner: For your hair type.
- Leave-in Conditioner: Detangling and moisture boost.
- Texturizing Spray/Cream: Creates grip and definition.
- Sea Salt Spray (optional): Adds beachy texture (use sparingly to avoid dryness).
- Shine Serum: For a polished finish.
- Estimated Daily Styling Time: 15-45 minutes, depending on hair type and desired level of styling.
#7) Grow-Out Roadmap: The Evolution of Your Style
- Months 1-3: Layers are most noticeable; style might require more effort to maintain shape.
- Months 3-6: Layers begin to blend, waves soften. Regular trims ensure layers don't become boxy.
- Maintenance: Use a texturizing product and scrunch hair while air drying or use a curling wand for extra definition as the layers grow out.
#8) Color Pairings: Enhancing Your Waves
- Balayage/Highlights: Adds dimension and movement, mimicking sun-kissed highlights.
- Cool Undertones (ash blonde, cool brown): Creates a modern, edgy vibe.
- Warm Undertones (golden blonde, caramel brown): Adds warmth and radiance.
- Low-Commitment Options: Root smudging or glosses can refresh color without a full dye job.
#9) Season & Occasion Guide: Adapting to the Moment
- Spring/Summer: Embrace air-dried texture with minimal product for a carefree feel.
- Fall/Winter: Add warmth and shine with richer tones and slightly more polished waves.
- Work: Sleeker, more defined waves convey professionalism.
- Weddings/Parties: Add extra volume at the roots and use a finishing spray for hold.
- Formal Events: Consider adding subtle braids or twists to elevate the look.
#10) Cost & Time: What to Expect at the Salon
- Salon Time: Typically 60-90 minutes, depending on hair length and complexity of layering.
- Price Range: Expect a cut and style to be within a moderate price bracket – slightly higher than a basic trim but less expensive than more complex cuts or coloring services.
#11) Pros & Cons: The Real Deal
Pros: Flattering on most face shapes, versatile for various occasions, relatively low-maintenance once the shape is established. Cons: Requires regular trims to maintain layers, can be time-consuming to style (especially with straight hair), potential dryness from heat styling or texturizing products.
#12) Salon Consultation Script: Your Questions Answered
Use these prompts when talking to your stylist:
- "I love the beachy wave look! Can you assess my face shape and recommend layering that will be most flattering?"
- “My hair is [hair type]. What styling techniques would work best for me?”
- "How can I achieve this style without excessive heat damage?"
- "What products do you recommend to maintain the waves at home, considering my hair's density and porosity?"
- "Can we discuss a color that will enhance the dimension of these layers?"
#FAQs: Your Burning Questions
- Can I achieve beachy waves with short hair? Yes! But layering is crucial for creating movement and preventing it from looking too blunt.
- Will this style make my hair look flat? Not if layered correctly! Strategic placement of layers creates volume at the roots.
- Is sea salt spray damaging to my hair? It can be drying, especially with frequent use. Use sparingly and always follow up with a moisturizing treatment.
- How do I prevent frizz when styling beachy waves? Use anti-frizz serum or oil after styling and avoid over-manipulating your hair.
- Can I achieve this look without heat styling? Yes, but it may require more time and the right products to enhance natural texture.
- My layers are growing out—what can I do to keep them looking good? Use a texturizing product when air-drying or use a curling wand for extra definition as your layers grow out. Regular trims will also help blend the shape!