#Collarbone Layers: Your Guide to Effortless Style
Collarbone layers are a hugely popular hairstyle for good reason – they're flattering, versatile, and relatively easy to manage! This guide breaks down everything you need to know about this chic cut, from whether it suits your face shape to how to style it.
#1) Background & Definition: What Are Collarbone Layers?
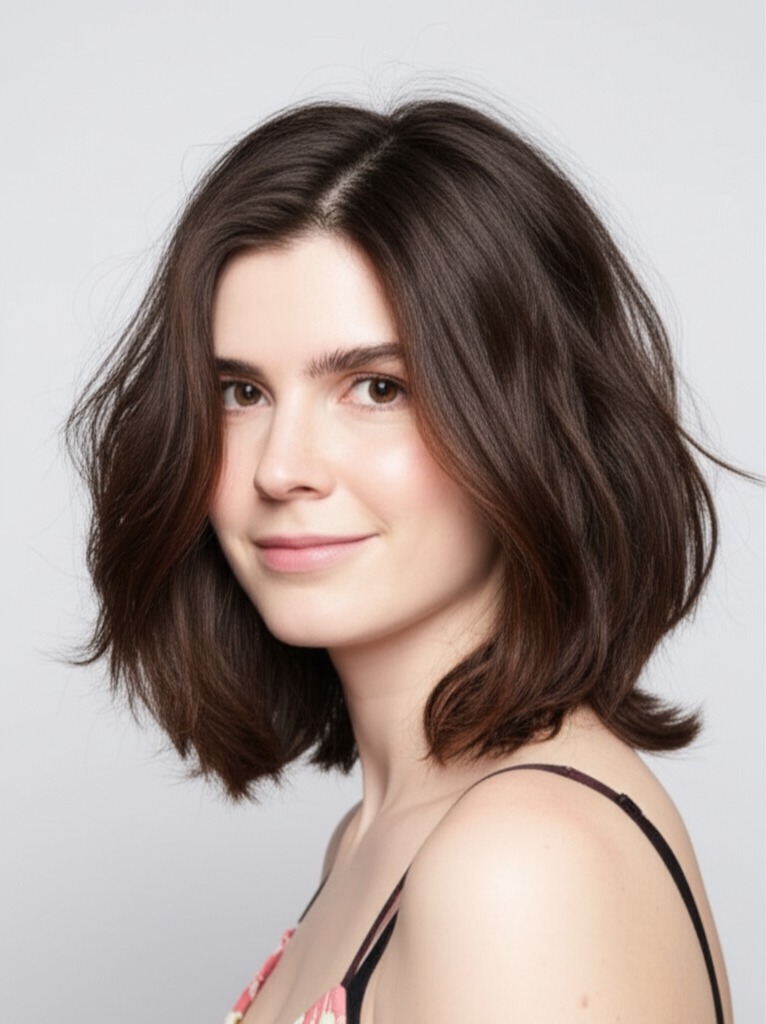
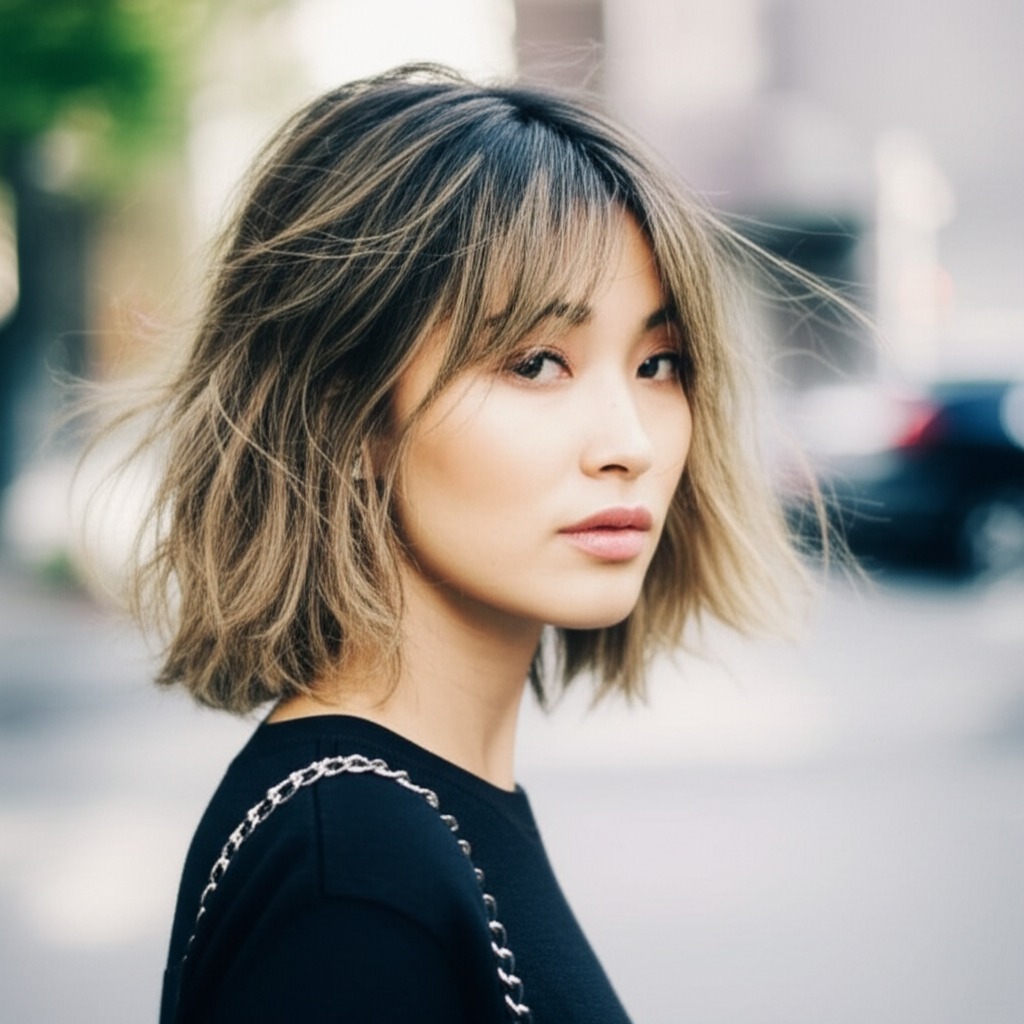
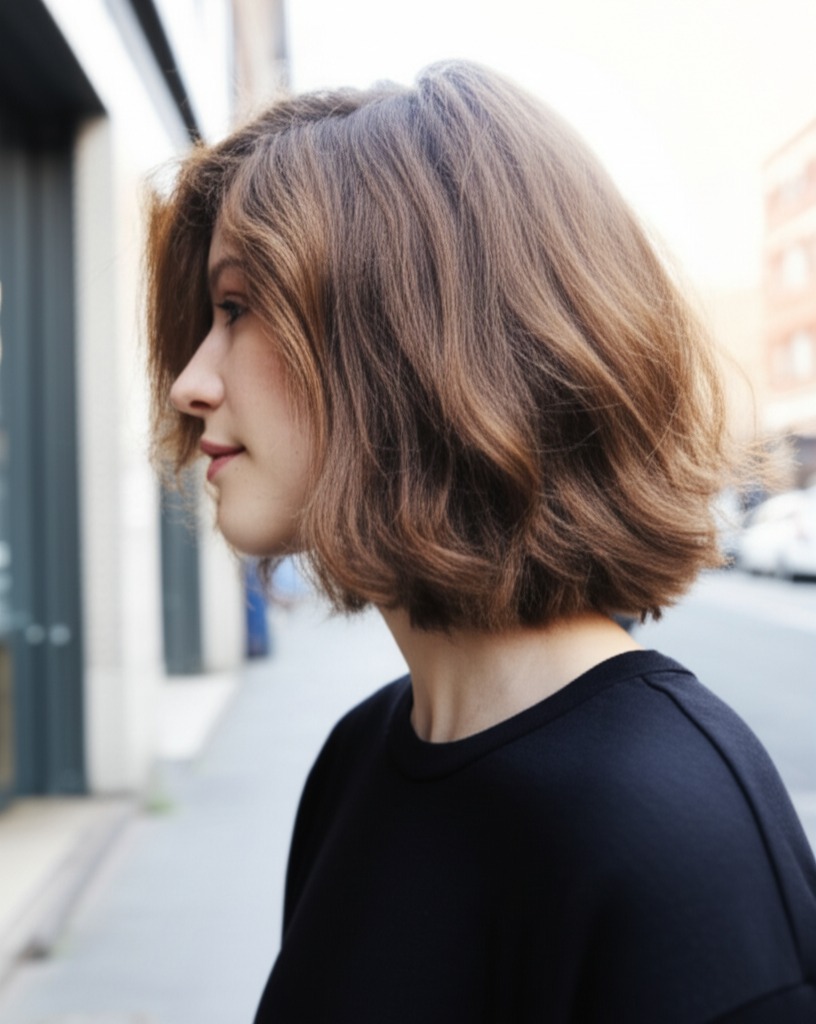
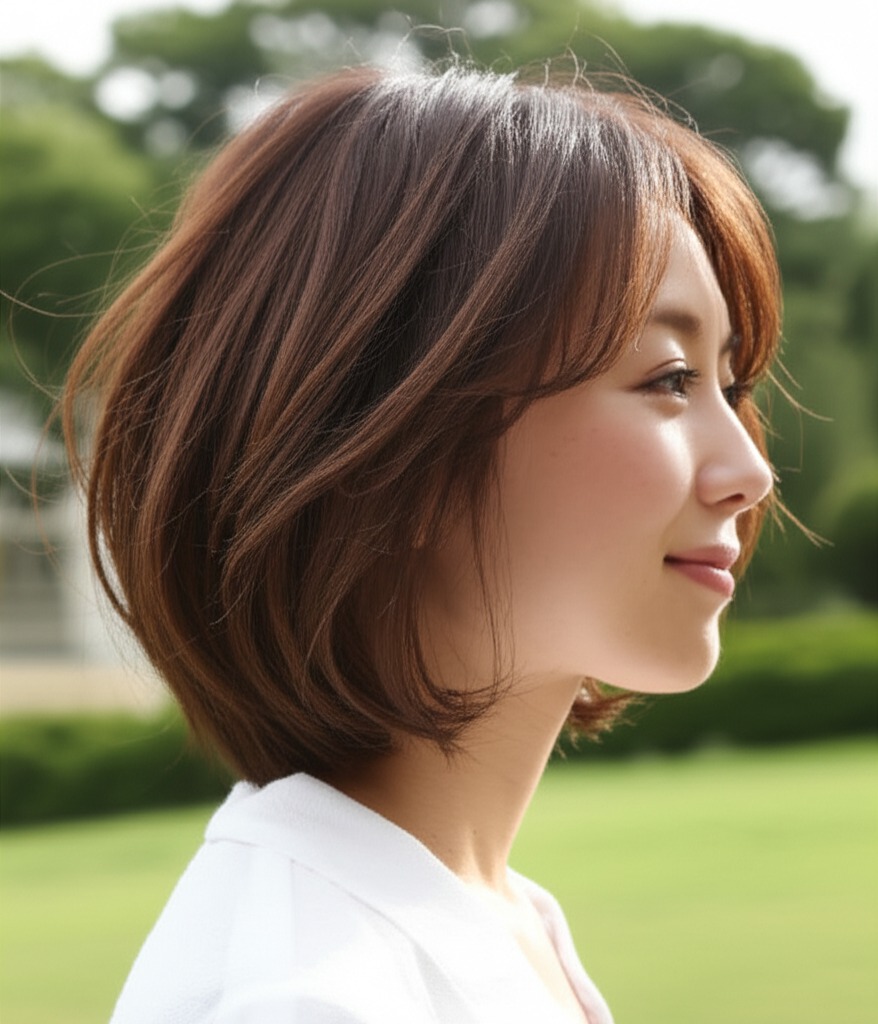
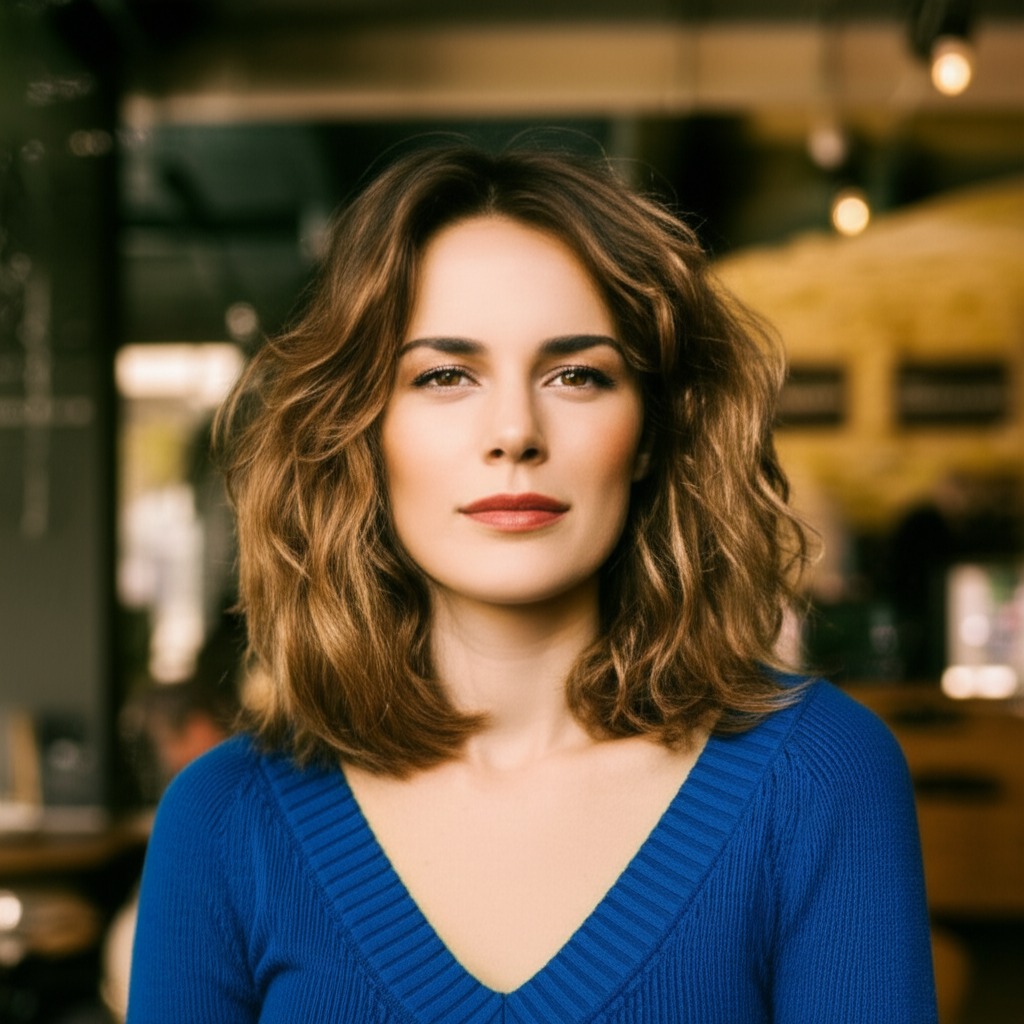
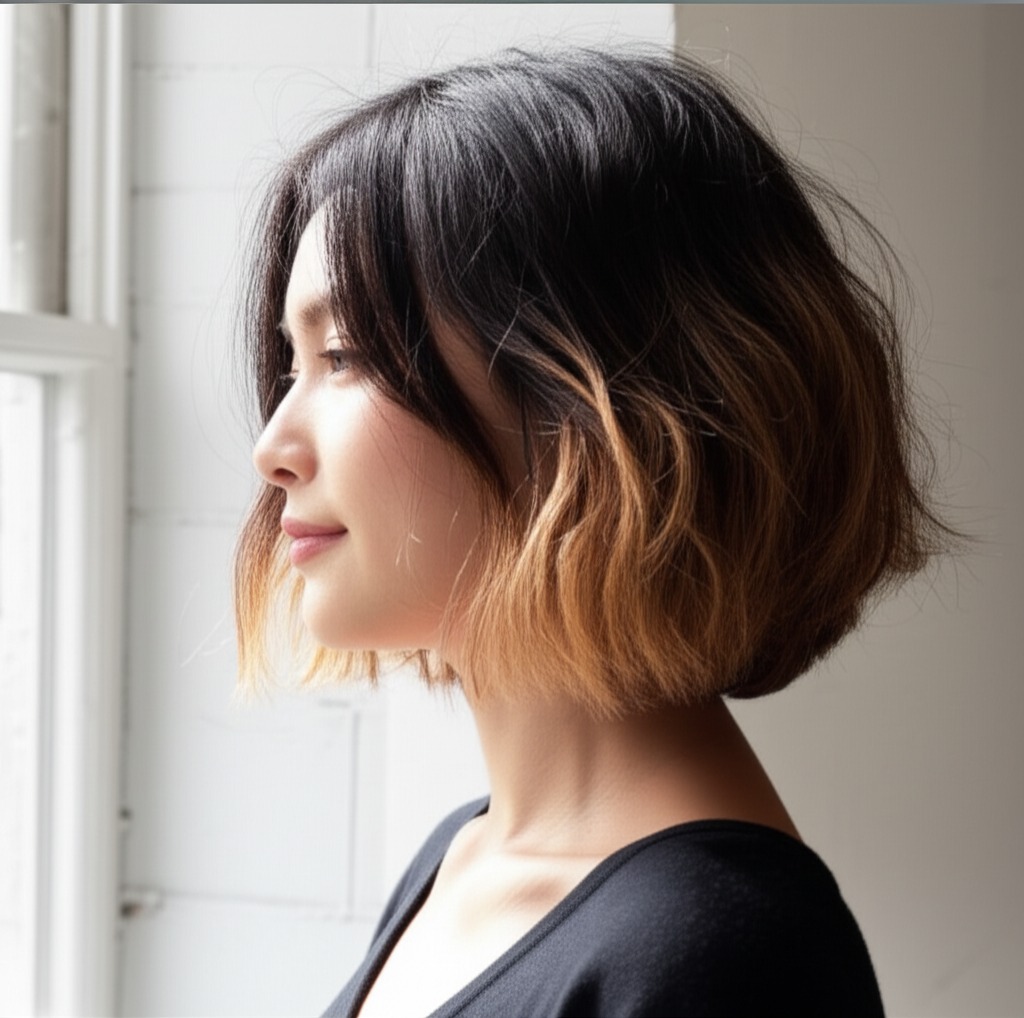
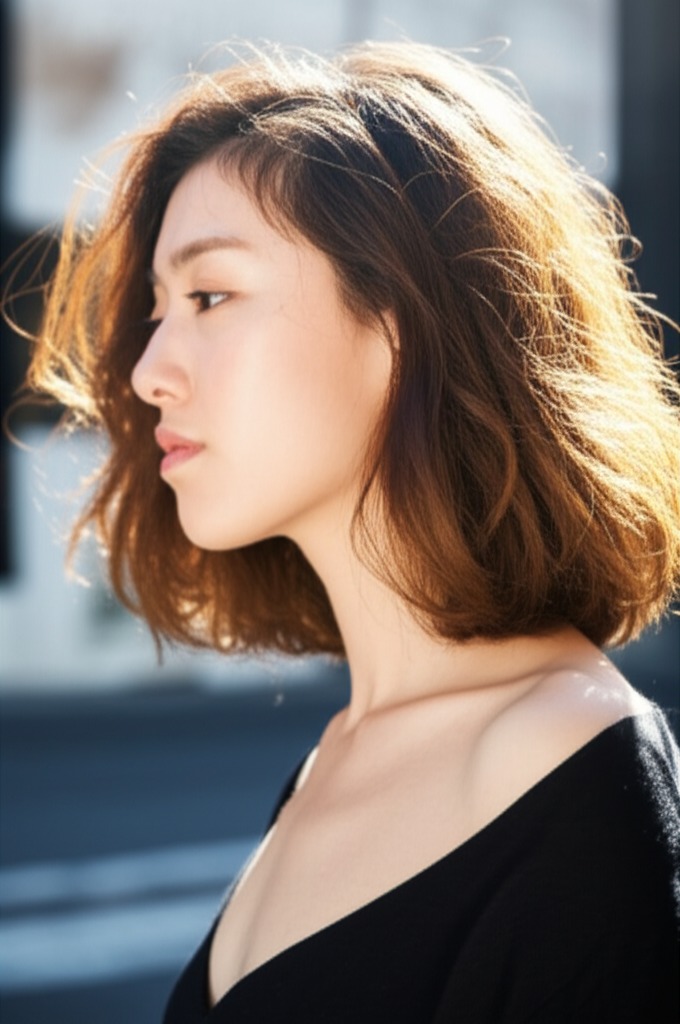
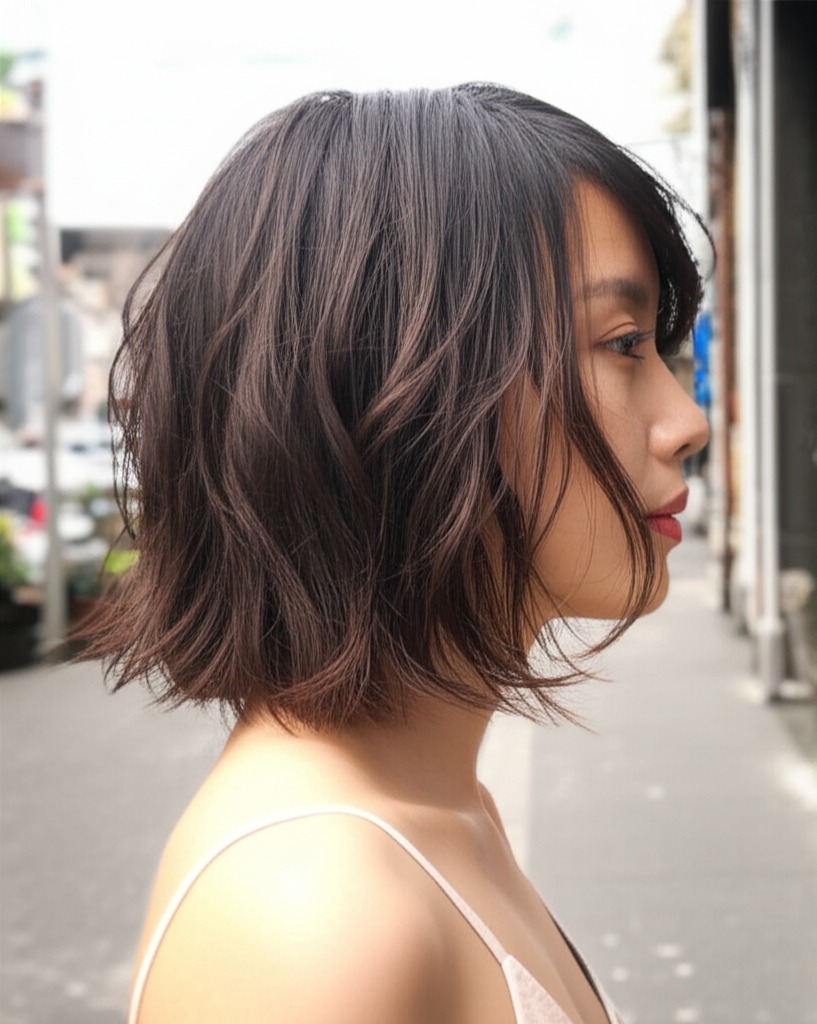
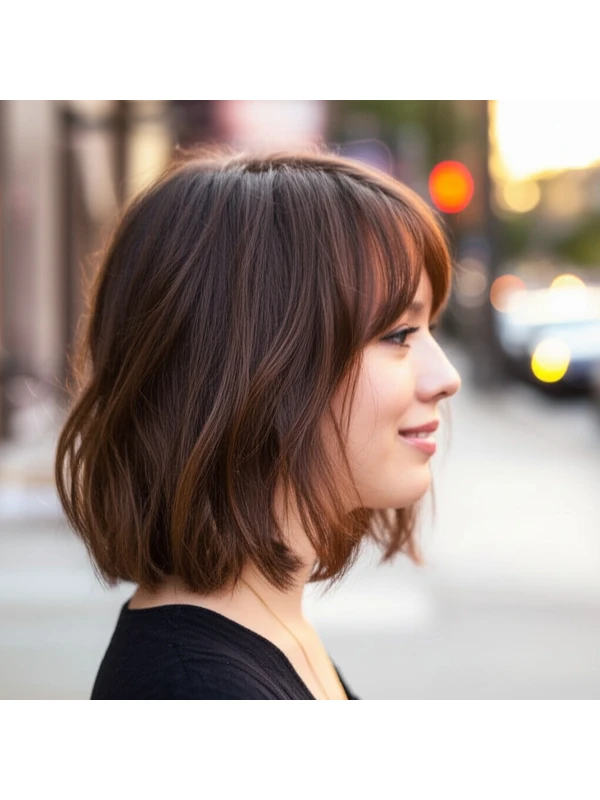
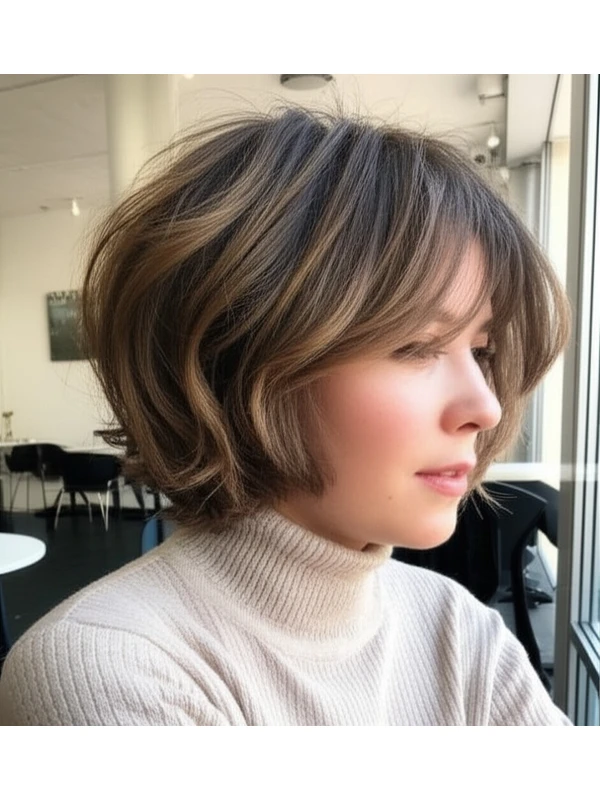
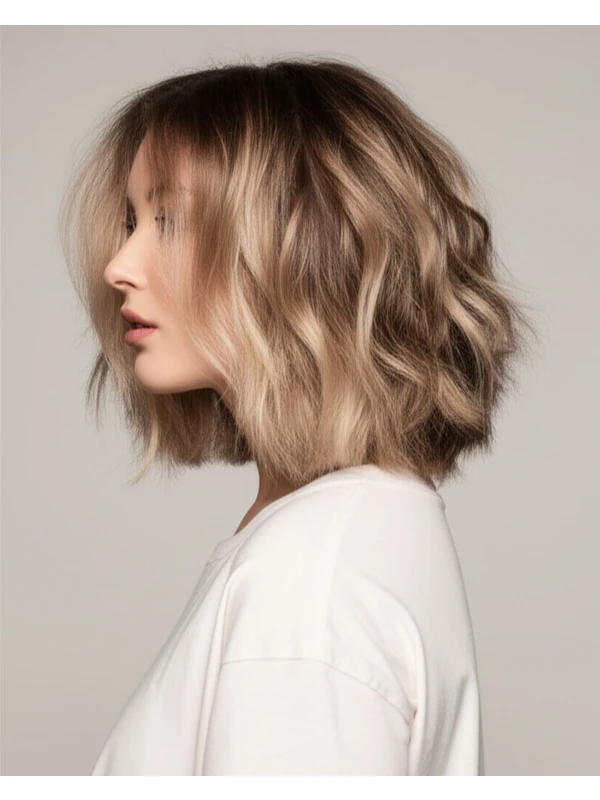
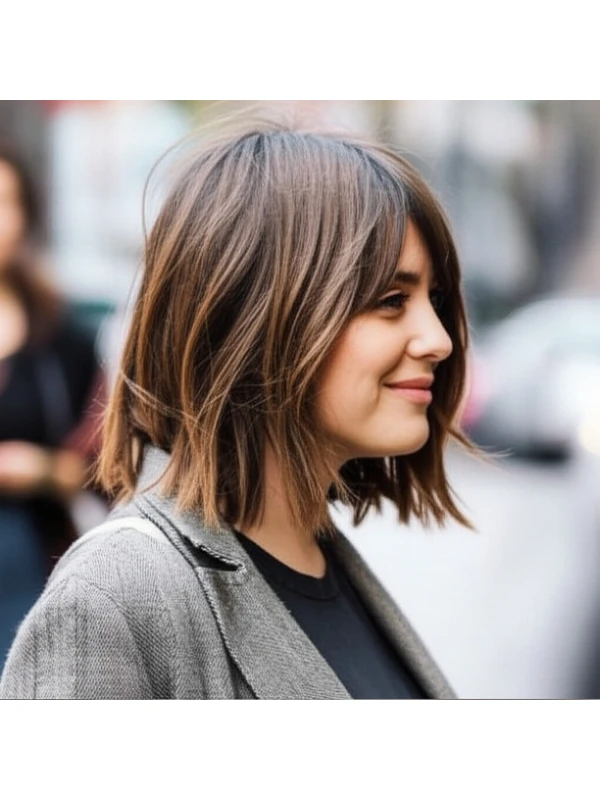
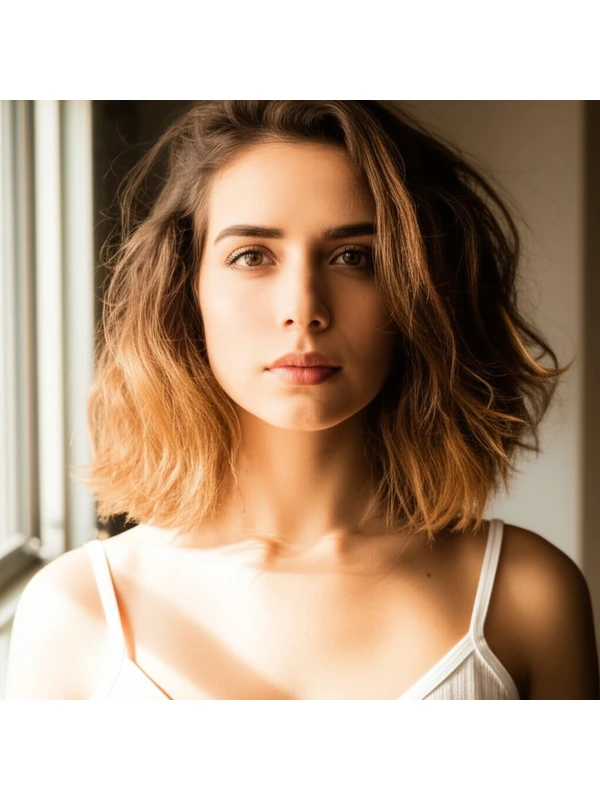
Collarbone layers are a haircut where the shortest layer falls around the collarbone (roughly 8-12 inches from the crown of your head). They're designed to create movement and dimension without sacrificing too much length. Think of it as a long layered bob, but with more emphasis on that collarbone hitting point.
Key Features:
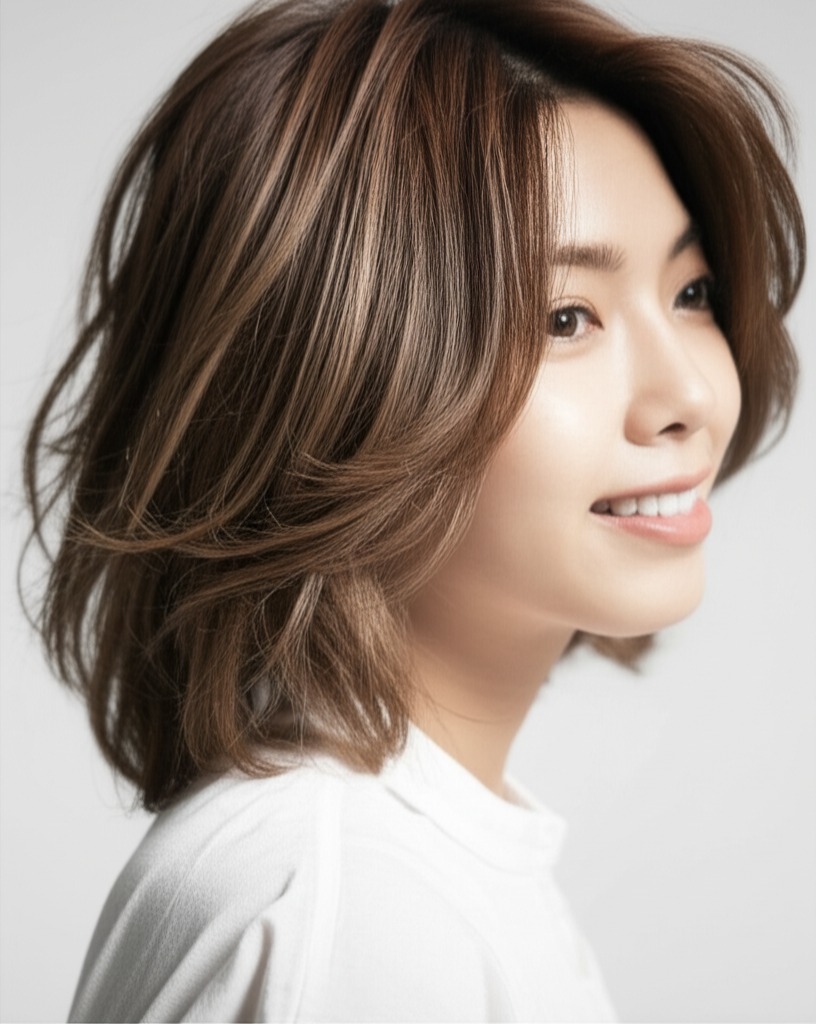
- Layered Geometry: The layers are typically blended, meaning they transition gradually from longer to shorter lengths. This avoids harsh lines and creates a softer look.
- Length Focus: The defining characteristic is the length – it stops right at or slightly below your collarbone.
- Volume & Shape: Layers add volume around the face and create shape that can be styled in various ways (sleek, textured, etc.).
Typical Length Ranges: 8-14 inches from the crown; layers generally start between chin to shoulder length.
Alternative Names: Long layered bob, collarbone lob, layered long hair.
#2) Face Shape Fit: Finding Your Flattering Angle
The beauty of collarbone layers is their adaptability! However, certain adjustments can maximize their impact based on your face shape.
- Oval: Lucky you! This cut looks fantastic with minimal tweaking. A middle part often works best to showcase the symmetry. Consider a subtle fringe for added softness.
- Round: Longer layers are key here. Avoid overly blunt cuts, as they can accentuate roundness. Side-swept bangs or curtain bangs help slim and elongate the face. Volume should be concentrated at the crown, not around the cheeks.
- Square: Soften those angles! Collarbone layers with gentle waves or curls will diffuse a strong jawline. A side part is almost always more flattering than a center part. Avoid blunt, straight bangs which can emphasize angularity.
- Heart: Chin length (or slightly longer) collarbone layers help balance the wider forehead and chin. Soft, face-framing layers are essential to draw attention downwards. A wispy fringe can also be very complimentary.
- Diamond: Layers around the cheekbones create softness and dimension for diamond shapes. Avoid too much volume at the crown as it can make your face appear even wider. Curtain bangs or a slightly off-center part will soften angles.
- Oblong (Long): Shorter layers, especially near the chin, add width and break up length. A full fringe (blunt or textured) is an excellent choice to shorten the appearance of a long face.
#3) Body Proportions & Height Guidance: Tailoring the Silhouette
Your body type influences how a collarbone layer looks and feels.
- Petite: A longer collarbone length can elongate your neck, making you appear taller. Avoid overly thick layers that add too much volume at the bottom, as this can overwhelm a smaller frame.
- Average Height: This cut is generally flattering for most heights! Adjust layer placement based on shoulder width and neck length.
- Tall: Collarbone layers work well but consider slightly longer lengths to maintain balance. More dramatic layering can add visual interest.
- Narrow Shoulders: Layers that create volume at the shoulders will visually broaden them, creating a more balanced silhouette.
- Broad Shoulders: Avoid adding too much volume through layering around the shoulder area as this can accentuate width. Focus on layers that draw attention upwards toward the face.
- Short Neck: Avoid very blunt collarbone lengths which may shorten your neck further. Layers with movement and a slightly angled cut help elongate the neck visually.
- Long Neck: This cut is generally flattering! You can play with different layer placements to find what you like best – more volume at the crown or around the face.
#4) Works Best With Hair Types & Densities: Understanding Your Texture
Collarbone layers are adaptable, but some textures require specific considerations.
- Straight: Layers create movement and prevent a flat, lifeless look. Fine straight hair might benefit from point-cutting to avoid looking too thin.
- Wavy: This cut enhances natural waves! Layering helps define the wave pattern and reduce bulkiness.
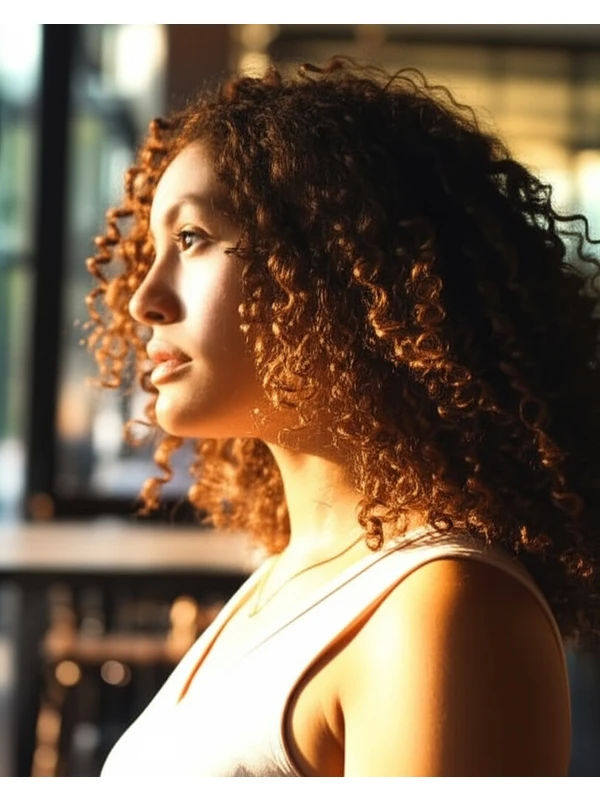
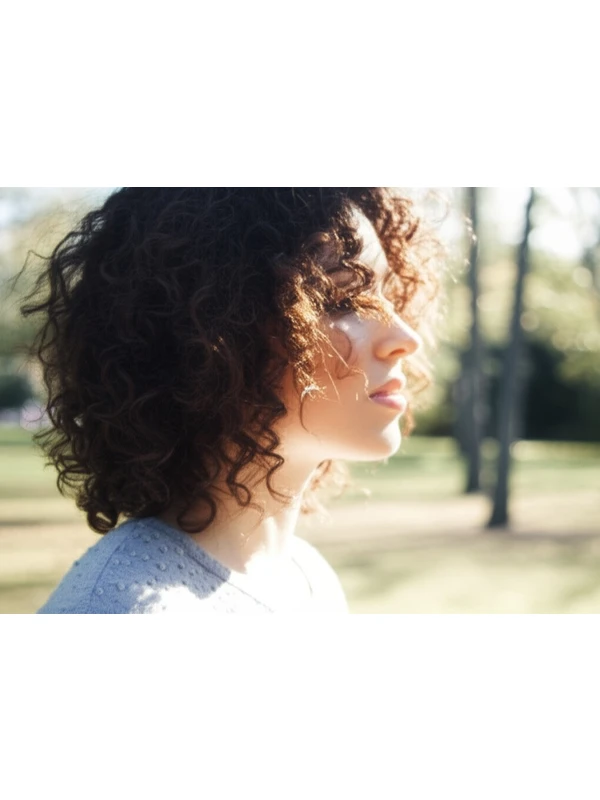
- Curly/Coily: Collarbone layers can be stunning but require careful planning due to shrinkage. Communicate your desired length after curl expansion with your stylist (e.g., "I want my hair to fall at collarbone level when dry"). Shorter layers in the front can frame the face beautifully, while longer layers throughout maintain overall shape.
- Fine Hair: Face-framing layers and subtle layering add volume without sacrificing length. Avoid too many layers as this can make fine hair appear even thinner.
- Medium Hair: This cut is generally flattering! Play with different layer placements to find what you like best.
- Thick Hair: Layers are essential to remove weight and create movement. Consider removing more hair in the underlayers for a lighter feel.
Shrinkage Note (Curls/Coils): Curly and coily hair shrinks significantly when dry. What looks like collarbone length wet might hit your chin dry! Factor this into your desired length with your stylist.
#5) Styling Variations: From Casual to Chic
The beauty of this cut lies in its versatility.
- Sleek vs. Textured: Sleek styles involve smoothing the layers with a flat iron or blow dryer and round brush. Textured looks embrace natural waves or curls, often enhanced with texturizing products.
- Middle vs. Side Part: A middle part offers symmetry; a side part adds softness and volume.
- Fringe Variations: Blunt bangs, wispy bangs, curtain bangs—each alters the overall look dramatically!
- Occasion Styling:
- Casual: Air-dried with sea salt spray for effortless waves.
- Office: Sleek and straight with a center or slightly off-center part.
- Evening: Soft, romantic curls created with a curling iron or hot rollers.
#6) Maintenance: Keeping Your Layers Looking Fresh
- Trim Cadence: Every 6-8 weeks to maintain shape and prevent split ends. Curly/coily hair may need slightly longer intervals (8-12 weeks).
- At-Home Routine: Regular deep conditioning treatments are crucial, especially for dry or damaged hair.
- Heat vs. Air Dry: Minimize heat styling whenever possible. When using heat tools, always use a heat protectant spray.
- Product Checklist:
- Shampoo & Conditioner (suited to your hair type)
- Leave-in conditioner (especially for dry or curly/coily hair)
- Heat Protectant (if using hot tools)
- Styling Cream/Mousse/Serum (depending on desired texture and hold)
- Finishing Spray (optional, for extra hold)
- Estimated Daily Styling Time: 15-30 minutes (can be shorter with air drying).
#7) Grow-Out Roadmap: The Evolution of Your Style
- Months 1-3: The layers look fresh and defined. Regular trims are essential to maintain the shape.
- Months 3-6: Layers may start to blend together slightly. A trim will refine the shape and prevent a boxy appearance. Consider adding more face-framing layers if desired.
- Beyond 6 Months: The cut can be grown out longer, transitioning into a lob or even shoulder-length style while still retaining some layered movement.
#8) Color Pairings: Enhancing Your Collarbone Layers
- Cool Undertones (ash blonde, silver, cool brown): These shades create a sleek and modern look.
- Warm Undertones (golden blonde, caramel brown, copper): These add warmth and dimension.
- Low-Commitment Options: Balayage or highlights strategically placed throughout the layers add depth and movement without a drastic color change.
#9) Season & Occasion Guide: Styling for Every Moment
- Spring/Summer: Embrace lighter, more textured styles with beachy waves or soft curls.
- Fall/Winter: Sleeker styles with added shine are perfect for cooler weather. Consider richer, warmer tones in your color.
- Work: Polished and professional – sleek straight style is ideal.
- Weddings/Parties: Romantic waves or a half-updo can elevate the look.
- Formal Events: A sophisticated updo that showcases the layers will be stunning.
#10) Cost & Time: What to Expect at the Salon
- Salon Time: Typically 45 minutes - 1.5 hours, depending on complexity and stylist availability.
- Estimated Price Range: Generally falls in the middle-to-higher price range for haircuts (relative terms – prices vary significantly by location and salon).
#11) Pros & Cons: Weighing Your Options
Pros:
- Versatile styling options
- Flattering on many face shapes
- Adds movement and dimension to hair
- Relatively easy to maintain with regular trims
Cons:
- Requires more frequent salon visits than a one-length cut.
- Can be tricky to style if you're not familiar with layering techniques.
- May require adjustments based on hair texture and density
#12) Salon Consultation Script: Your Checklist for Success
When consulting your stylist, consider asking/mentioning:
- "I’m interested in collarbone layers. Can we discuss what length would be best considering my face shape and hair type?"
- “How will the layering work with my natural texture (straight, wavy, curly)?”
- “Can you show me examples of how this cut looks on someone with similar hair to mine?”
- "I want a low-maintenance style. What styling techniques would you recommend for daily upkeep?"
- "What products do you suggest for my hair type and this style?"
#FAQs: Your Burning Questions Answered
- Can I get collarbone layers with very short hair? It’s possible, but the layering will be more subtle. Discuss your desired look with your stylist to ensure it's achievable.
- What if my hair is damaged? Collarbone layers can help disguise damage by adding movement and texture. However, a deep conditioning treatment before the cut is recommended.
- Will this style make my hair look thicker or thinner? It depends! Layers generally add volume, but strategic placement can minimize thickness or create the illusion of more fullness.
- Can I do this myself at home? While possible for experienced DIYers with good cutting skills, a professional cut is highly recommended to ensure accuracy and balance.
- How long will it take my hair to grow out if I don't like it? It takes roughly 2-3 months for each inch of hair to grow back, so be patient! You can style it differently in the meantime.
- Is this a good option for fine hair that doesn’t hold styles well? Yes, but ask your stylist about point cutting and texturizing techniques to avoid making the hair look too thin.