#Face-Framing Layers: A Guide to Effortless Style
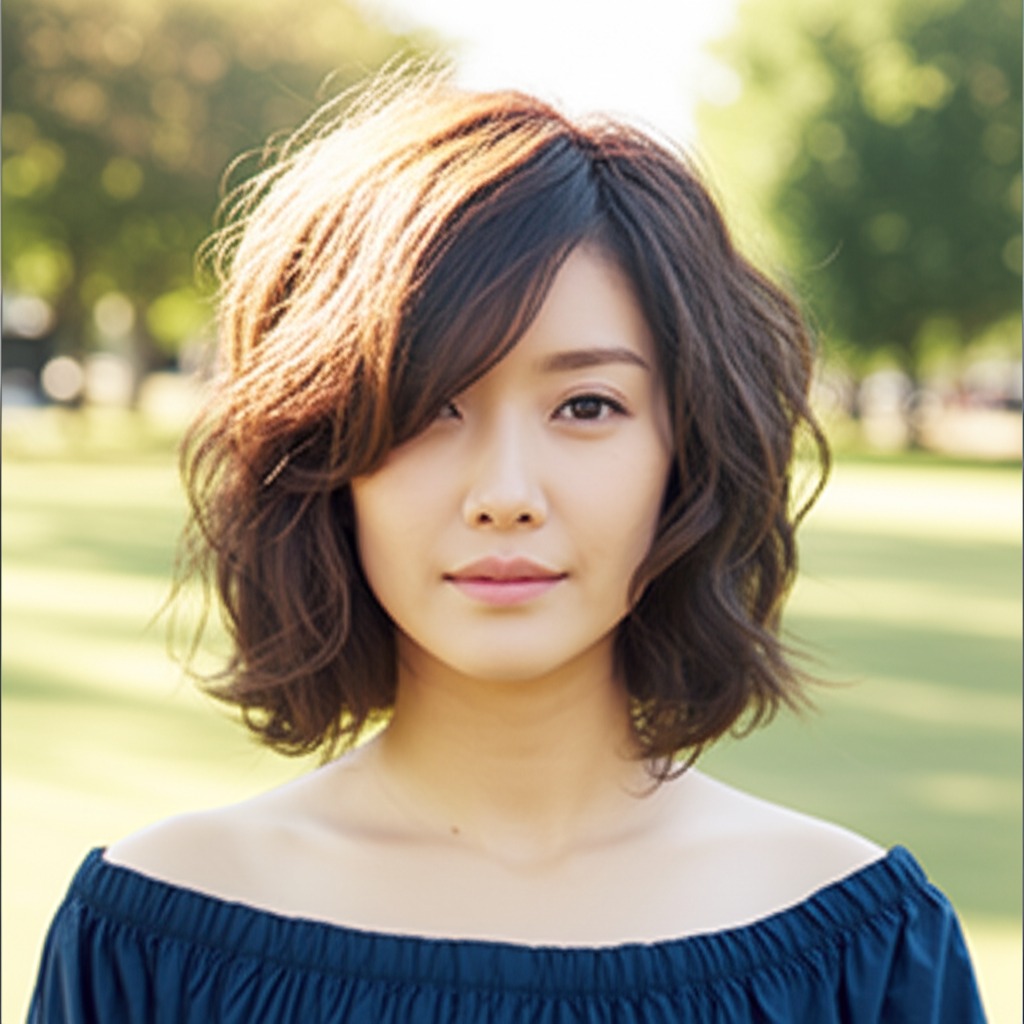
Face-framing layers are a universally flattering hairstyle that can add softness, dimension, and movement to any look. They’re more than just “layers around the face” – it's about strategic shaping for balance and personality. This guide will walk you through everything you need to know, from understanding the cut itself to finding the perfect styling routine.
#1) Background & Definition: What Are Face-Framing Layers?
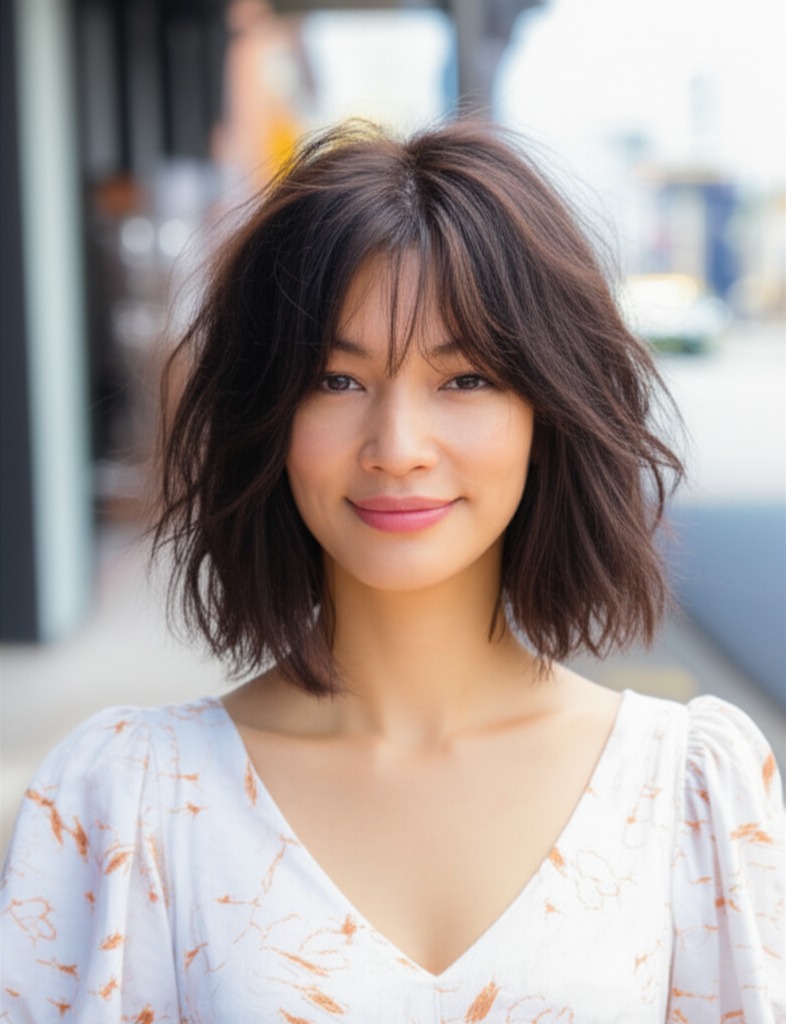
Face-framing layers are sections of hair that are cut shorter around the face and gradually blend into longer lengths in the back and sides. The key is graduation – a gradual transition in length, creating softness and visual interest. Think of it as sculpting your hair to complement your features.
Key Features:
- Emphasis on the Face: Layers start at or above the cheekbones (often around the eyes) and angle downwards.
- Softness & Movement: The shorter pieces create a frame that softens facial angles and adds bounce.
- Versatility: They can be adapted to suit various hair lengths, textures, and face shapes.
Typical Length Ranges:
The shortest layers typically fall between the chin and cheekbone level. Overall length is entirely up to you – from shoulder-length bobs to long, flowing styles.
Alternative Names:
You might hear this style referred to as "money pieces" (especially when combined with highlights), “face framing,” or simply “layered around the face.”
#2) Face Shape Fit: Finding Your Perfect Frame
Face-framing layers are incredibly adaptable but understanding how they interact with your face shape is key.
- Oval: Lucky you! Oval faces suit almost any style of face-framing layers. Experiment with placement – higher for a more lifted look, lower for added drama. A side-swept fringe can enhance the oval’s natural symmetry.
- Round: Layers help to elongate a round face by drawing the eye downwards. Start the shortest layers below the chin and angle them outwards. Avoid blunt bangs as they can accentuate width; opt for soft, feathered or curtain bangs instead.
- Square: Soften those angles! Face-framing layers are your best friend. Start the layers just below the jawline to soften a strong jawline. A long, wispy fringe (curtain bang) is often very flattering.
- Heart: Balance that wider forehead with face-framing layers that begin at or slightly above the cheekbones. Side-swept bangs can also help balance proportions. Avoid overly short, choppy layers as they might accentuate a pointed chin.
- Diamond: Highlight your best features! Layers starting just below the cheekbones will soften the angles of diamond faces. A fringe (side-swept or curtain) can minimize width in the forehead area.
- Oblong/Long: Add width with layers that start higher on the face, around the cheekbone level. A full, blunt fringe (if you're feeling bold!) can shorten an oblong face.
#3) Body Proportions & Height Guidance
Beyond your face shape, consider your overall body proportions:
- Petite: Shorter layers and a more compact style will prevent the hair from overwhelming your frame. Avoid extremely long lengths that can make you appear smaller.
- Average: You have great flexibility! Experiment with different layer placements and lengths to find what flatters you most.
- Tall: Longer face-framing layers, extending past the shoulders, can balance height.
- Narrow Shoulders: Layers that add volume around the face will visually broaden your shoulders. Consider a side part for added asymmetry.
- Broad Shoulders: Avoid overly voluminous layers at the sides as this can accentuate shoulder width. Focus on creating movement and softness without adding excessive bulk.
- Short Neck: Start your shortest layers below the chin to elongate the neck visually. A longer fringe (curtain bang) can also help.
- Long Neck: Layers that begin higher on the face will shorten the perceived length of your neck.
#4) Works Best With Hair Types & Densities
This style is surprisingly versatile, but some adjustments are needed:
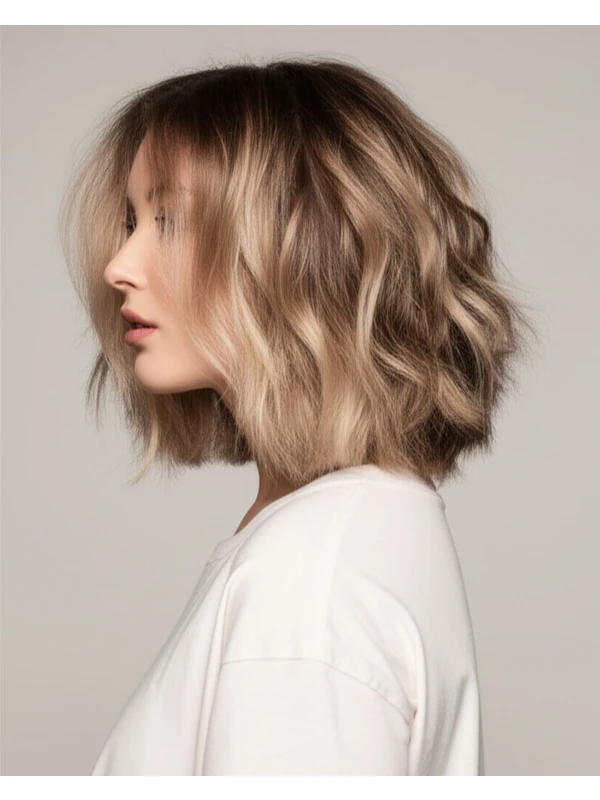
- Straight: Face-framing layers fall beautifully and show off movement well.
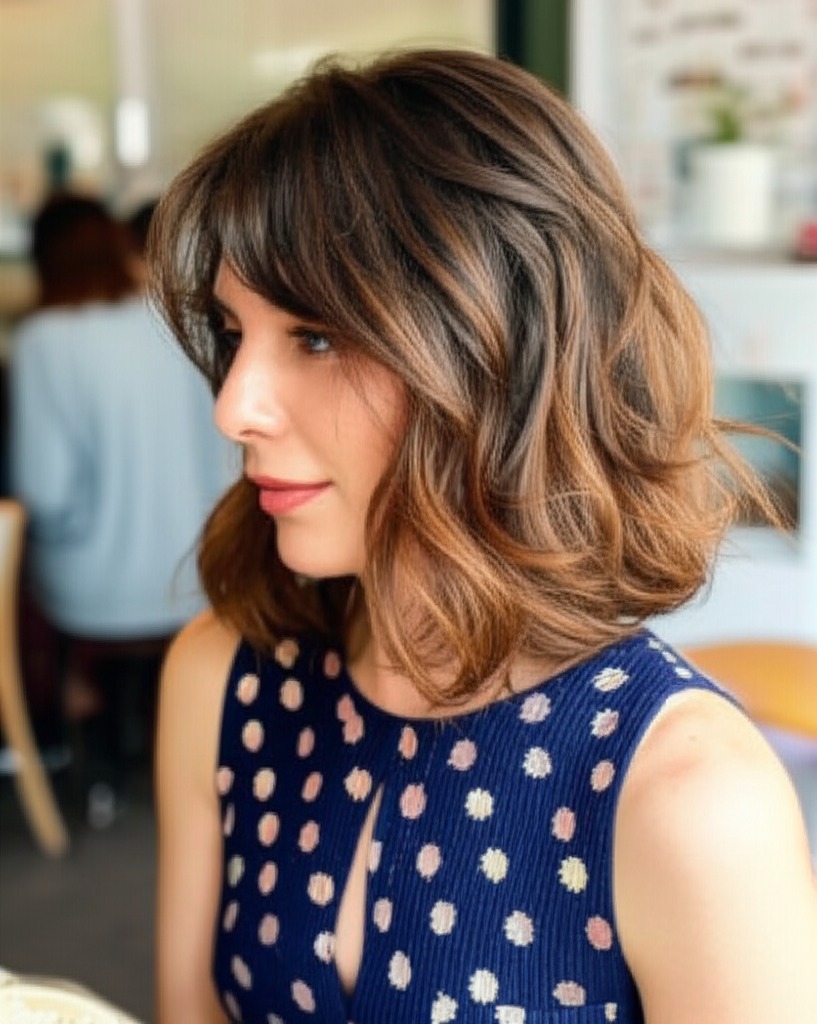
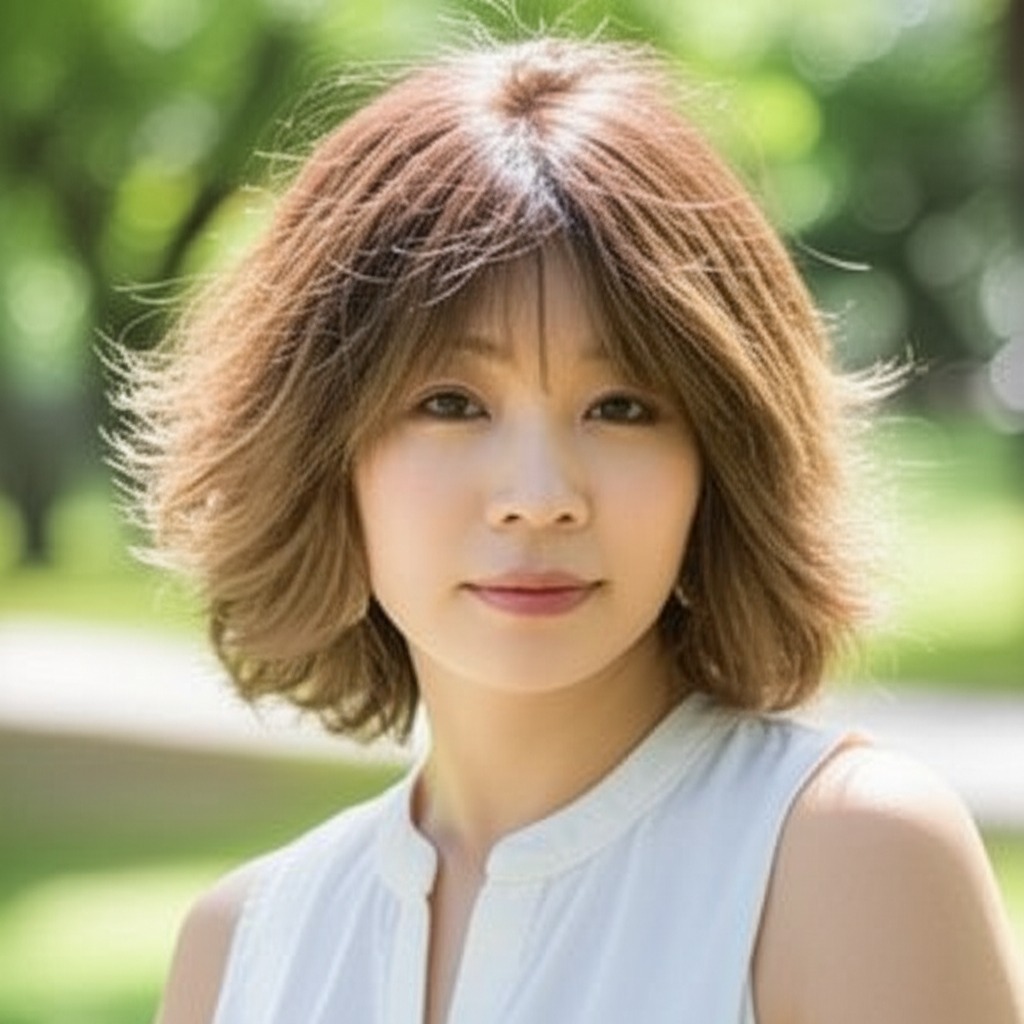
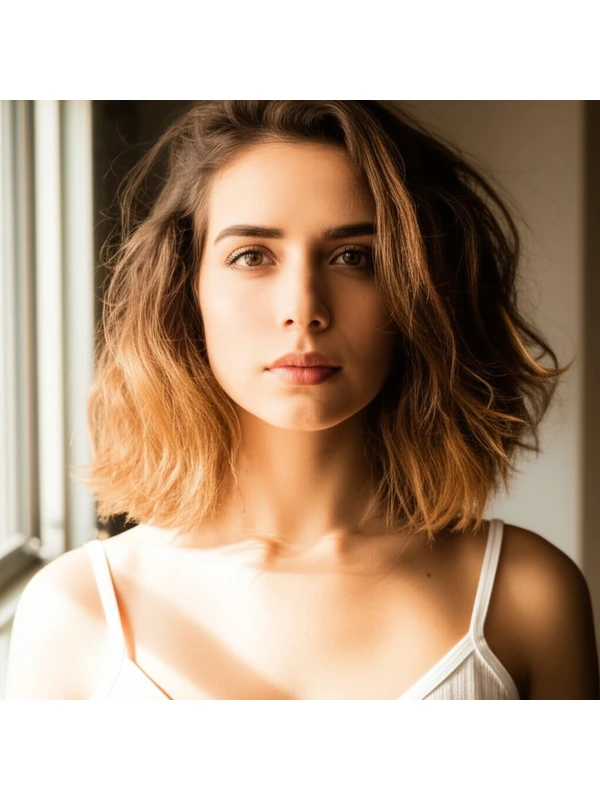
- Wavy: Layers enhance natural waves, creating more defined texture. Be mindful of where the shortest layer begins to avoid a triangular shape (too short at the face).
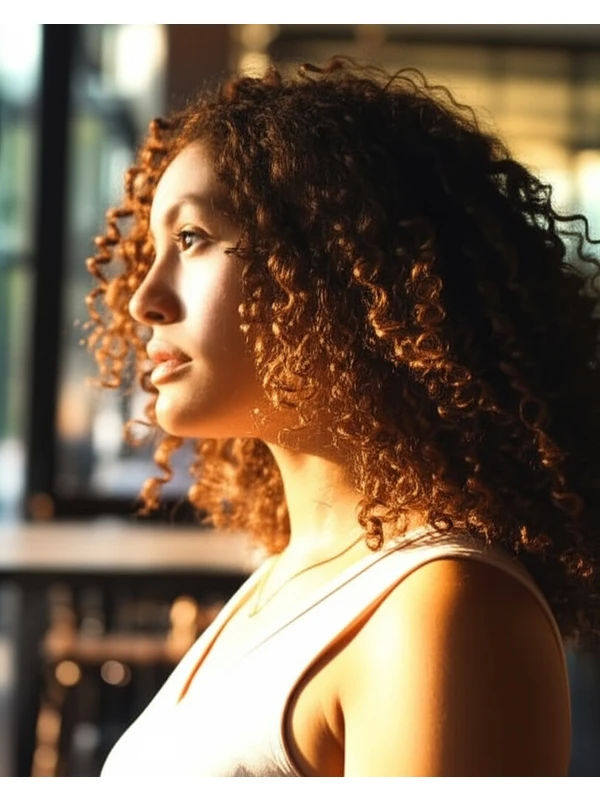
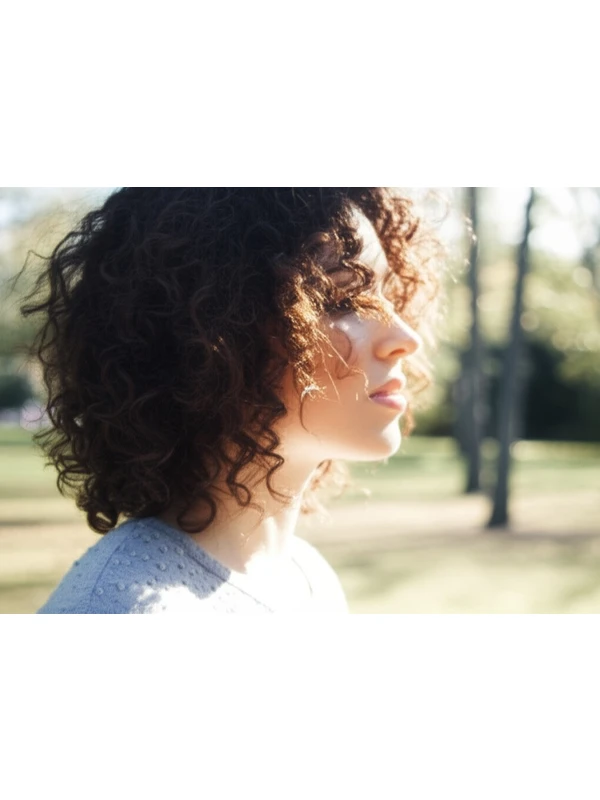
- Curly/Coily: Layers add definition and bounce but require careful cutting to prevent unevenness or frizz. Shrinkage is key! Your stylist needs to account for this – layers will appear much shorter when dry. Start with longer layers and gradually shorten them as needed.
- Fine Hair: Face-framing layers can create the illusion of fullness, but avoid too many short layers which can make hair look even thinner. Focus on strategically placed face-framing pieces for maximum impact.
- Medium/Thick Hair: Layers work exceptionally well to remove weight and add shape.
- Density Tips: For dense hair, more layers are needed to create movement and reduce bulk. For finer hair, fewer layers will prevent the look from becoming too sparse.
#5) Styling Variations: From Casual to Chic
The beauty of face-framing layers is their adaptability!
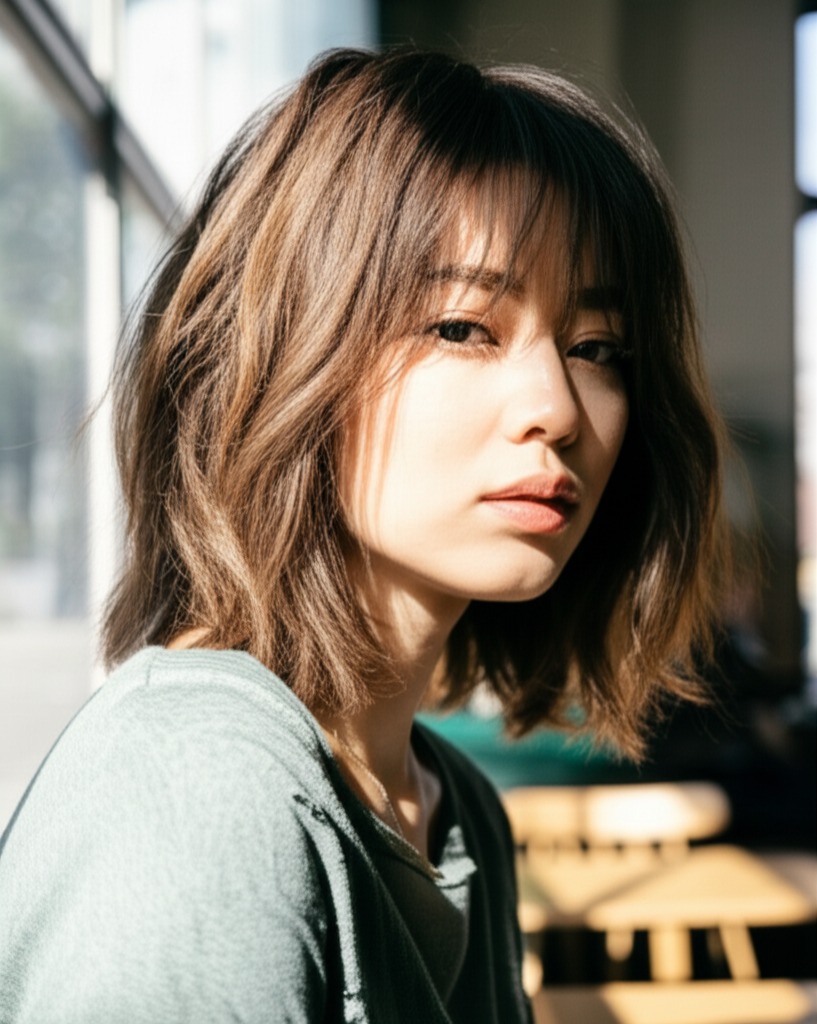
- Sleek vs Textured: Sleek styles use smoothing products for a polished look; textured looks embrace natural movement and wave using texturizing sprays or creams.
- Middle vs Side Part: A side part adds asymmetry and volume, while a middle part creates balance.
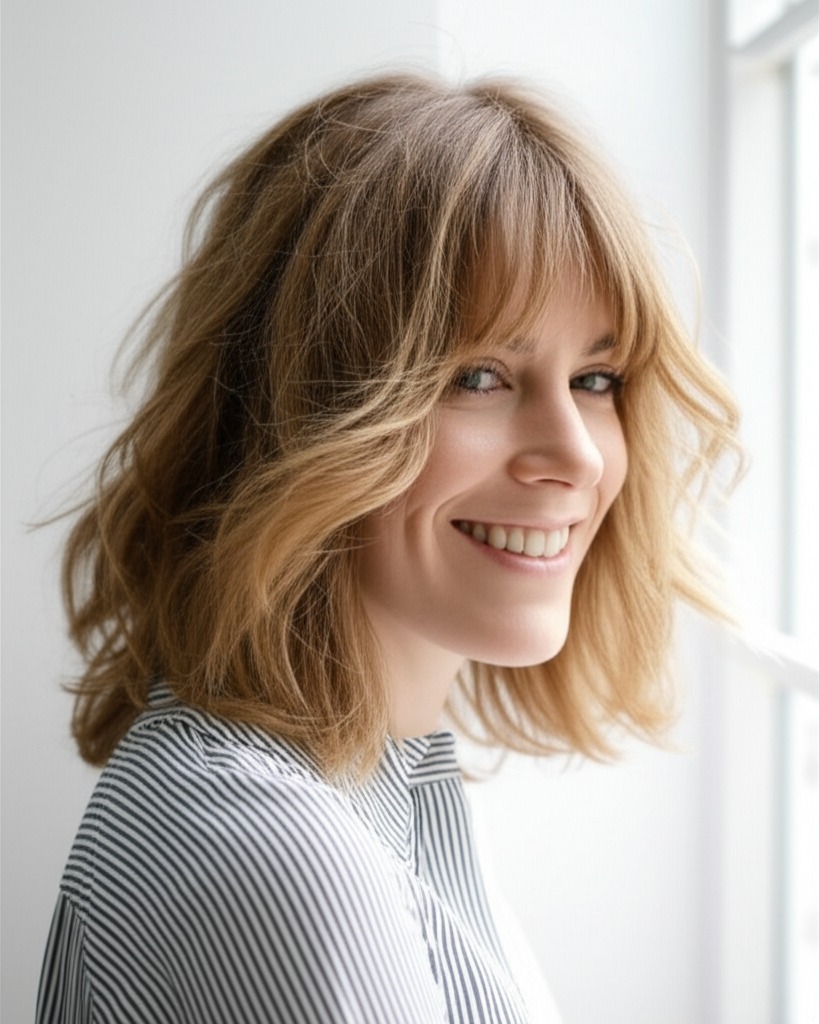
- Fringe Variations: Curtain bangs (longer, face-framing), wispy bangs, blunt bangs (for oval faces) – the options are endless!
- Occasion Styling:
- Casual: Air dry with a touch of texturizing cream.
- Office: Sleek and polished with a round brush and heat protectant serum.
- Evening: Add waves or curls using a curling iron or hot rollers for extra drama.
#6) Maintenance: Keeping Your Layers Looking Fresh
- Trim Cadence: Every 6-8 weeks to maintain shape and prevent layers from blending into the overall length. Curly/coily hair may need more frequent trims (4-6 weeks).
- At-Home Routine: Regular deep conditioning treatments will keep your hair healthy and hydrated, especially important for curly/coily textures.
- Heat vs Air Dry: Minimize heat styling to prevent damage. Embrace air drying whenever possible!
- Product Checklist:
- Shampoo & Conditioner (suited to your hair type)
- Leave-in conditioner or detangler (essential for curly/coily hair)
- Heat protectant serum (if using heat tools)
- Texturizing spray or cream (for added definition and movement)
- Finishing oil or serum (to tame frizz and add shine)
- Estimated Daily Styling Time: 5-15 minutes, depending on desired style.
#7) Grow-Out Roadmap: Evolving Your Look
- Months 1-3: Layers are distinct and frame the face beautifully.
- Months 3-6: The shortest layers may start to blend slightly with the rest of your hair. A trim will maintain shape and prevent a "muddy" look.
- Maintenance: Communicate with your stylist about your desired length and volume as it grows out; small adjustments can keep the style fresh.
#8) Color Pairings: Enhancing Your Layers
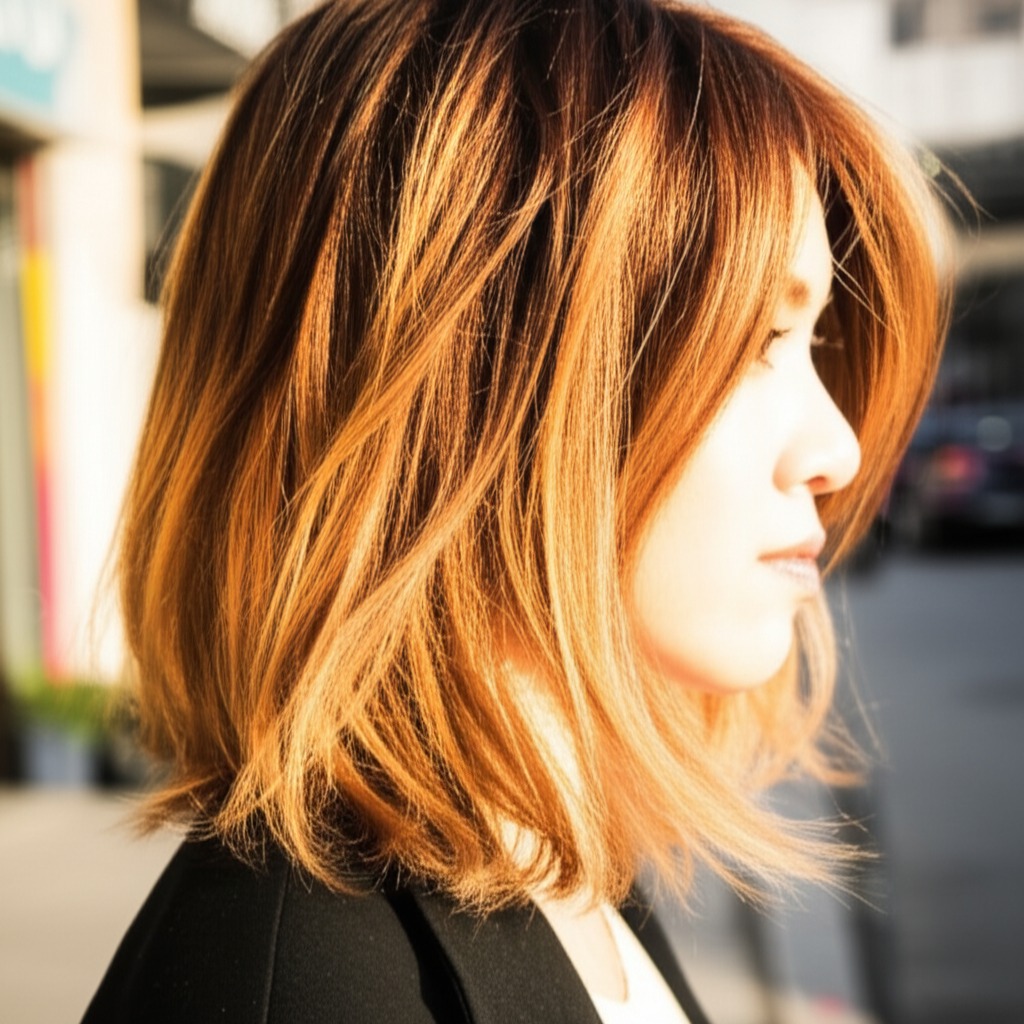
- Highlights/Balayage: Strategically placed highlights or balayage around the face will accentuate the layers and add dimension.
- Cool Undertones (Ash, Silver): These shades complement cool-toned skin tones and create a modern look.
- Warm Undertones (Golden, Copper): These shades enhance warm skin tones and add warmth to your complexion.
- Low-Commitment Options: Root smudging or glosses can refresh color without a full commitment.
#9) Season & Occasion Guide
- Spring/Summer: Embrace lighter textures – air dry with texturizing spray for effortless beachy waves.
- Fall/Winter: Add warmth and dimension with richer tones, and style with soft curls or loose waves.
- Work: Sleek and polished layers with a subtle side part.
- Weddings/Parties: Romantic waves or an updo that showcases the face-framing pieces.
#10) Cost & Time
- Salon Time: Typically 45 minutes - 1.5 hours, depending on hair length and complexity of layering.
- Price Range: Expect to pay a moderate price range for this service; it is often considered a standard layered cut.
#11) Pros & Cons
Pros:
- Universally flattering across face shapes and hair types.
- Adds softness, dimension, and movement.
- Relatively easy to style.
- Can be adapted for various occasions.
Cons:
- Requires regular trims to maintain shape.
- May require more product than a blunt cut (especially for curly/coily hair).
#12) FAQs
- Will face-framing layers make my hair look thinner? Not necessarily! Strategic layering can actually create the illusion of fullness, especially when done correctly. Communicate your concerns with your stylist.
- Can I do this myself at home? While possible for very minor shaping, it's best left to a professional to ensure evenness and precision.
- How long will it take to grow out the layers if I don’t like them? Growing out layers takes time! It may require strategic styling (like pinning back shorter pieces) while they blend.
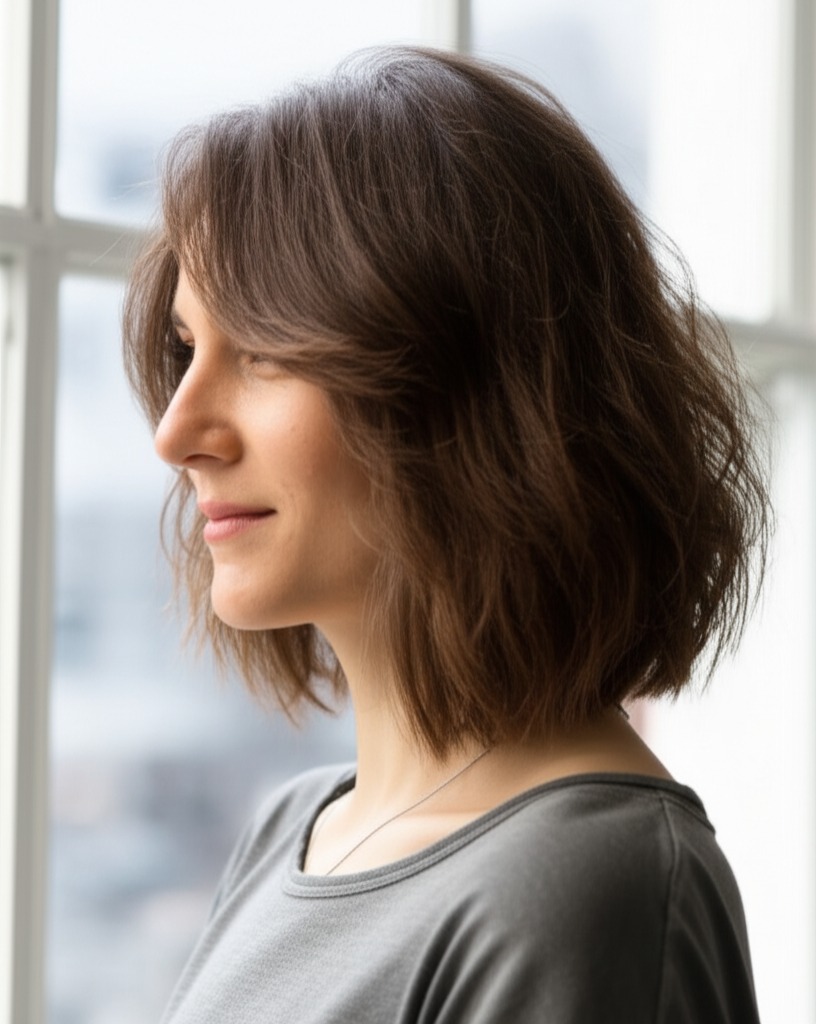
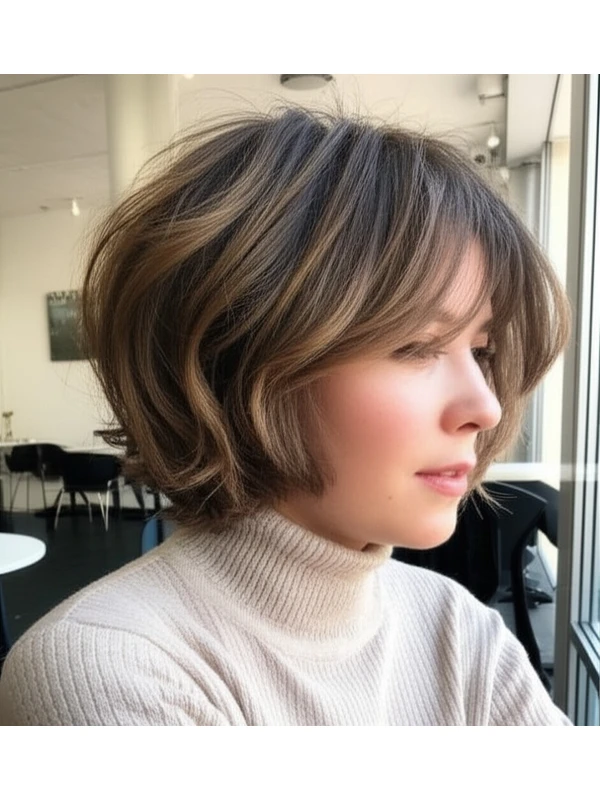
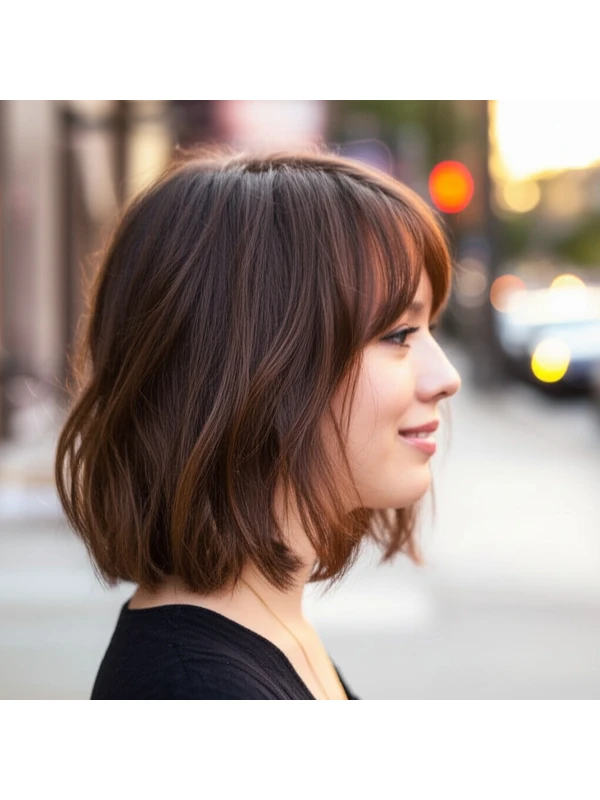
- Do face-framing layers work with a bob haircut? Absolutely! They add softness and movement to bobs of all lengths.
- What’s the difference between face-framing layers and traditional layers? Traditional layers are more evenly distributed throughout the hair, while face-framing focuses primarily on the sections around the face.
- How do I prevent my face-framing layers from looking choppy? Ensure your stylist uses point cutting techniques to soften the ends of the layers for a blended look.
Disclaimer: This guide provides general styling advice and is not intended as medical or chemical guidance. Always consult with a qualified hair professional for personalized recommendations.