#Finger Coils: Embracing Your Natural Definition
Finger coiling is a beautiful hairstyle that celebrates the natural curl pattern of textured hair. It's more than just a style; it’s an expression of individuality and embracing your unique texture! This guide will break down everything you need to know about finger coils, from understanding what they are to rocking them with confidence.
#1) Background & Definition: What Are Finger Coils?
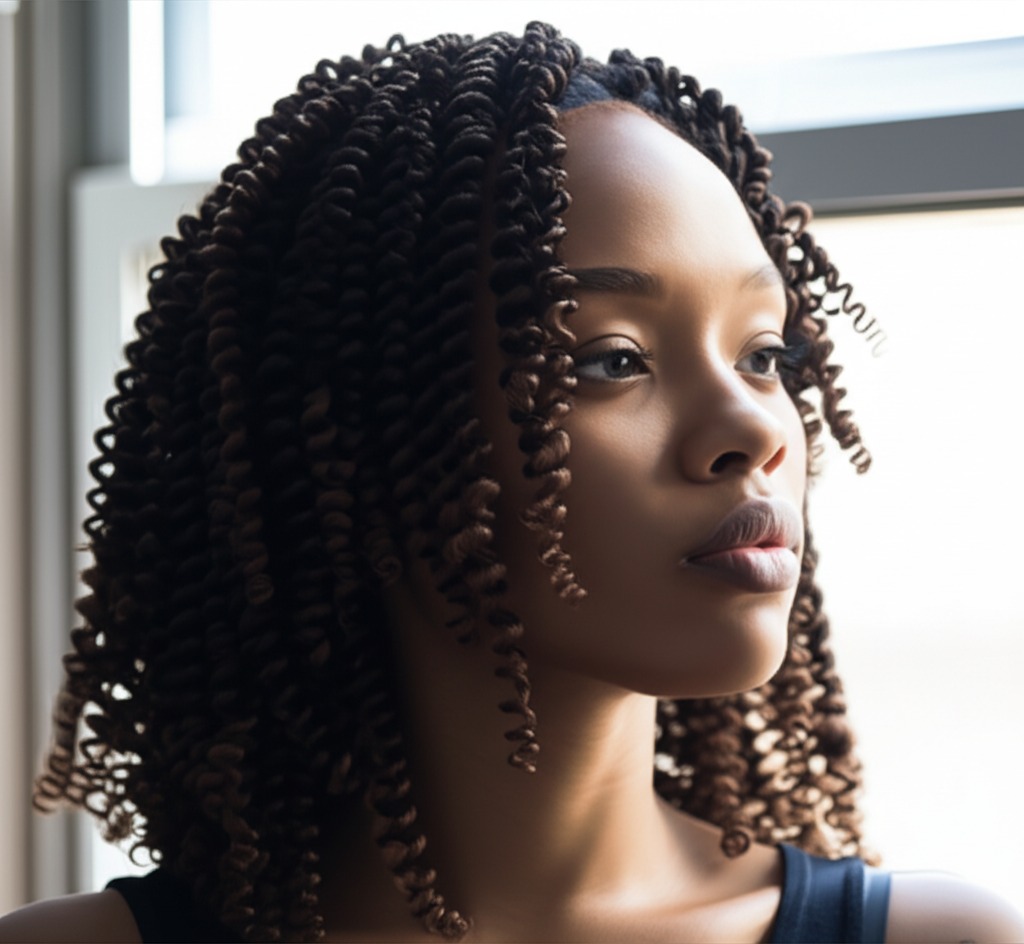
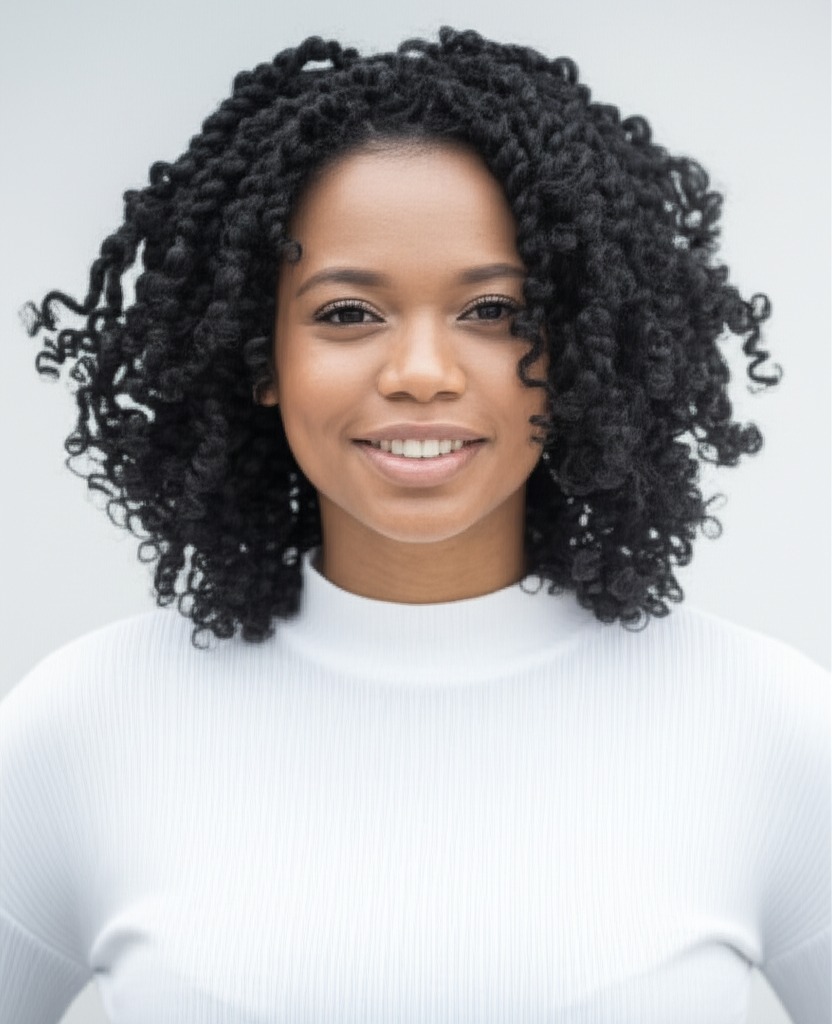
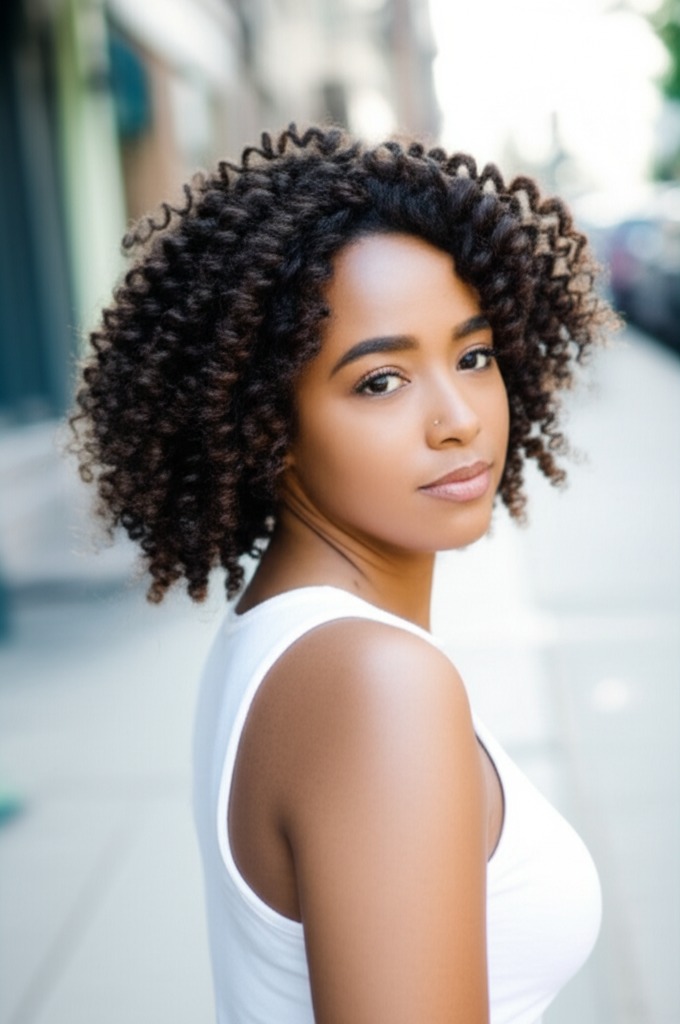
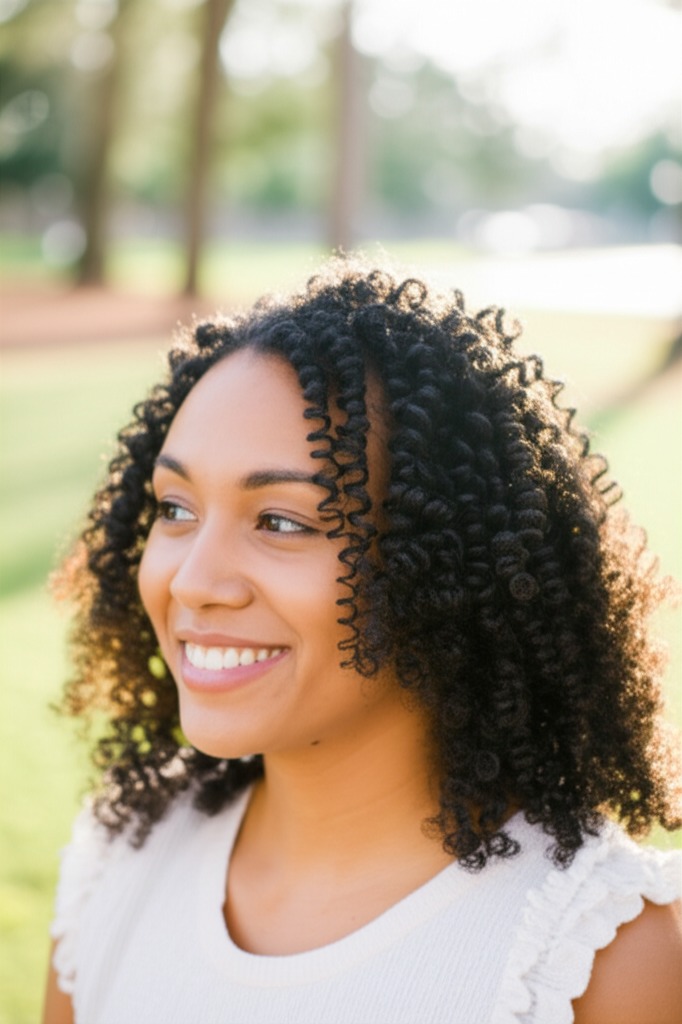
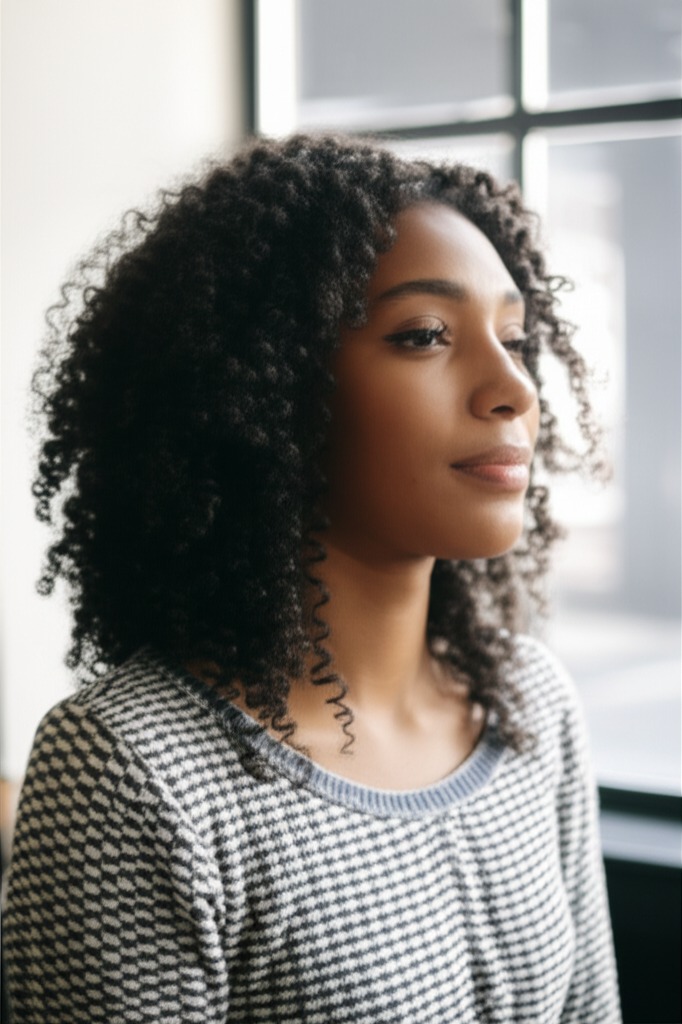
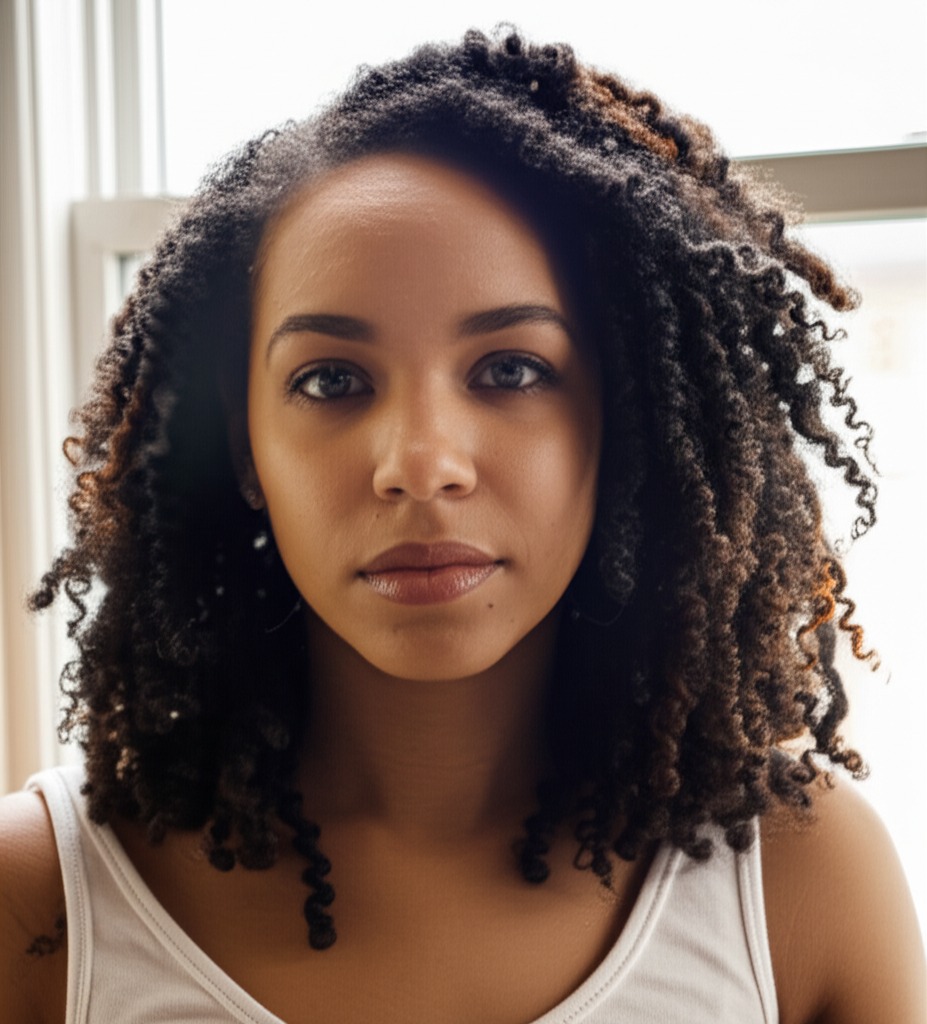
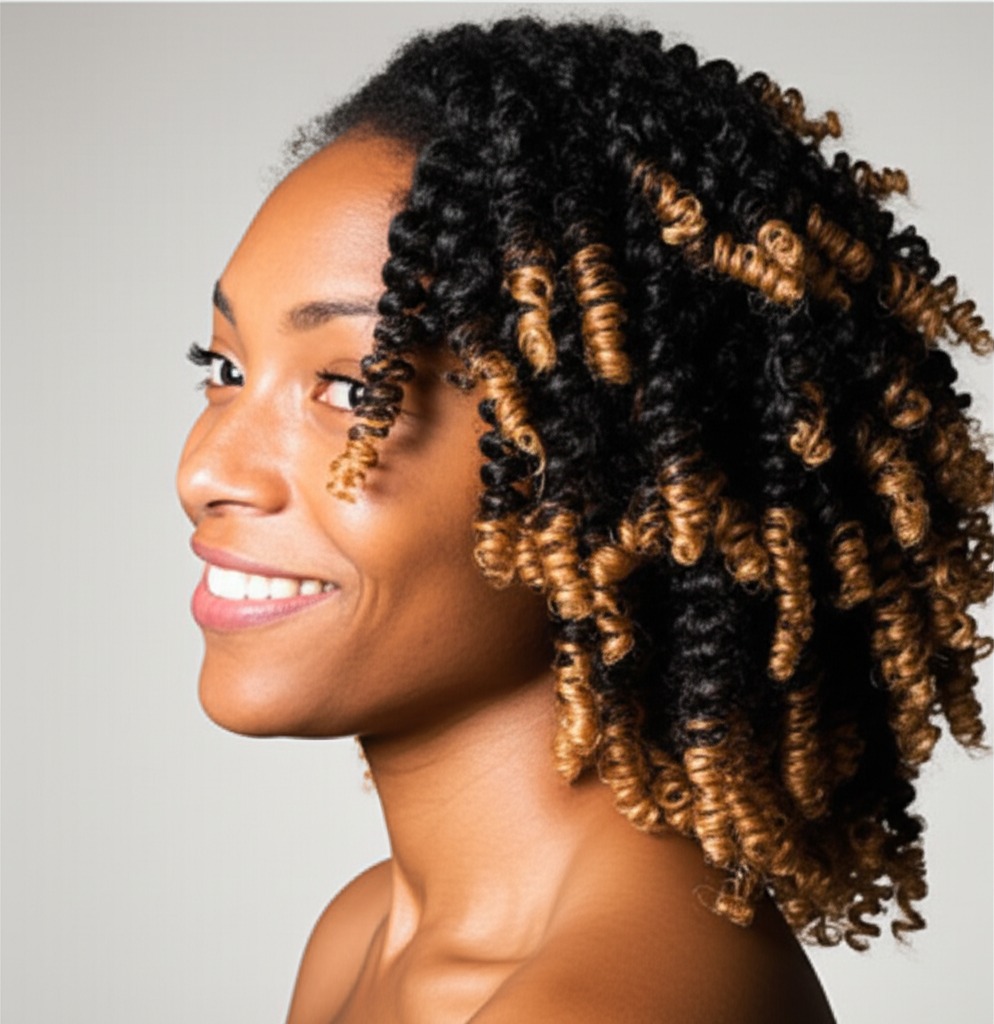
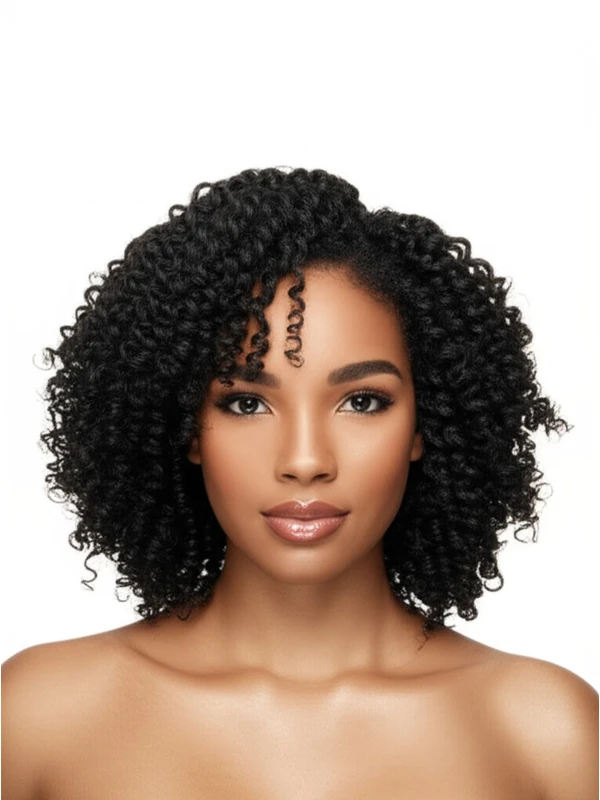
Finger coiling isn't a haircut per se, but rather a styling technique applied to naturally textured hair (typically Type 4 – tightly coiled). It involves using your fingers to individually coil sections of wet or damp hair, creating defined spiral shapes. Think of it as sculpting your curls!
- Cut Geometry: The base cut can vary widely—from layered bobs to longer lengths. The finger coiling technique shapes the existing curl pattern.
- Key Features: Defined spirals, a textured look, and enhanced natural volume. It highlights individual strands rather than creating large, uniform curls.
- Typical Length Ranges: Finger coils can be achieved on hair from short (chin-length or shorter) to very long lengths. The length influences the overall effect – shorter styles offer more lift at the roots, while longer styles create a cascading spiral look.
- Alternative Names: Sometimes called "coil styling," "spiral styling," or simply referred to as showcasing natural coils.
#2) Face Shape Fit: Finding Your Best Angle
Finger coils can be incredibly flattering on many face shapes, but strategic adjustments (like fringe placement) can maximize the effect.
- Oval: Lucky you! Finger coils generally look fantastic with an oval face shape. The spirals add dimension and balance. A side part creates asymmetry that complements the oval’s symmetry.
- Fringe Options: Soft, wispy bangs or a slightly angled fringe can enhance features without disrupting the overall harmony.
- Round: Finger coils can help elongate a round face by adding vertical lines. Keeping volume at the crown is key! Avoid too much fullness around the cheeks.
- Fringe Options: A deep side part and longer, sweeping bangs that fall below the cheekbones are ideal for creating length.
- Square: Soften those angles with strategically placed finger coils. Focus on adding movement and fluidity to balance a strong jawline.
- Fringe Options: Avoid blunt, harsh fringes. Opt for soft, piece-y bangs or no fringe at all to maintain softness.
- Heart: Finger coils can help fill out the narrower chin area of a heart-shaped face. Balance width by keeping volume away from the forehead.
- Fringe Options: A wispy, side-swept fringe that blends seamlessly with the curls is flattering.
- Diamond: Similar to square faces, finger coils soften diamond shapes. Volume at the crown and chin area helps create balance.
- Fringe Options: A soft, textured fringe can help break up angles and add dimension.
- Oblong (Long): Finger coils can visually shorten an oblong face by adding width. Avoid styles that emphasize vertical lines too much; instead focus on creating volume at the sides.
- Fringe Options: A full, layered fringe or a blunt bang can help break up length and add balance.
#3) Body Proportions & Height Guidance: Styling for Your Silhouette
Consider your body shape when deciding on finger coil length and placement.
- Petite: Shorter to medium lengths with strategically placed volume at the crown will prevent overwhelming the frame.
- Average: Most lengths work well! Experiment with different placements of volume to find what flatters you most.
- Tall: Longer styles that cascade down can create a beautiful, flowing silhouette.
- Narrow Shoulders: Volume at the sides created by finger coiling will visually broaden shoulders.
- Broad Shoulders: Avoid excessive volume directly on top; instead focus on creating balance with strategically placed curls around the face and neck.
- Short Neck: Medium to shorter lengths are generally more flattering, as longer styles can accentuate a short neck.
#4) Works Best With Hair Types & Densities: Finding Your Match
Finger coiling thrives on certain hair characteristics but can be adapted with adjustments.
- Hair Type: Primarily works best with Type 4 (coily) hair – those with tightly coiled strands that naturally shrink significantly. However, it can be attempted on Type 3 (curly) hair to enhance definition, though results will vary and may require more product.
- Density: Works well with medium to thick densities. Thinner density might need extra product for hold and volume.
- Shrinkage: This is crucial! Finger coils can appear much longer than the actual length due to shrinkage. Account for this when choosing a length – hair may look significantly shorter once coiled. A good rule of thumb: expect 50-75% shrinkage with Type 4 hair.
#5) Styling Variations: From Casual to Evening Glam
Finger coils offer surprising versatility!
- Sleek vs. Textured: A sleek finish requires meticulous coiling and strong hold products. For a more textured look, allow curls to be looser and less uniform.
- Middle vs Side Part: A side part adds asymmetry and can create the illusion of volume.
- Fringe Variations: Wispy, soft bangs or no fringe at all are common choices. Consider face shape when deciding on fringe length and style.
- Occasion Styling:
- Casual: Simple finger coiling with minimal product for a low-maintenance look.
- Office: Tucked behind the ears or styled in a neat updo to appear more polished.
- Evening: Add shine serum, decorative hair accessories (like clips or headbands), and consider twisting sections for extra definition.
#6) Maintenance: Keeping Your Coils Defined
Consistent care is key to maintaining finger coils.
- Trim Cadence: Every 6-8 weeks to remove split ends and maintain shape.
- At-Home Routine: Wash and deep condition weekly. Finger coil on damp hair, section by section.
- Heat vs Air-Dry: Minimize heat styling! Finger coiling is designed to showcase natural texture. If using heat, use a diffuser on low setting with cool air.
- Product Checklist:
- Shampoo: Moisturizing sulfate-free shampoo.
- Conditioner: Deep conditioner for moisture and detangling.
- Leave-In Conditioner: Essential for hydration and definition.
- Styler (Gel/Cream): Provides hold and defines coils. Look for products with humectants to draw in moisture.
- Finishing Oil/Serum: Adds shine and seals in moisture.
- Estimated Daily Styling Time: 30-60 minutes, depending on hair length and density.
#7) Grow-Out Roadmap: Evolving Your Style
Finger coils evolve as your hair grows!
- Months 1-3: The shape will gradually lengthen, requiring adjustments to product usage and styling techniques to maintain definition.
- Months 4-6: Hair may start to lose some of its initial definition due to growth. Consider a trim or reshaping to revitalize the style. Maintaining moisture is crucial during this phase.
#8) Color Pairings: Enhancing Your Coils
Color can add dimension and vibrancy!
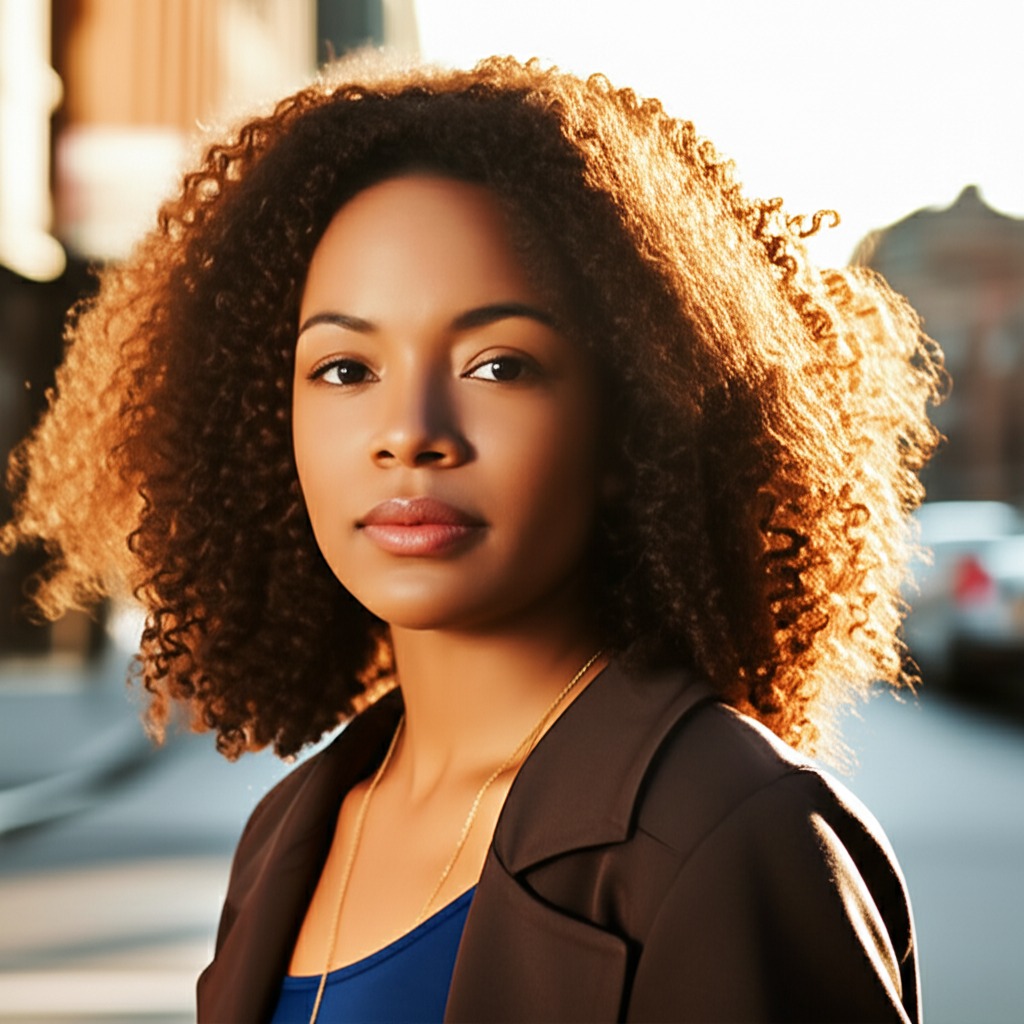
- Shades that Elevate: Rich, warm tones like caramel highlights or copper lowlights complement darker hair beautifully. Jewel-toned colors (emerald, sapphire) create a stunning contrast against deep bases.
- Cool vs Warm Undertones: Consider your skin's undertone when choosing color. Warm undertones look best with warmer shades; cool undertones shine with cooler tones.
- Low-Commitment Options: Root shadowing or glosses are great ways to add subtle dimension without a full commitment.
#9) Season & Occasion Guide: Adapting Your Look
- Spring/Summer: Lighter, more airy styling – less product for a natural feel. Consider face-framing tendrils.
- Fall/Winter: Increased moisture and hold to combat dryness and humidity. Protective styles (like twists or braids incorporating finger coils) can be incorporated.
- Work: Sleek and polished with minimal frizz.
- Weddings: Elegant updos featuring finger coil accents.
- Parties: Experiment with bold accessories and playful styling variations.
#10) Cost & Time: Salon Investment
- Typical Salon Time: 1.5 - 3 hours, depending on hair length and density.
- Estimated Price Range: Relatively expensive (but varies greatly by location and stylist experience).
#11) Pros & Cons: Weighing the Options
Pros: Showcases natural texture, versatile styling options, defines individual curls, creates volume. Cons: Time-consuming to style initially, requires consistent maintenance, can be prone to frizz if not properly moisturized, shrinkage can be unpredictable.
#12) Salon Consultation Script: Your Checklist for Success
Use these prompts when discussing your finger coil goals with a stylist:
- "I'm interested in exploring finger coils. Can you assess my hair’s texture and density?"
- “What length would you recommend based on my face shape and desired look?”
- "How can we best manage shrinkage to achieve the length I want?"
- "Can you show me how to properly finger coil at home?"
- "What products do you recommend for maintaining definition and moisture?"
FAQs: Your Burning Questions Answered
- Q: Can anyone get finger coils? A: While best suited for Type 4 hair, those with looser curl patterns (Type 3) can experiment with the technique to enhance their curls.
- Q: How do I avoid frizz? A: Use a leave-in conditioner and sealing oil. Avoid touching your hair excessively while styling.
- Q: What if my coils aren't uniform? A: Embrace it! Finger coiling is meant to be natural and unique.
- Q: How do I get more volume at the roots? A: Focus on coiling the root section carefully, using a product with strong hold. Consider teasing slightly before finger coiling (gently!).
- Q: Can I finger coil my hair every day? A: Not necessarily. Over-manipulation can lead to breakage. Alternate between finger coiling and other protective styles.
- Q: How do I deal with itching while styling? A: Ensure your scalp is well moisturized before styling. Consider using a clarifying shampoo occasionally to remove product buildup.