#Invisible Layers: The Subtle Shape-Shifting Hairstyle
Invisible layers are a hugely popular haircut right now – but what exactly are they? It’s more than just trendy; it's about creating movement and shape without sacrificing length or density. This guide will break down everything you need to know, from whether it suits your face shape to how to style it for different occasions.
#1) Background & Definition: The Art of Subtle Shaping
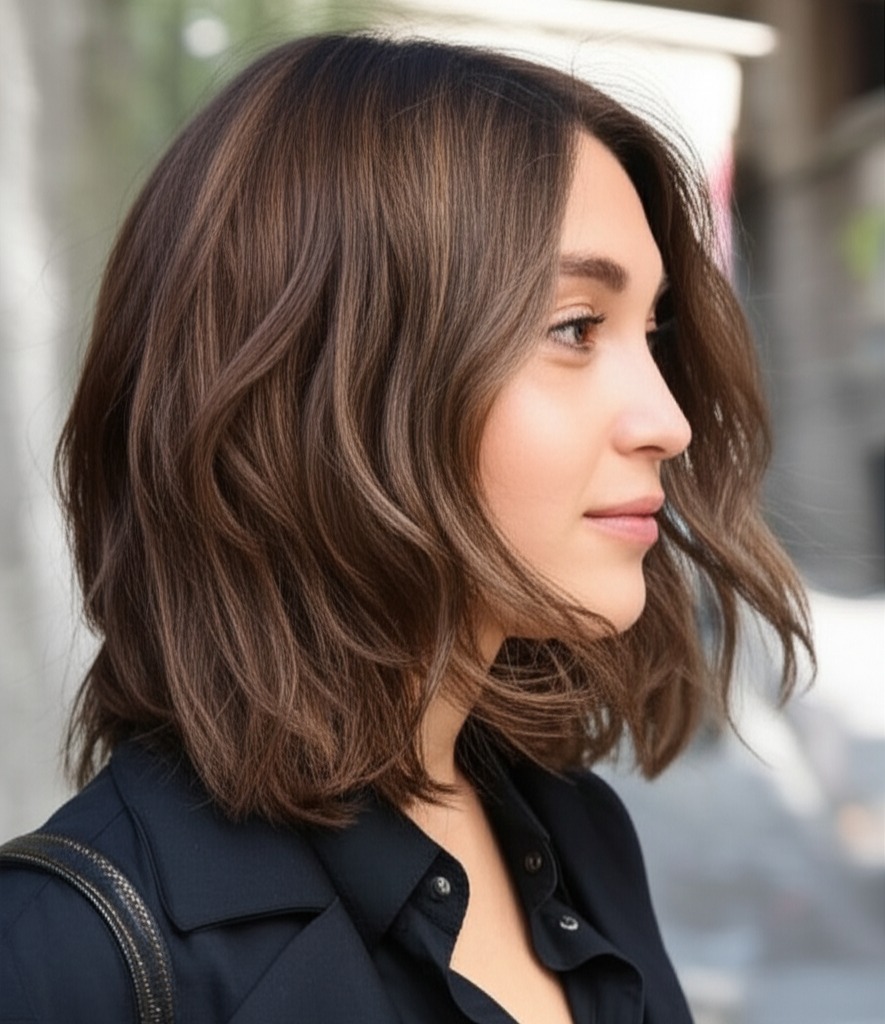
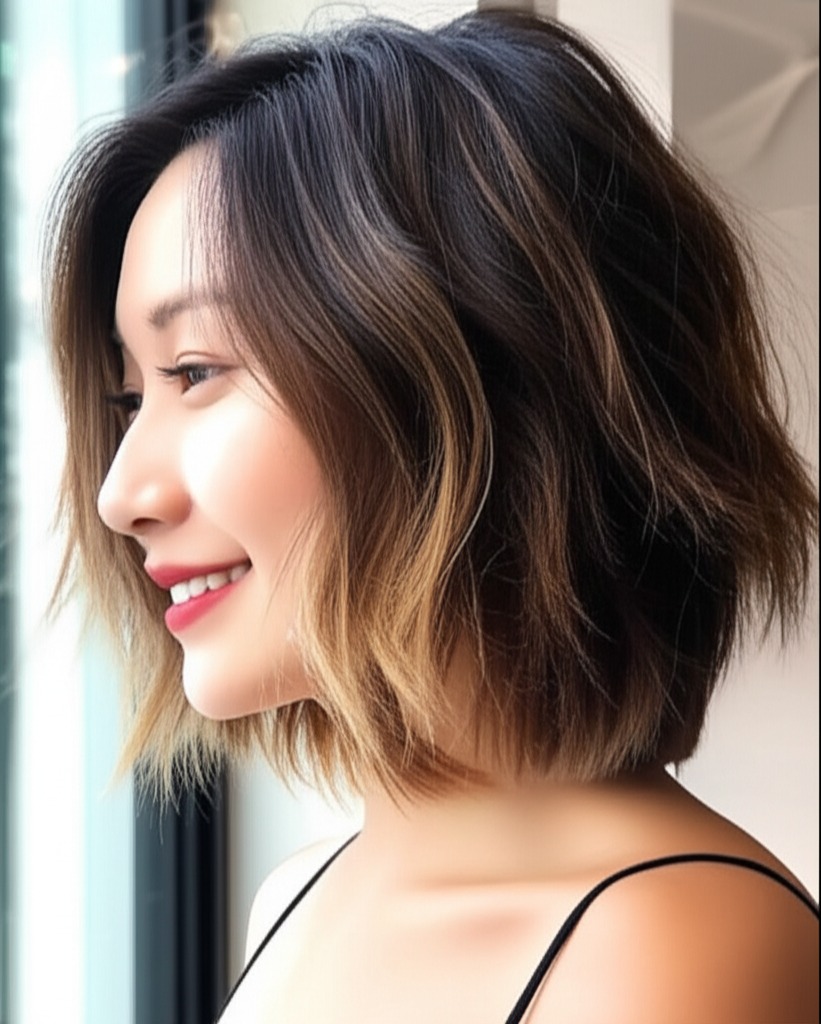
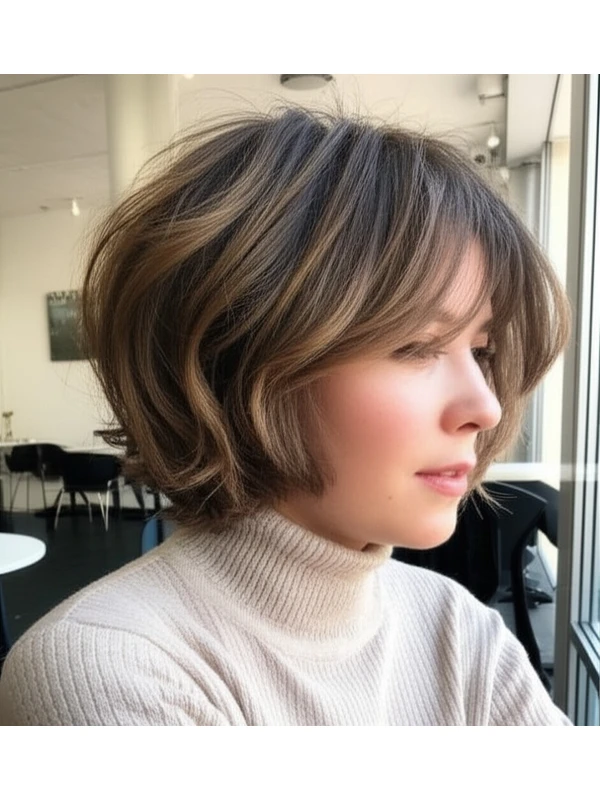
Invisible layers are a haircut technique focused on removing weight without creating obvious, choppy lines. Instead of traditional layering that often results in distinct steps, this cut uses point-cutting and internal texturizing (layers hidden within the overall length). The goal is to create movement, softness, and volume without dramatically shortening the hair's appearance.
Key Features:
- Subtle Movement: The layers are designed to blend seamlessly into each other.
- Maintained Length: You keep most of your original length – it’s about shaping, not shrinking.
- Softened Edges: The cut softens the ends and face-framing areas.
- Internal Texture: Most of the layering happens inside the hair shaft, making it less visible externally.
Typical Length Ranges: This style works best on medium to long hair (shoulder length or longer). While possible on shorter lengths, achieving the “invisible” effect becomes more challenging.
Alternative Names: You might hear this referred to as "soft layers," "seamless layers," or simply "internal layering."
#2) Face Shape Fit: Finding Your Flattering Angle
The beauty of invisible layers is their adaptability, but understanding how they interact with your face shape is key.
- Oval Faces: Lucky you! Invisible layers look fantastic on oval faces because the balanced proportions are already flattering. Gentle face-framing layers can enhance this natural symmetry. Fringe Option: A soft, wispy fringe or curtain bangs work beautifully.
- Round Faces: Layers help to elongate a round face by adding vertical lines and drawing attention upwards. Avoid too much volume at the cheeks; focus on layering around the jawline and crown for lift. Fringe Option: Side-swept bangs can create asymmetry and slimness.
- Square Faces: Softening is key! Invisible layers help to soften strong angles. Layers around the cheekbones and chin will minimize harsh lines. Fringe Option: A long, sweeping fringe that blends into the layers softens a square jawline.
- Heart-Shaped Faces: Invisible layers can balance a wider forehead and narrower chin. Focus on adding volume at the jawline to create more symmetry. Fringe Option: Side-swept bangs or soft, face-framing pieces are ideal.
- Diamond Faces: Similar to heart shapes, diamond faces benefit from layering that adds width at the cheekbones and softens the angles of a strong forehead and chin. Fringe Option: A textured fringe can help balance a wider forehead.
- Oblong Faces: Avoid layers that add too much height or length as this will elongate the face further. Focus on shorter, more horizontal layering to create width. Fringe Option: A blunt, straight-across fringe can shorten an oblong face and add visual width.
#3) Body Proportions & Height Guidance: Tailoring the Silhouette
Invisible layers aren't a one-size-fits-all solution; adjustments are needed based on your overall build.
- Petite: Shorter lengths (collarbone to shoulder) with minimal face framing will prevent you from looking overwhelmed.
- Average Height: Most layer placements work well – experiment!
- Tall: Longer layers that create movement and flow can balance a taller frame. Consider more dramatic face-framing for added softness.
- Narrow Shoulders: Layers around the shoulders add visual width, creating a more balanced silhouette. Avoid overly blunt cuts which can make shoulders appear narrower.
- Broad Shoulders: Focus on layering that softens the shoulder line; avoid adding too much volume directly at the broadest point.
- Short Neck: Avoid layers that are too long and heavy around the jawline, as this can accentuate a shorter neck. Opt for face-framing layers to draw attention upwards.
- Long Neck: Layers with more volume at the crown will help fill out a longer neck.
#4) Works Best With Hair Types & Densities: Understanding Your Texture
The success of invisible layers depends on your hair's natural texture and density.
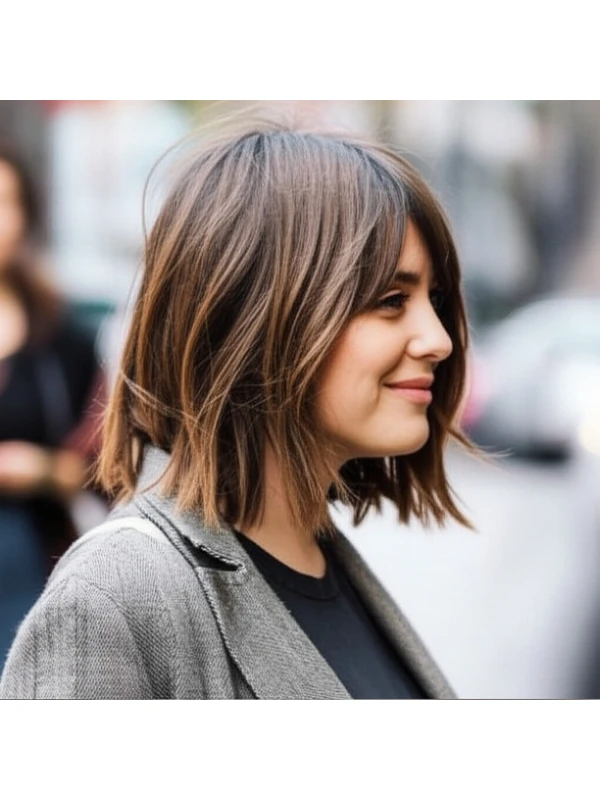
- Straight Hair: Layers create subtle movement and prevent flatness. Be mindful that straight hair can appear thinner with too much layering; communicate this to your stylist.
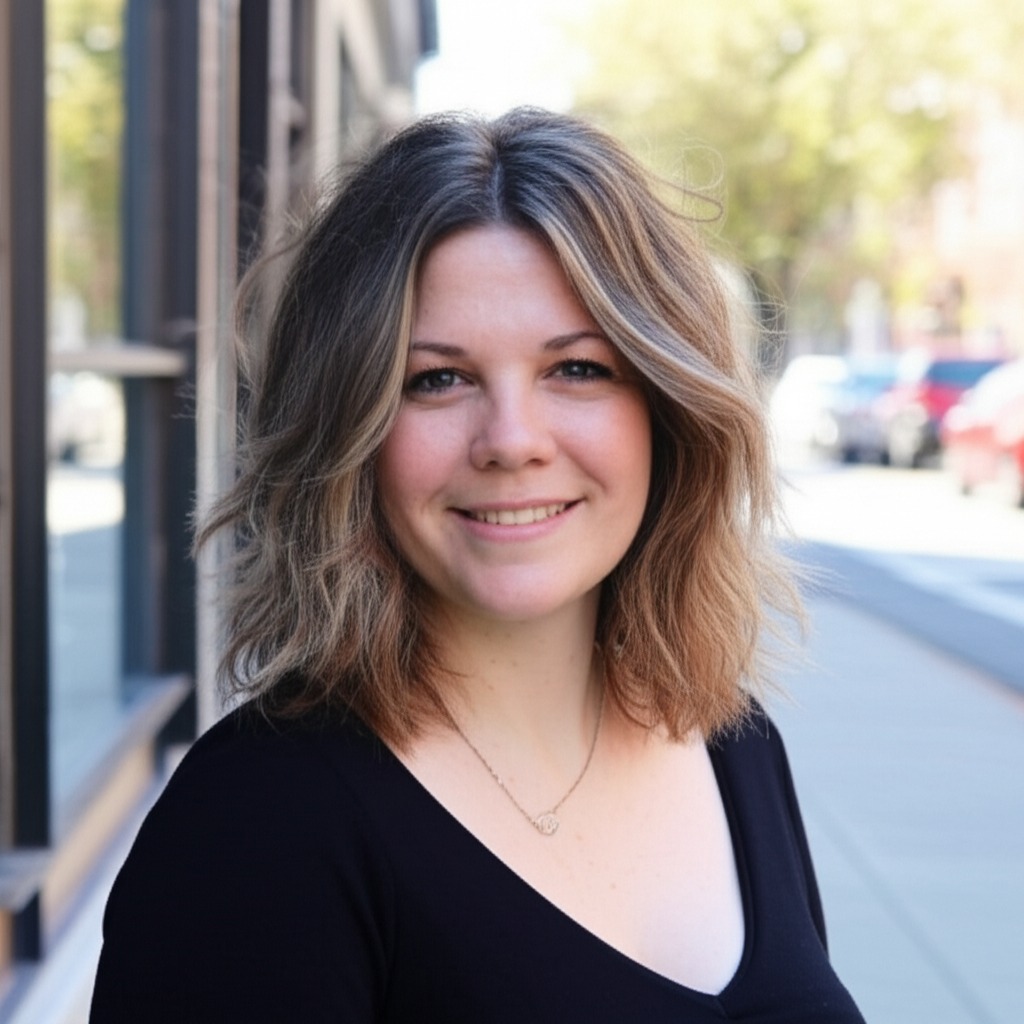
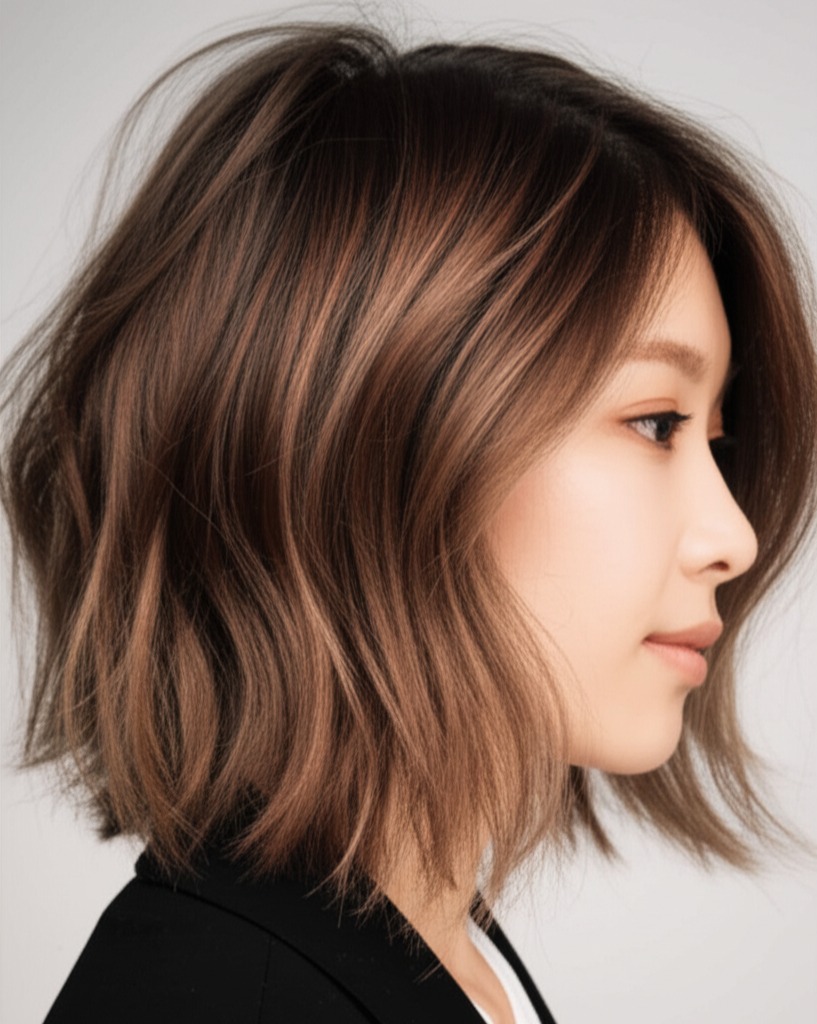
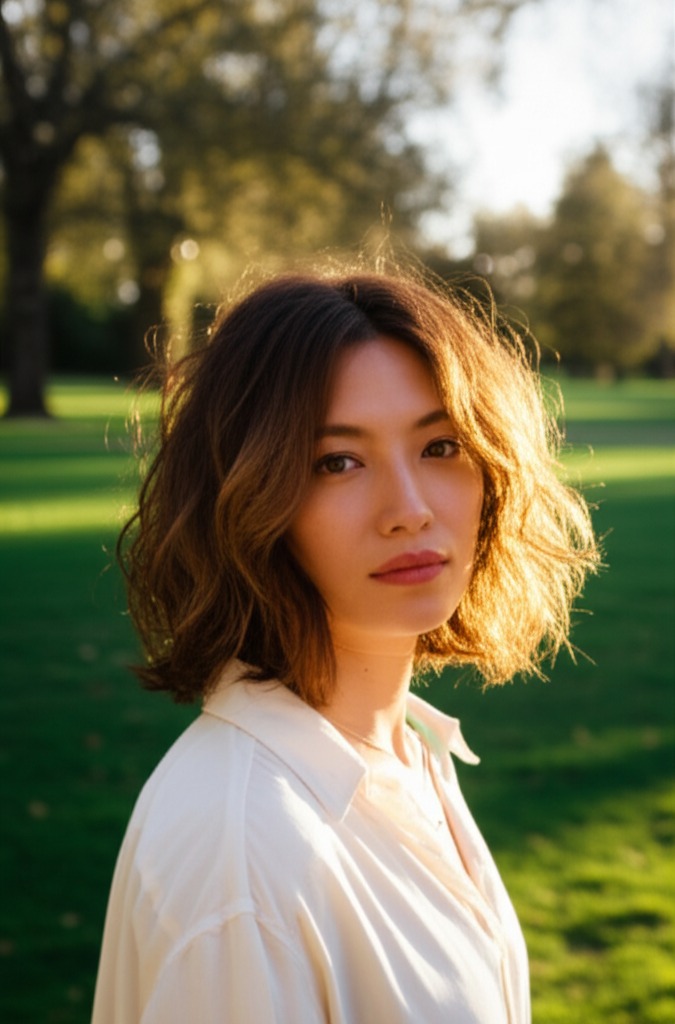
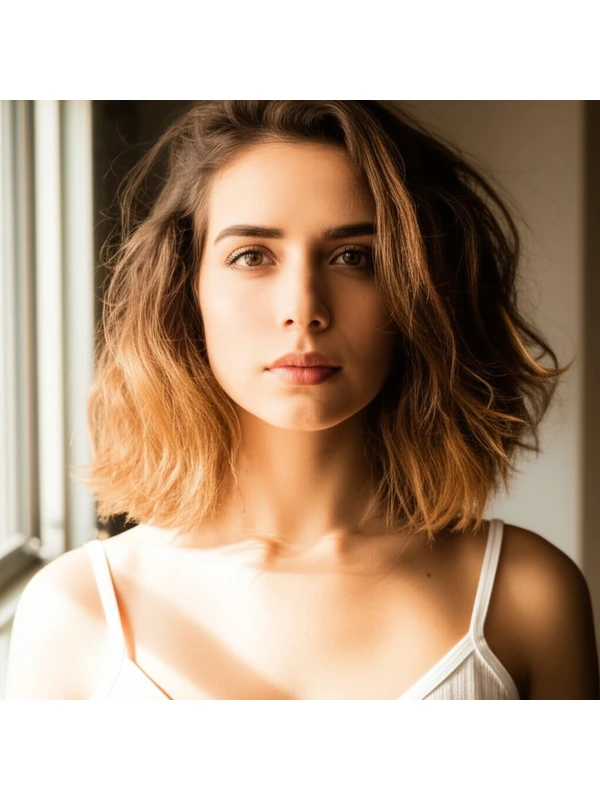
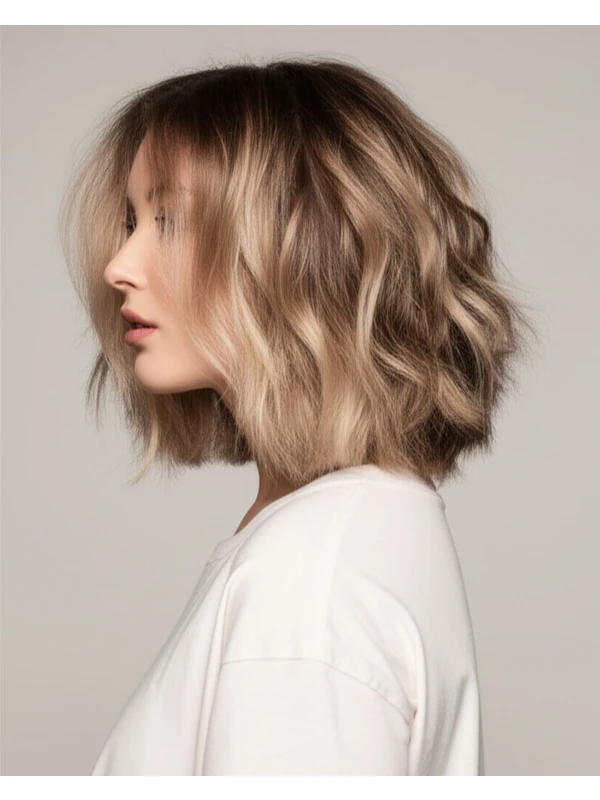
- Wavy Hair: Invisible layers enhance the natural wave pattern, creating a soft, effortless look.
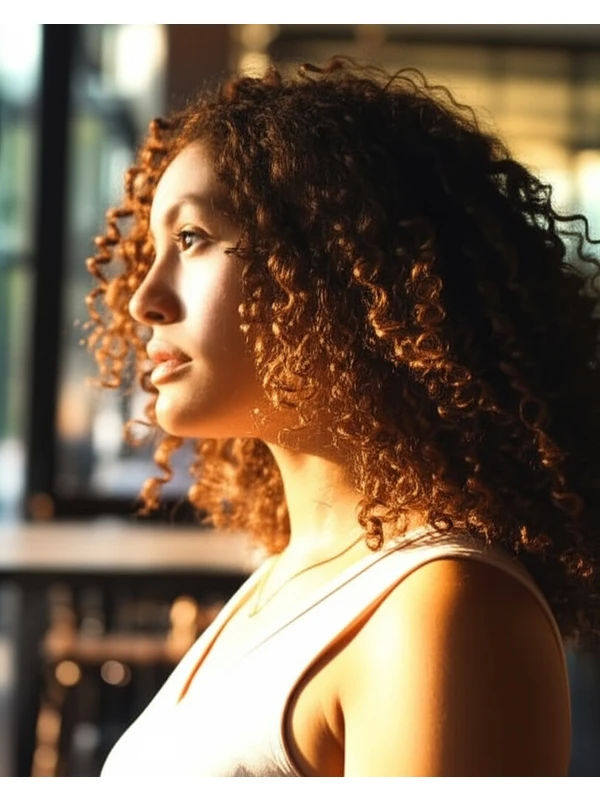
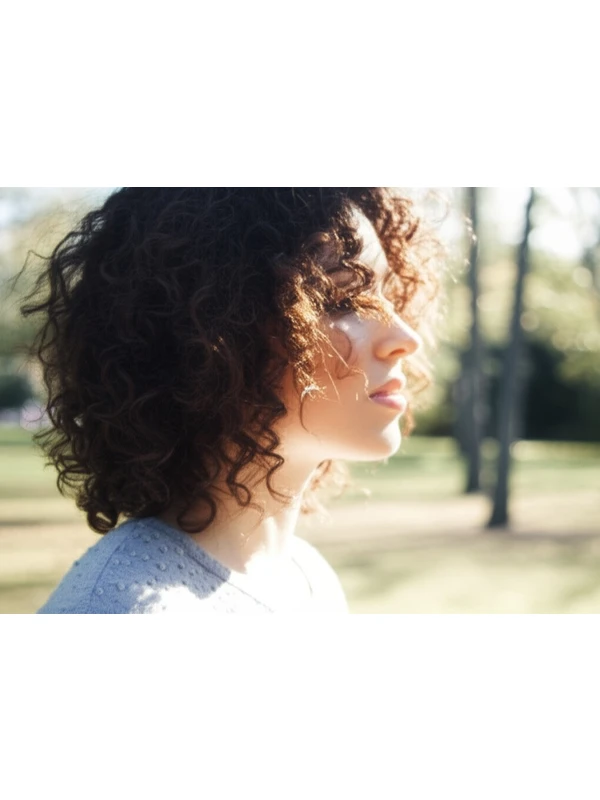
- Curly/Coily Hair: This style adds definition and reduces bulk without sacrificing length. Shrinkage is crucial to consider – what looks like shoulder-length in the salon might become mid-back when dry! Communicate your shrinkage factor clearly.
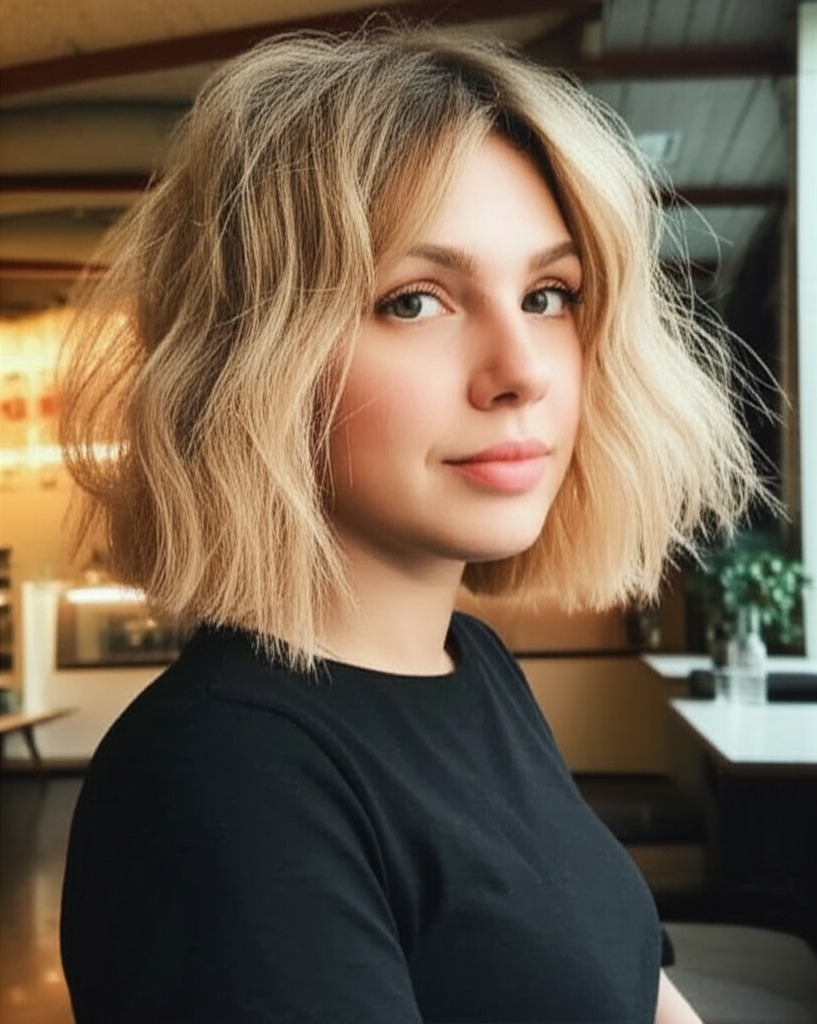
- Fine Hair: Layers can create the illusion of volume, but be cautious not to overdo it as this can make hair appear even thinner.
- Medium Hair: This is a sweet spot – invisible layers will enhance natural texture and movement without significant drawbacks.
- Thick Hair: Layers are essential for removing weight and preventing the hair from looking too heavy or triangular.
Density Tips: For finer hair, ask your stylist to focus on face-framing layers and minimal internal layering. For thicker hair, more strategic internal layering is needed to remove bulk.
#5) Styling Variations: From Casual Cool to Evening Elegance
Invisible layers are incredibly versatile!
- Sleek vs. Textured: For a sleek look, use a smoothing serum and blow-dry with a round brush or flat iron. For texture, air dry or diffuse your hair, scrunching in curl cream/mousse.
- Middle vs. Side Part: A middle part creates symmetry; a side part adds softness and asymmetry.
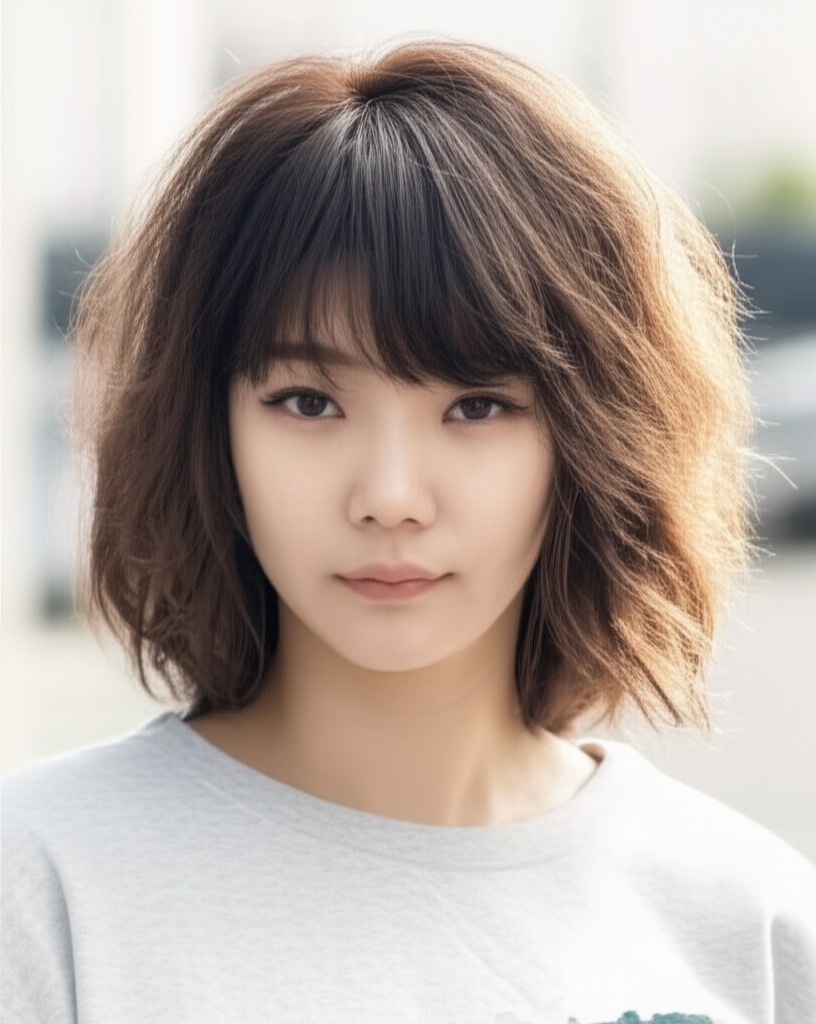
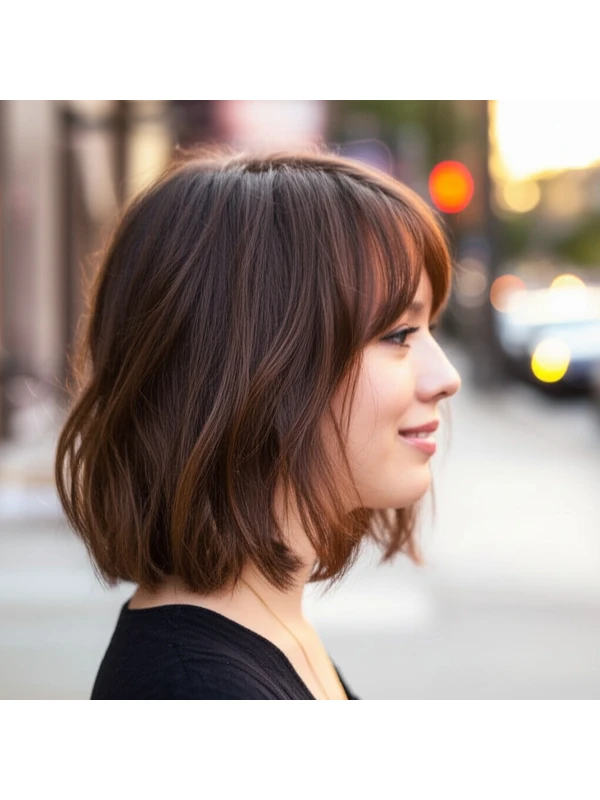
- Fringe Variations: Soft curtain bangs, wispy face-framing pieces, or even a blunt fringe can all work beautifully with this cut.
- Occasion Styling: For casual days, air dry with minimal product. For the office, blow out smooth or create soft waves. For evening events, add volume at the roots and use shine serum for an elegant finish.
#6) Maintenance: Keeping Your Layers Looking Fresh
- Trim Cadence: Every 8-12 weeks to maintain shape and prevent layers from becoming too blended (which can make them less noticeable).
- At-Home Routine: Gentle shampooing, hydrating conditioner, leave-in treatment for moisture.
- Heat vs. Air Dry: Minimize heat styling whenever possible to protect hair health.
- Product Checklist: Sulfate-free shampoo & conditioner, leave-in conditioner (especially important for textured hair), lightweight styler (mousse/cream/serum depending on your desired look), shine serum.
- Estimated Daily Styling Time: 5-20 minutes, depending on styling preference and hair texture.
#7) Grow-Out Roadmap: The Evolution of Your Style
- Months 1-3: The layers are most noticeable as they begin to shape the overall style.
- Months 3-6: Layers start to blend more seamlessly, creating a softer look. Regular trims maintain the intended shape.
- Maintaining Shape: Communicate with your stylist about how you're styling your hair at home so they can adjust the trim accordingly.
#8) Color Pairings: Enhancing Dimension & Depth
- Cool Undertones (ash blonde, cool brown): Subtle highlights or lowlights within the layers create depth and dimension.
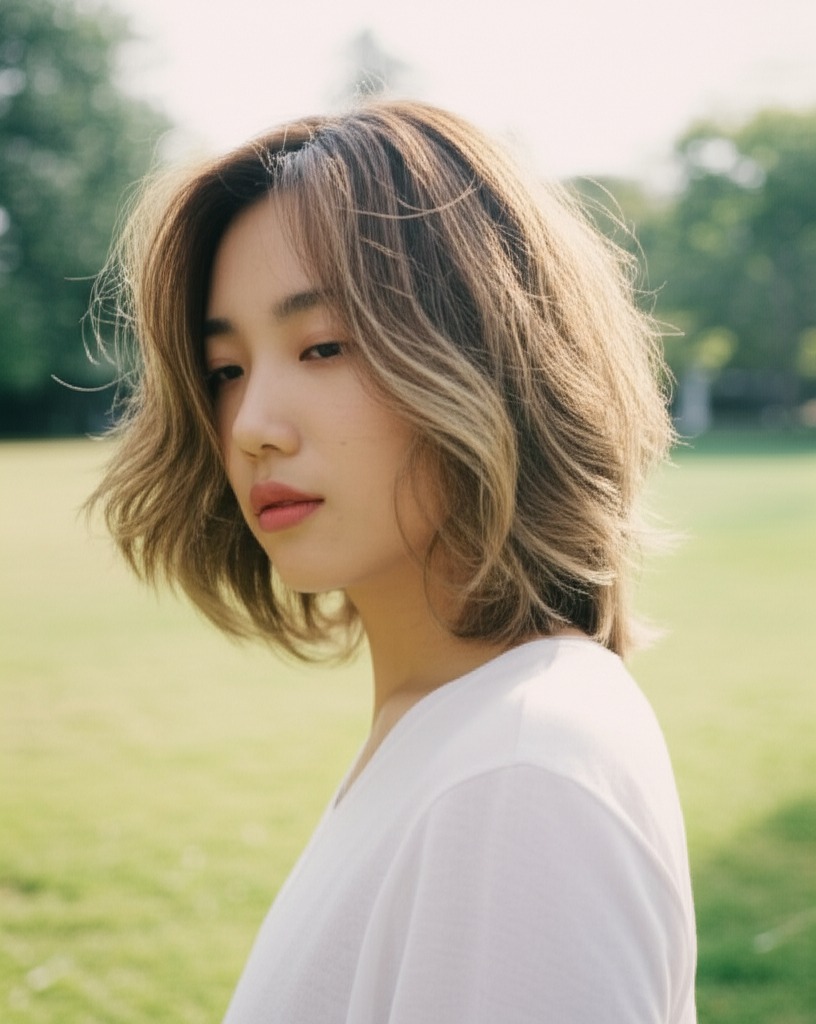
- Warm Undertones (golden blonde, warm brown): Balayage or babylights add warmth and luminosity.
- Low-Commitment Options: Root shadowing to blend grays, gloss treatments for shine and tone correction.
#9) Season & Occasion Guide: Adapting Your Look
- Spring/Summer: Embrace air-dried texture with lightweight products.
- Fall/Winter: Add warmth with richer tones and use smoothing serums for a polished look.
- Work: Sleek, controlled styles are ideal.
- Weddings/Parties: Soft waves or curls add glamour.
#10) Cost & Time: Salon Investment
- Salon Time: Typically 60-90 minutes.
- Price Range: Expect to pay a moderate amount – slightly more than a basic trim, but less than a complex haircut with significant layering.
#11) Pros & Cons: Weighing the Trade-Offs
Pros:
- Adds movement and shape without sacrificing length.
- Versatile for various hair types and face shapes.
- Low maintenance compared to heavily layered cuts.
- Creates a soft, flattering look.
Cons:
- Can make fine hair appear thinner if overdone.
- Requires regular trims to maintain the shape.
- The "invisible" effect can be subtle and might not appeal to everyone seeking dramatic change
#12) Salon Consultation Script: Your Questions, Answered
Use these prompts when discussing your desired style with your stylist:
- “I’m interested in invisible layers – can you show me examples of what that looks like on my hair type?”
- "My main concern is maintaining length. How will the layering affect the overall appearance?"
- "How much volume do you think I should add around my [face shape/shoulders]?"
- “What products would you recommend for styling and maintaining this cut at home?”
- “Can we discuss how to style it for both casual and more formal occasions?”