#The Jellyfish Cut: A Guide to Effortless Volume & Flow
The jellyfish cut is having a moment! It's more than just a trend; it’s a versatile style that can be adapted for many hair types and face shapes. This guide breaks down everything you need to know about embracing this breezy, beautiful look.
#1) Background & Definition: What Is the Jellyfish Cut?
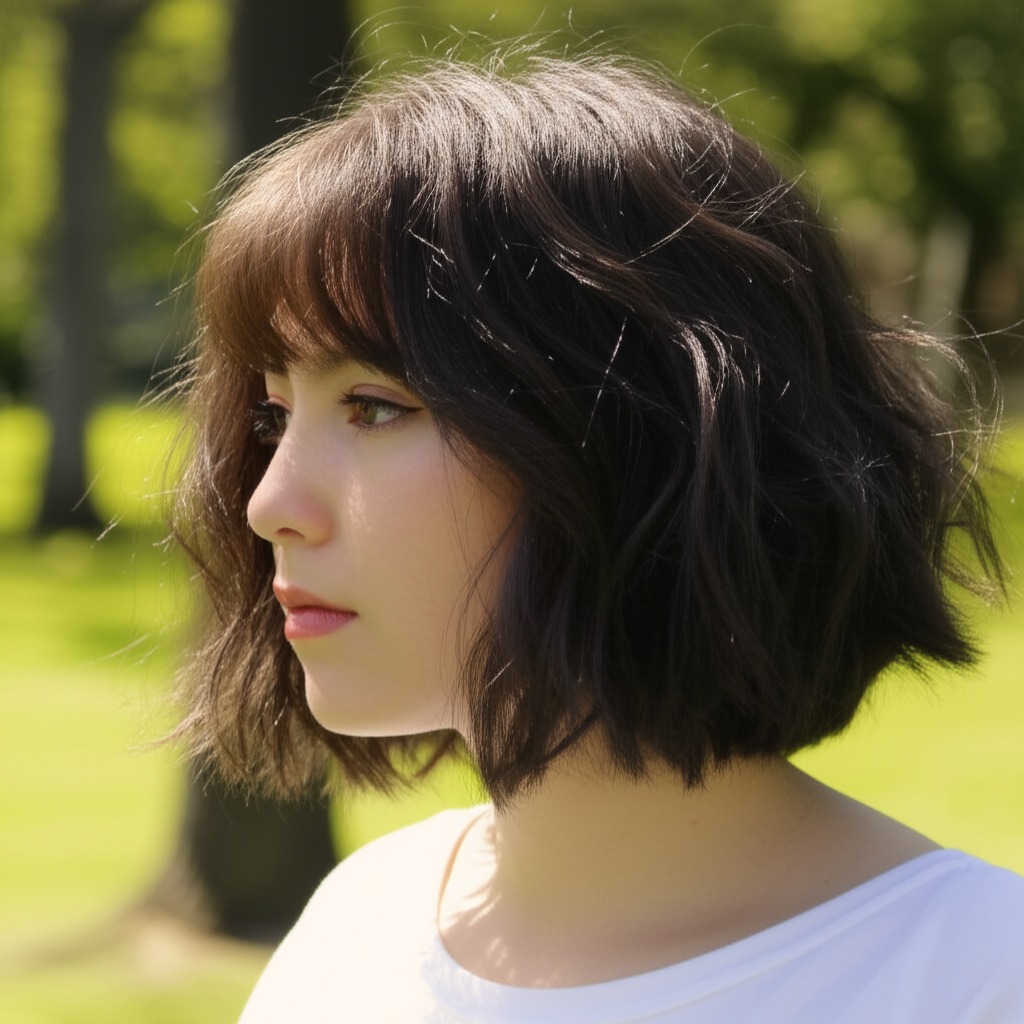
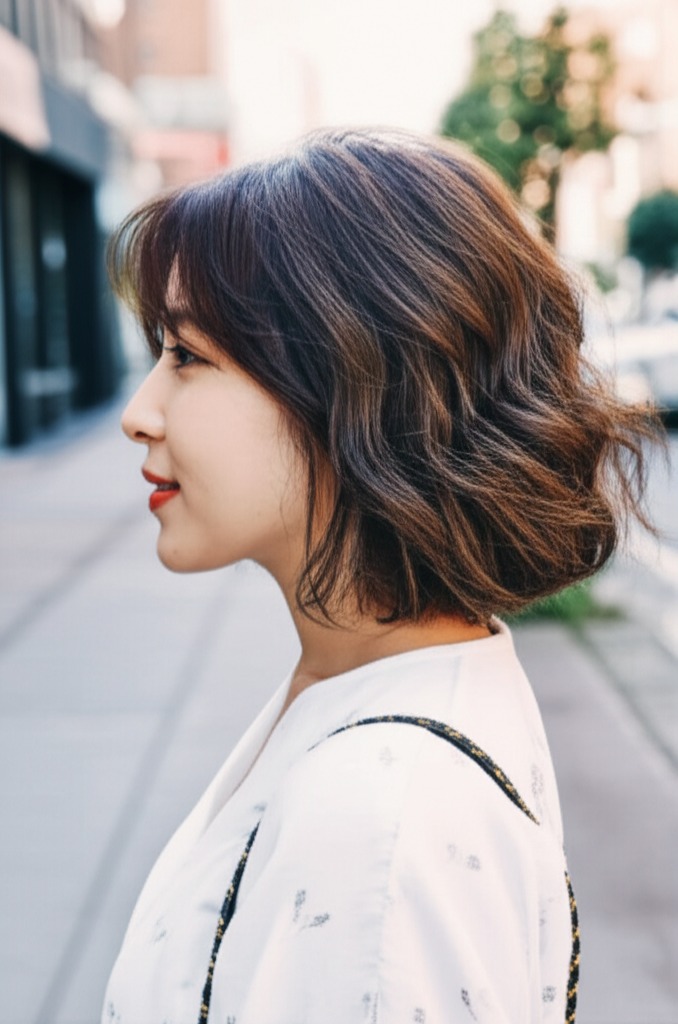
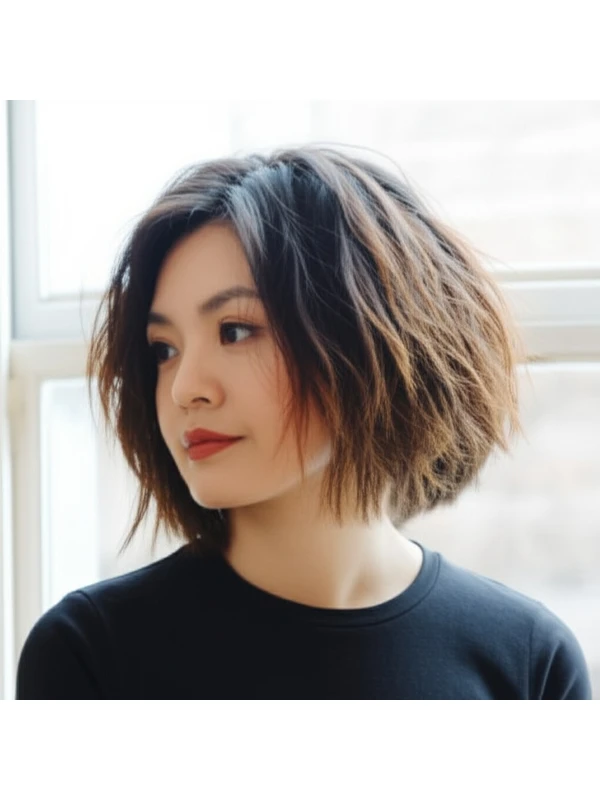
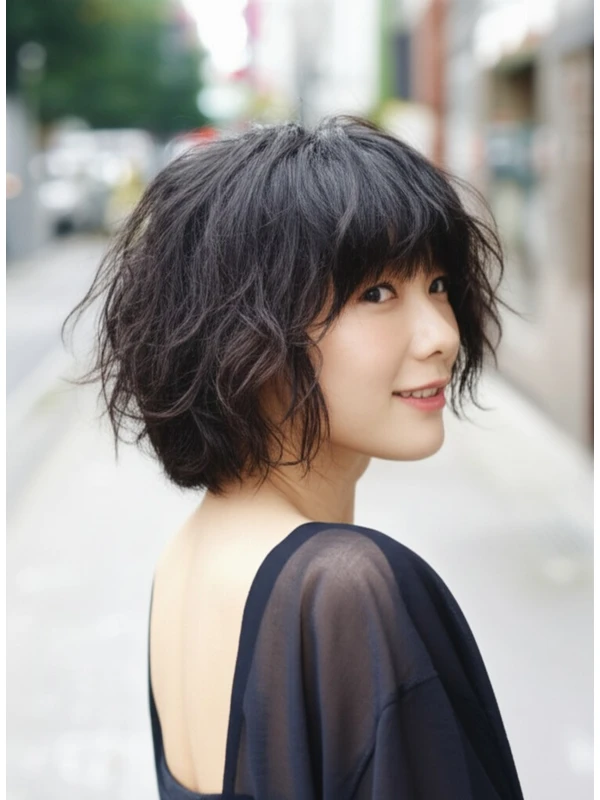
The jellyfish cut gets its name from the way it resembles—you guessed it—a jellyfish! It’s characterized by a soft, rounded shape with lots of volume at the crown and face-framing layers that cascade down. Think effortless movement and airy lightness.
Key Features:
- Rounded Shape: The overall silhouette is rounder than many contemporary cuts, softening angles.
- Volume Focus: The cut prioritizes volume at the roots and through the crown area.
- Face-Framing Layers: These layers are key to creating a soft, flattering frame around the face. They start higher up and blend seamlessly into longer lengths.
- Soft Transitions: The layers aren't harsh or choppy; they flow together smoothly.
Typical Length Ranges: The jellyfish cut can be adapted for various lengths:
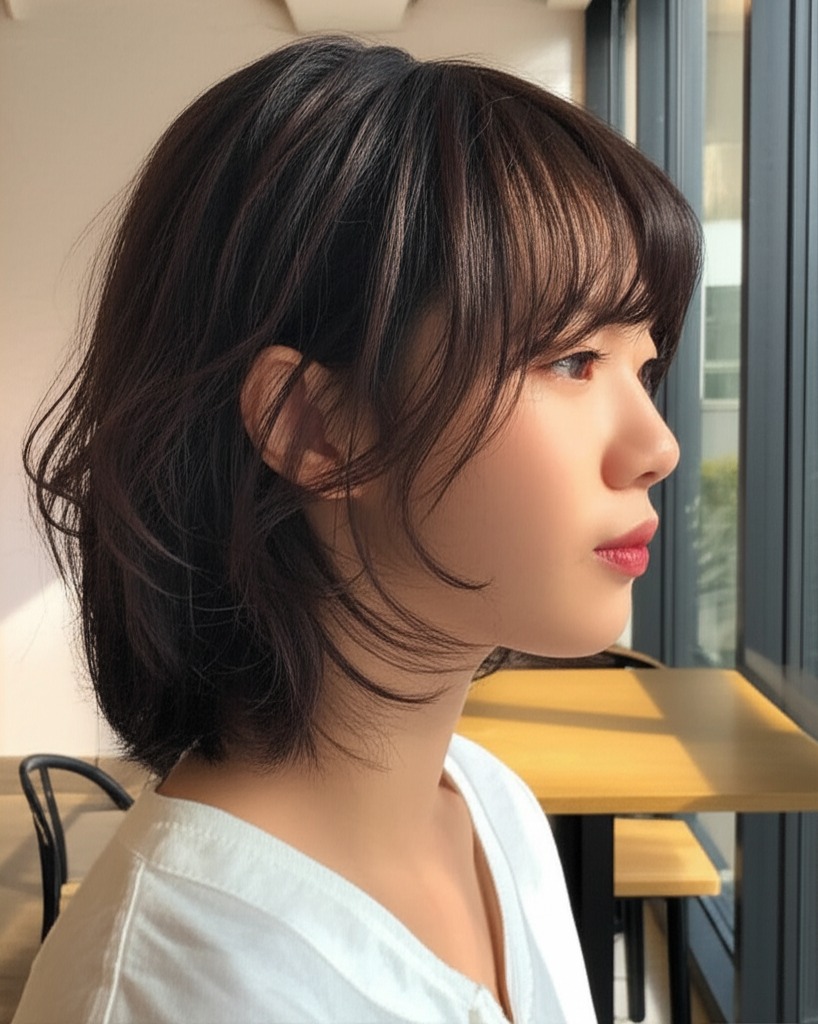
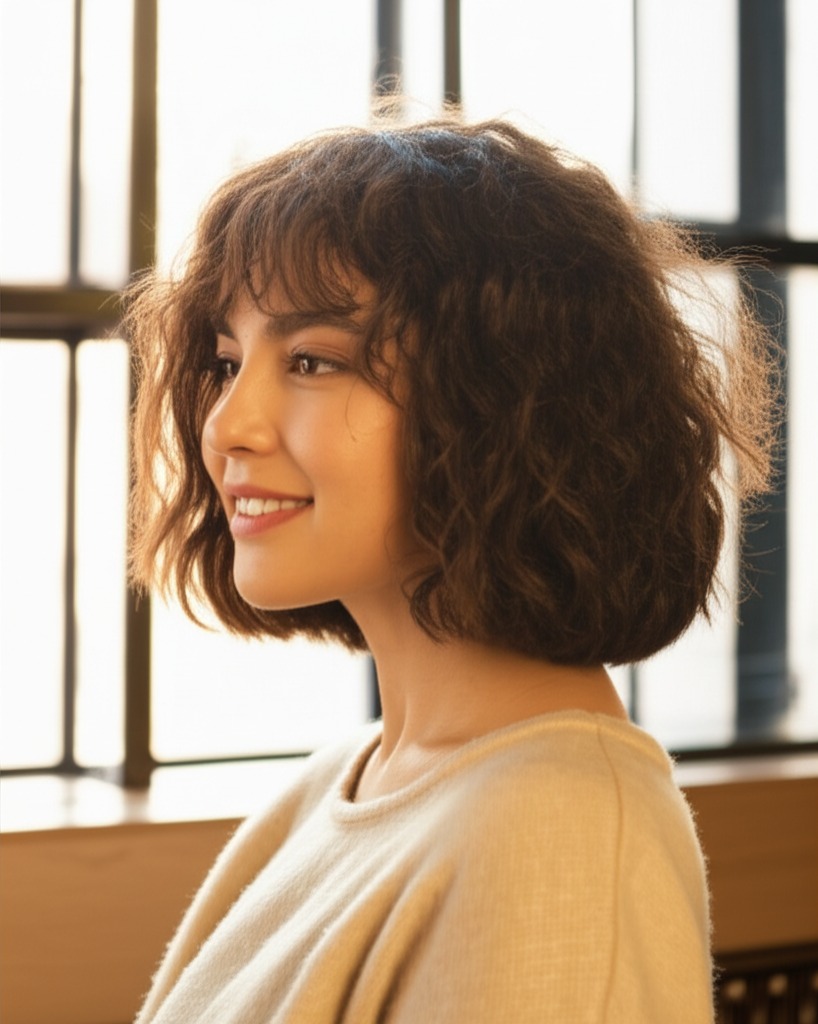
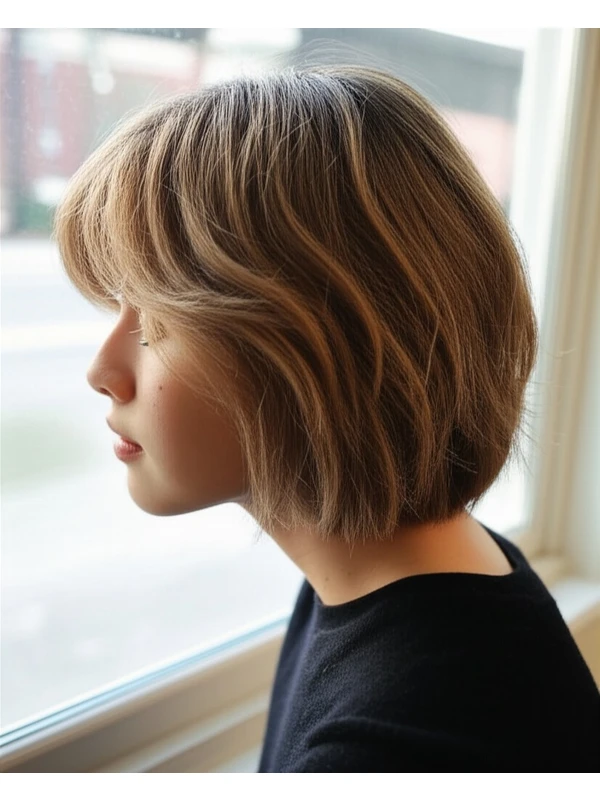
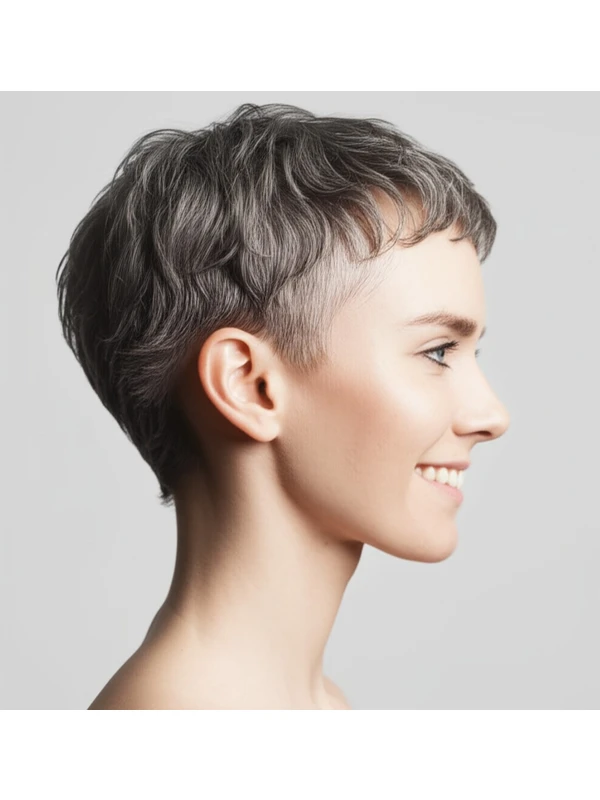
- Short Jellyfish: Chin-length to just below the jawline (bolder, more playful).
- Mid-Length Jellyfish: Collarbone length to shoulder length (most common and versatile).
- Long Jellyfish: Below the shoulders (requires more styling but offers maximum flow).
Alternative Names: You might also hear this style referred to as a "cloud cut," "rounded bob," or “soft layered lob.”
#2) Face Shape Fit: Finding Your Flattering Angle
The jellyfish cut’s rounded shape can be incredibly flattering, but tailoring it to your face shape is important.
- Oval: Lucky you! This style works exceptionally well with oval faces as the roundness complements its natural balance. A full fringe (blunt or slightly wispy) enhances this harmony.
- Round: Soften a round face by adding height at the crown and keeping layers long enough to draw the eye downward. Avoid too much volume directly at the cheekbone level, which can widen the face further. A side-swept fringe is more flattering than a blunt one.
- Square: The jellyfish cut’s softness helps soften strong square jawlines. Face-framing layers are essential to create curves and balance angles. Consider a longer, angled fringe that softens the forehead.
- Heart: Balance a wider forehead with face-framing layers starting at cheekbone level. A side part adds asymmetry and visual interest. Avoid excessive volume on top as it can exaggerate the width of the forehead.
- Diamond: The jellyfish cut’s roundness helps soften diamond shapes, which are often characterized by wide cheekbones. Layers that blend seamlessly into longer lengths will create a more balanced look. A soft fringe can help minimize a pointed chin.
- Oblong (Long): Add width with volume at the sides of the head and shorter layers around the face to visually shorten the length of your face. A full or textured fringe helps break up the length.
#3) Body Proportions & Height Guidance: Styling for Your Silhouette
The jellyfish cut's impact extends beyond just your face; it affects how you’re perceived overall!
- Petite: Mid-length to long versions work best, as shorter lengths can overwhelm a smaller frame. Focus on volume at the crown to add height and visual interest without adding bulk.
- Average Height: All lengths generally work well. Experiment with different volumes and layering techniques to find your perfect balance.
- Tall: Shorter to mid-length versions are often flattering, as longer styles can make you appear even taller. Layering is key for movement and preventing the look from feeling too heavy.
- Narrow Shoulders: Volume at the crown and face-framing layers create the illusion of broader shoulders.
- Broad Shoulders: Be mindful of adding too much volume on top, as it can exaggerate shoulder width. Focus layering towards the lower sections to draw attention away from your shoulders.
- Short Neck: Mid-length styles with face-framing layers are generally most flattering, as they elongate the neck visually. Avoid super short cuts that emphasize a shorter neck.
- Long Neck: Longer versions of the jellyfish cut can help balance out a longer neck and create a more proportional look.
#4) Works Best With Hair Types & Densities: A Texture Breakdown
The beauty of the jellyfish cut is its adaptability, but understanding how it interacts with your hair type is key to success.
- Straight: This style shines on straight hair as the layers naturally fall and create movement. Fine straight hair might benefit from texturizing techniques to avoid a limp look.
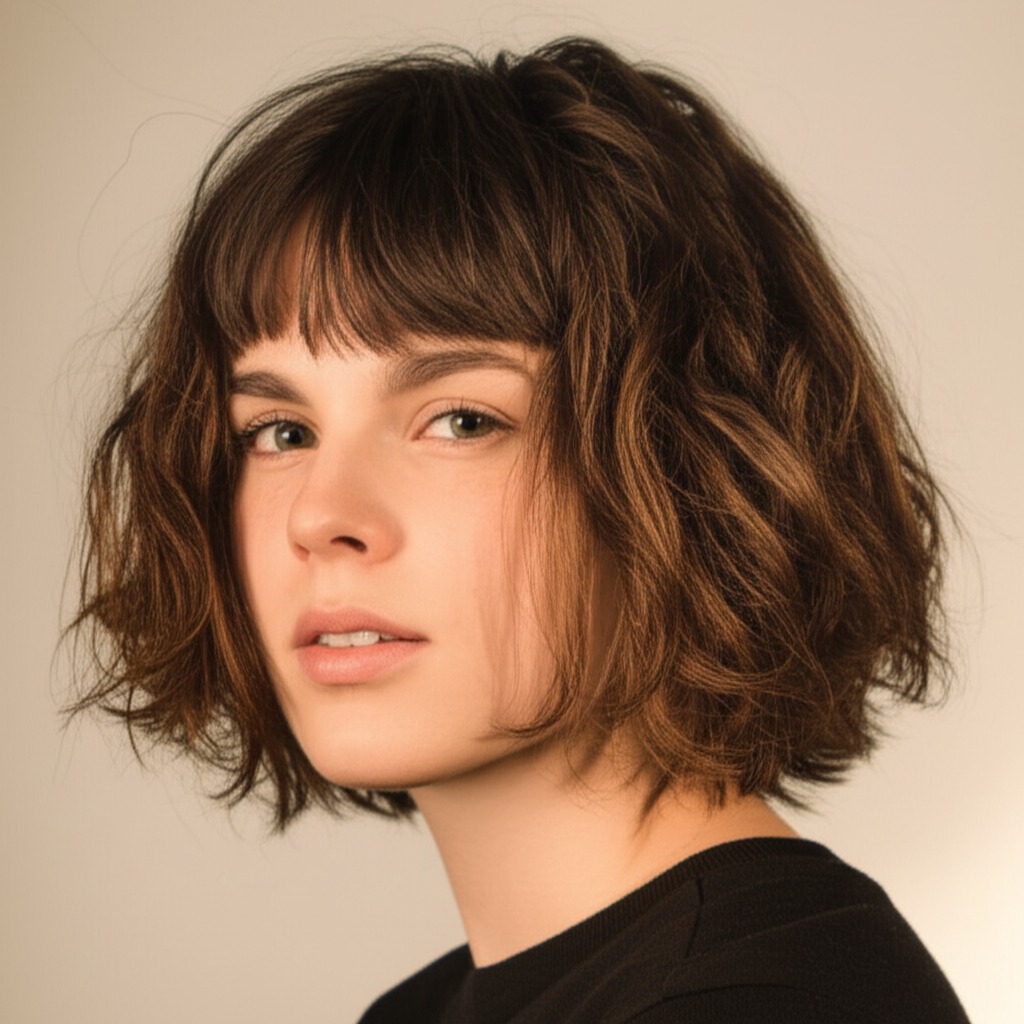
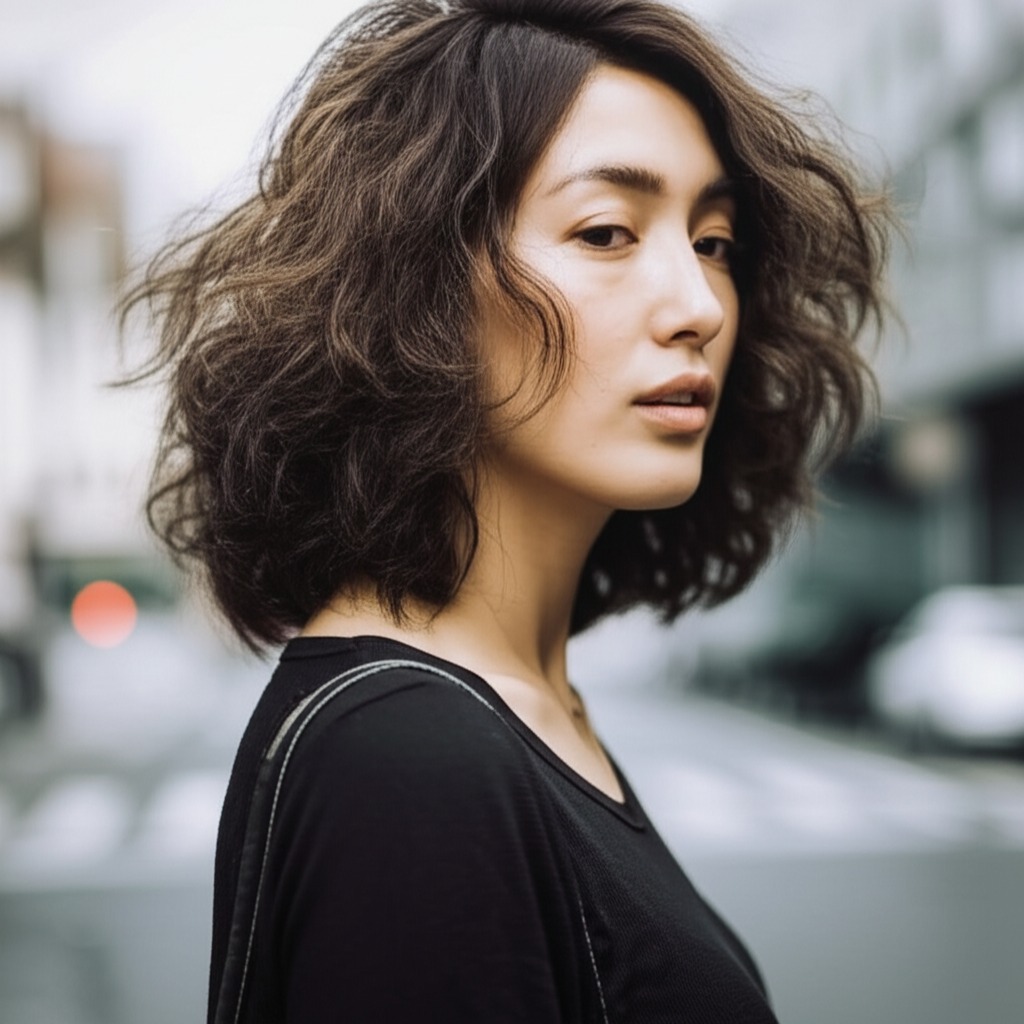
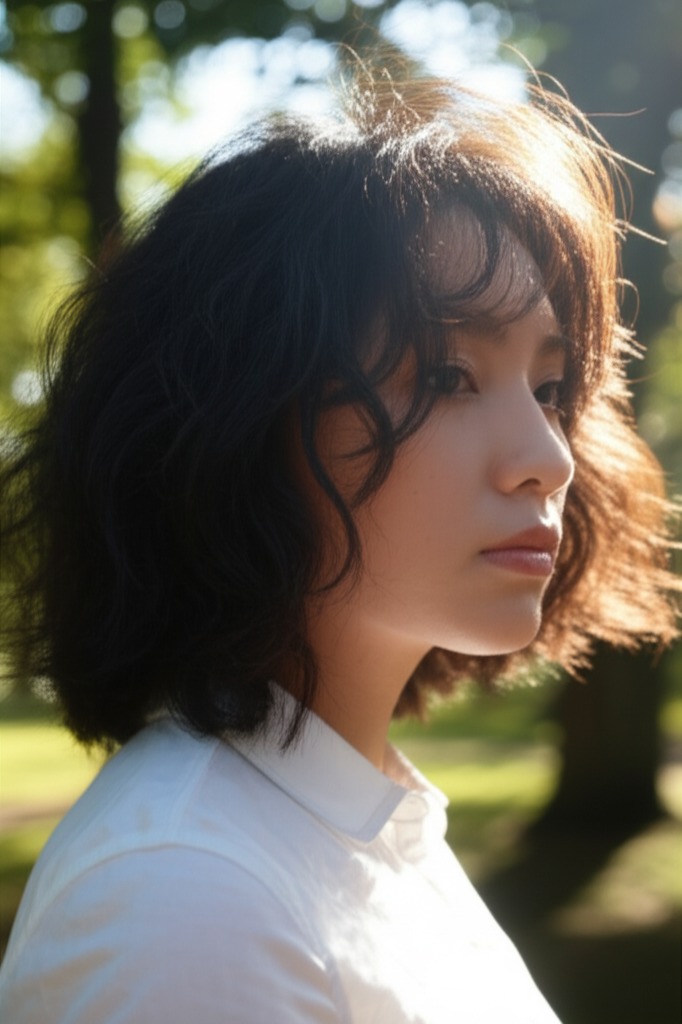
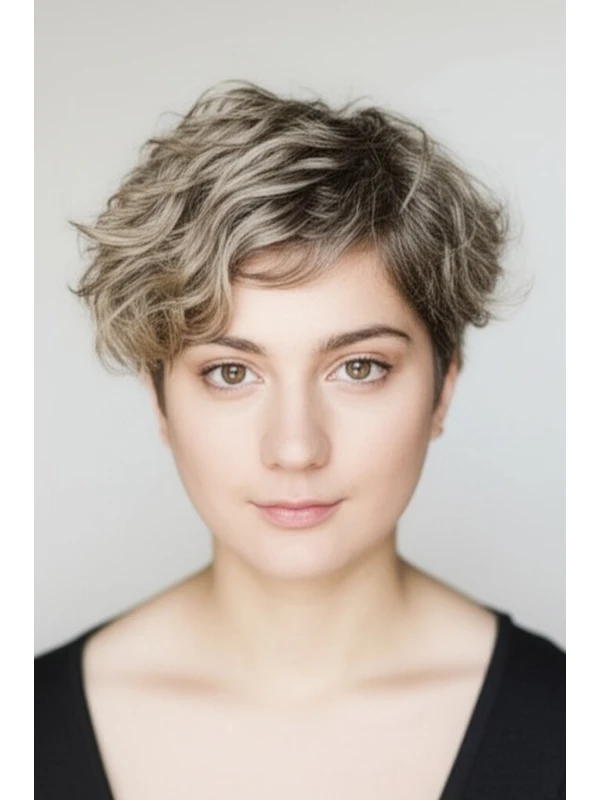
- Wavy: Wavy hair loves this cut! The layers enhance natural wave patterns, creating effortless texture. Be sure your stylist understands how your waves form so they can place the layers strategically.
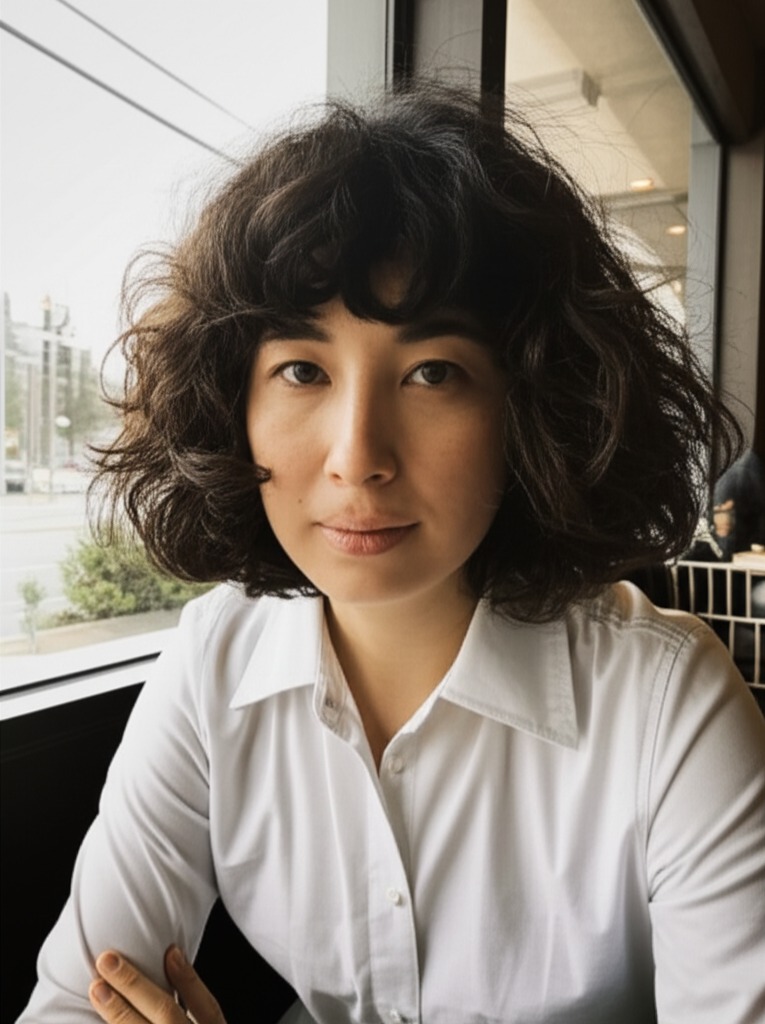
- Curly/Coily: This style can work beautifully on curls and coils, but communication with your stylist is crucial. Layers are essential to prevent a triangular shape and promote curl definition. Account for shrinkage – what looks like a long layer when cut dry will shrink up considerably when wet!
- Shrinkage Factor: Coily hair can shrink by as much as 50-75% of its length, so layers need to be longer than they appear initially.
- Fine Hair: Layers add volume but can also make fine hair look thinner if not done correctly. A blunt cut around the face can help create a fuller appearance.
- Medium/Thick Hair: This style thrives with medium to thick hair, as it provides the foundation for the characteristic volume.
- Density Tips: If you have very dense hair, your stylist may need to remove more weight to achieve lightness and movement.
#5) Styling Variations: From Casual Cool to Evening Elegance
The jellyfish cut is a chameleon – adapt it for any occasion!
- Sleek vs. Textured: Sleek styles use smoothing serums or balms for a polished look. Textured styles embrace natural waves or curls with sea salt sprays or texturizing creams.
- Middle vs Side Part: A middle part creates symmetry and balance, while a side part adds softness and asymmetry.
- Fringe Variations: Blunt bangs, wispy bangs, curtain bangs – the possibilities are endless!
- Occasion Styling:
- Casual: Air-dry with a texturizing spray for effortless waves.
- Office: Smooth and sleek with a round brush and blow dryer.
- Evening: Add volume at the roots using mousse or root lifter, then finish with hairspray for hold.
#6) Maintenance: Keeping Your Jellyfish Flowing
Regular trims are key to maintaining the jellyfish cut’s shape and movement.
- Trim Cadence: Every 6-8 weeks is typical.
- At-Home Routine: Gentle shampoo, hydrating conditioner, leave-in treatment for moisture.
- Heat vs Air Dry: Air drying enhances natural texture; heat styling allows for more control over the shape and smoothness. Use a heat protectant if using hot tools!
- Product Checklist:
- Shampoo & Conditioner (suited to your hair type)
- Leave-in Conditioner or Detangler
- Root Lifter (for volume)
- Texturizing Spray/Cream (for texture)
- Smoothing Serum/Balm (for sleekness)
- Hairspray (for hold)
- Estimated Daily Styling Time: 10-30 minutes, depending on desired style and hair type.
#7) Grow-Out Roadmap: Evolving Your Look
The jellyfish cut evolves beautifully as it grows out.
- Months 1-3: The shape is most defined; regular trims are essential to maintain the rounded silhouette.
- Months 4-6: Layers start to blend together, creating a softer look. Consider adding more face-framing layers if needed.
- Maintaining Shape: Between cuts, focus on styling techniques that enhance your hair’s natural texture and volume.
#8) Color Pairings: Enhancing the Cut's Dimension
Color can elevate the jellyfish cut from good to gorgeous!
- Cool Undertones (Ash Blonde, Cool Brown): Icy tones create a modern, ethereal look.
- Warm Undertones (Golden Blonde, Copper Red): Warm shades add warmth and dimension.
- Low-Commitment Options: Balayage or highlights can add depth without a full color change.
#9) Season & Occasion Guide: Adapting to the Mood
- Spring/Summer: Embrace lighter textures with sea salt sprays and air drying for a breezy vibe.
- Fall/Winter: Add warmth with richer tones and sleek styles for a more polished look.
- Work: Sleek, controlled layers are perfect for a professional environment.
- Weddings: Soft waves or curls add romance to the style.
- Parties: Experiment with bold accessories and playful styling techniques!
#10) Cost & Time: Salon Investment
- Salon Time: Typically 1.5 - 2.5 hours, depending on hair length, density, and desired complexity.
- Price Range: Expect to pay a moderate-to-high price range for this style (relative to other cuts).
#11) Pros & Cons: Weighing the Options
Pros: Versatile, flattering for many face shapes, creates volume and movement, relatively low maintenance with proper styling. Cons: Requires regular trims, can be time-consuming to style if you desire a very specific look, may not work well on extremely fine or thin hair without careful execution.
#12) Salon Consultation Script: Questions to Ask Your Stylist
- "I'm interested in the jellyfish cut. Can you show me some examples?"
- “Based on my face shape [describe your face shape], how can we adapt this style to best flatter me?”
- "How will this cut work with my hair type and density? What layers do you recommend?"
- "Can you explain the styling techniques needed to achieve the look I'm after?"
- “What products would you recommend for at-home care?”
#FAQs: Your Jellyfish Cut Questions Answered
- Is this cut difficult to style? It depends on your hair type and desired look! With practice, most people can achieve a basic jellyfish style in under 30 minutes.
- Can I get the jellyfish cut with damaged hair? While it's best to start with healthy hair, a skilled stylist can adapt the cut to minimize damage and promote growth.
- How does this cut differ from a traditional lob? The jellyfish cut has more volume at the crown and softer layers than a classic lob.
- Will I need bangs? Bangs are optional! They enhance the style, but aren't essential for achieving the jellyfish look.
- Can I do this myself at home? While possible with experience, it’s best left to a professional to ensure proper layering and shape.
- How can I add more volume if my hair is fine? Ask your stylist about texturizing techniques or strategic layer placement to create the illusion of thickness.