#Dive into Mermaid Layers: A Style Guide for Every Siren
The “mermaid” hairstyle is having a moment – and for good reason! It’s romantic, ethereal, and incredibly flattering on many face shapes and hair types. But what exactly is it? This guide will break down everything you need to know about mermaid layers, from the cut itself to styling tips and maintenance advice. Let's get started!
#1) Background & Definition: What are Mermaid Layers?
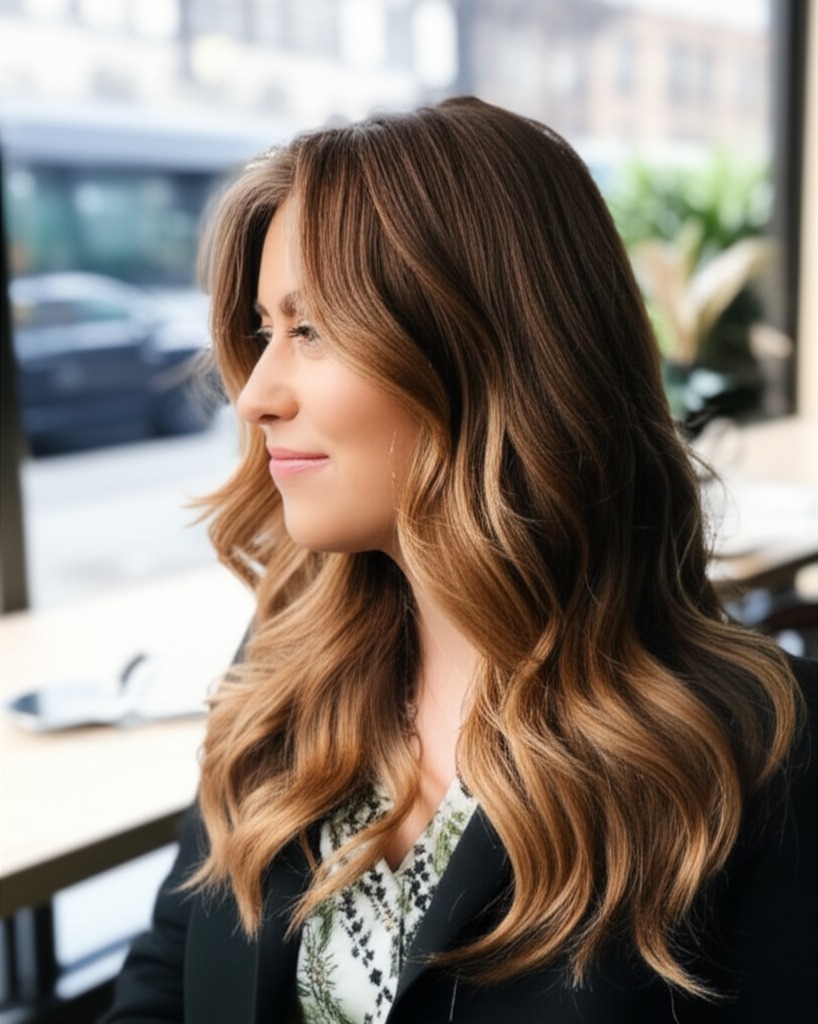
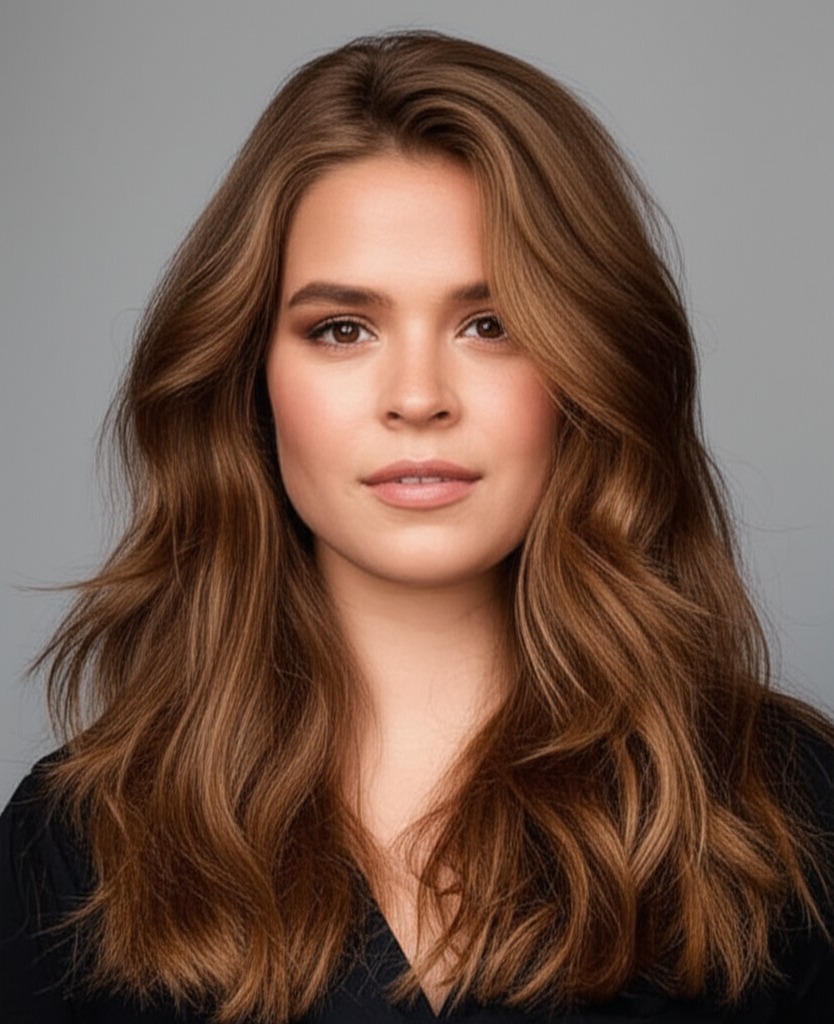
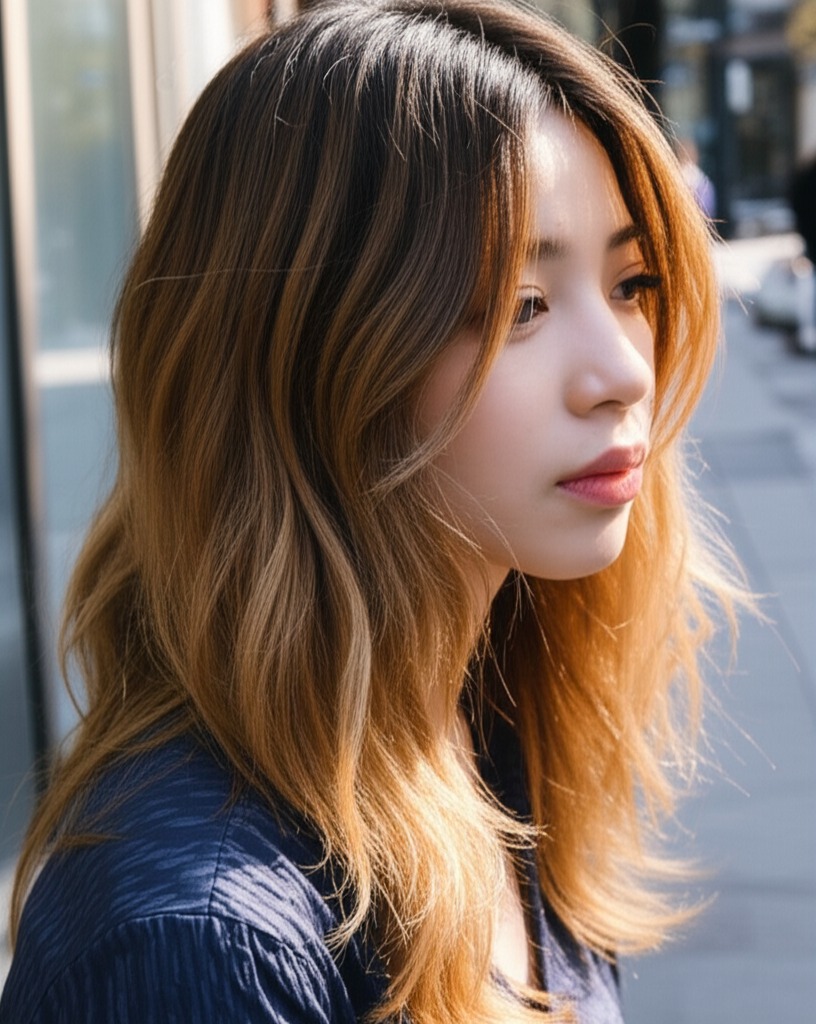
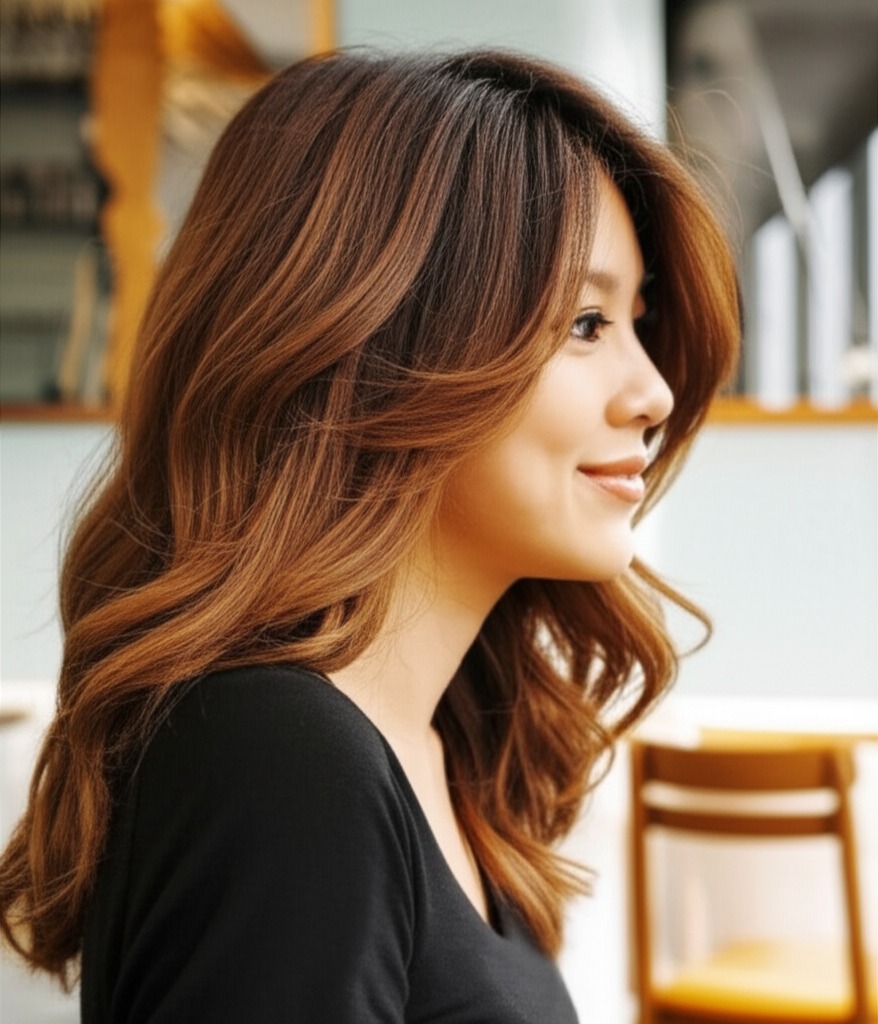
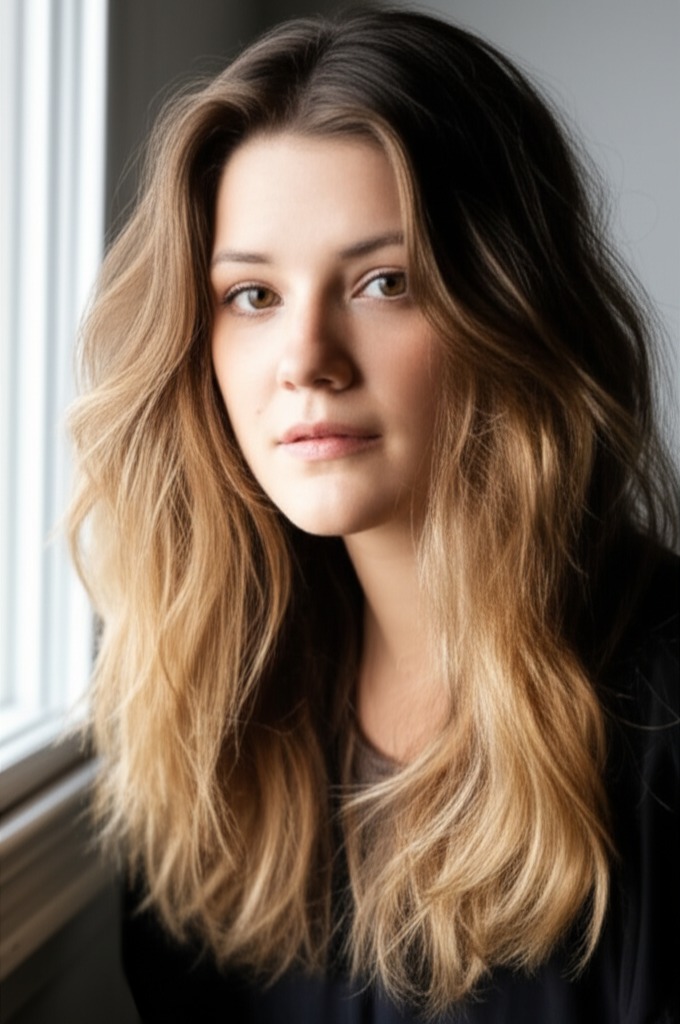
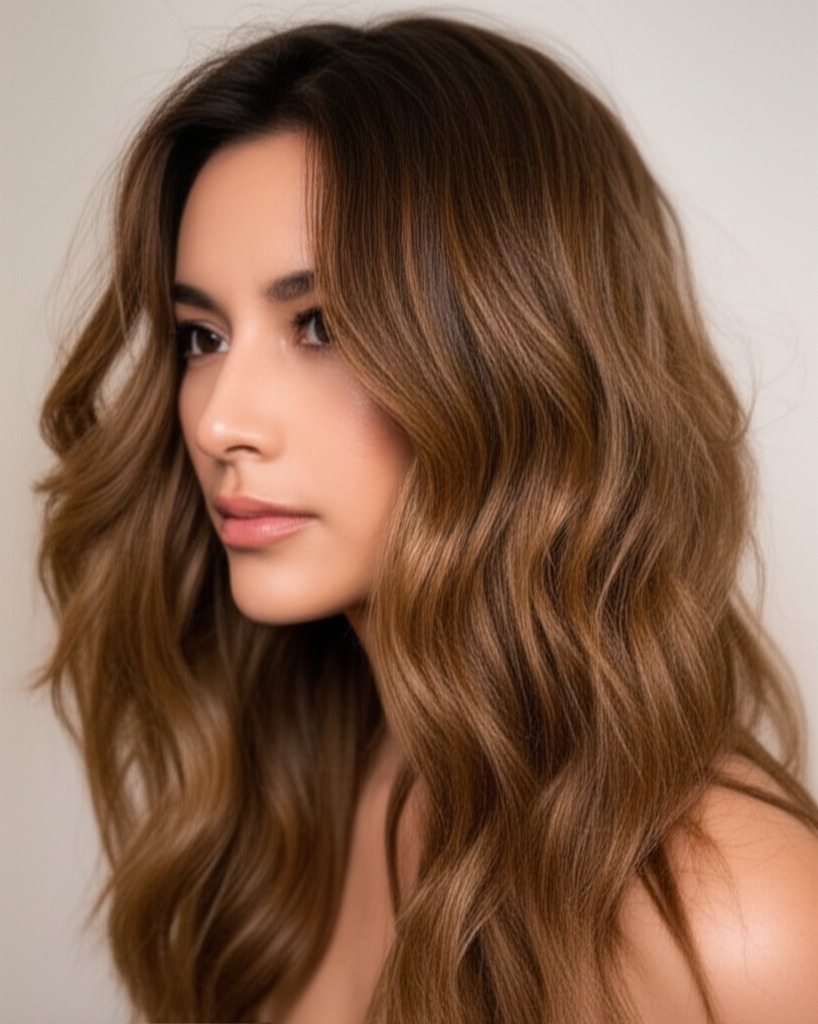
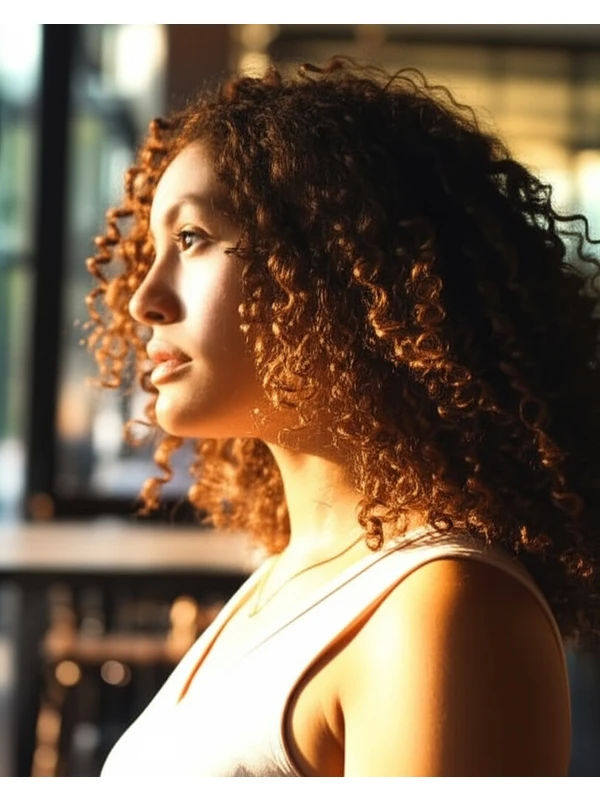
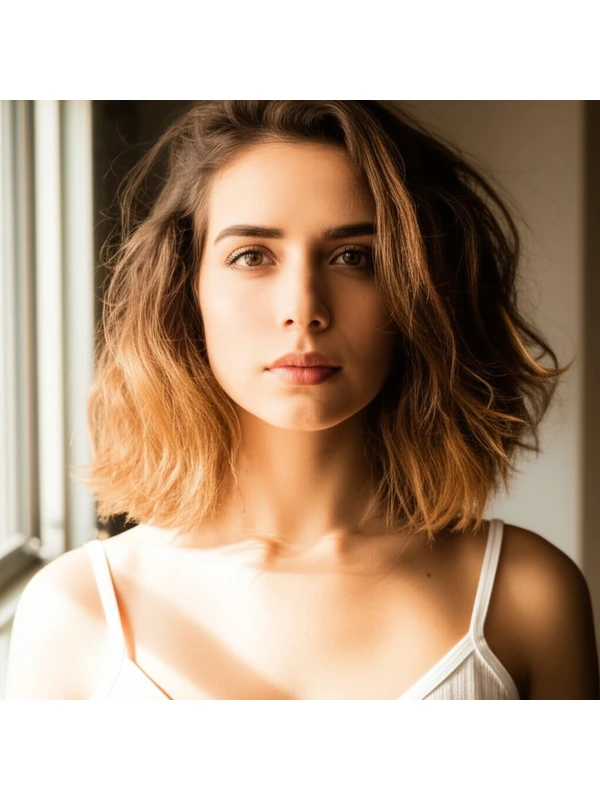
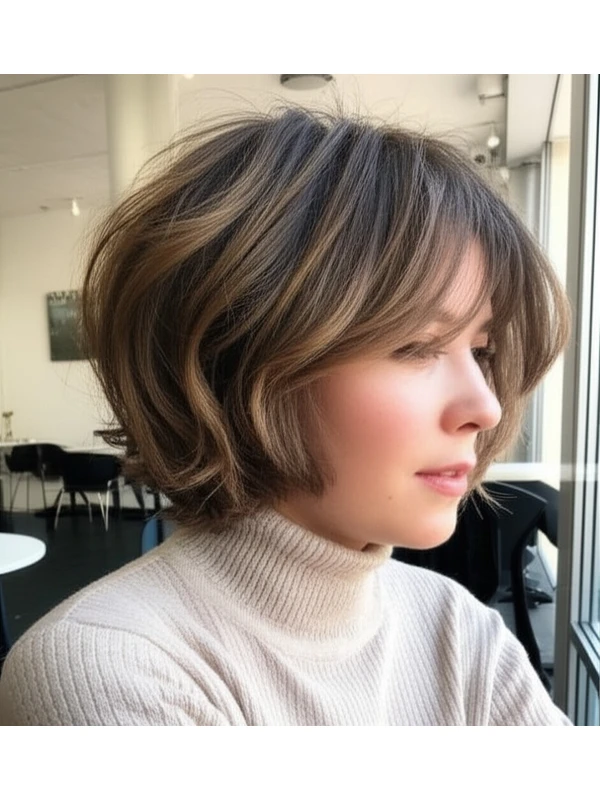
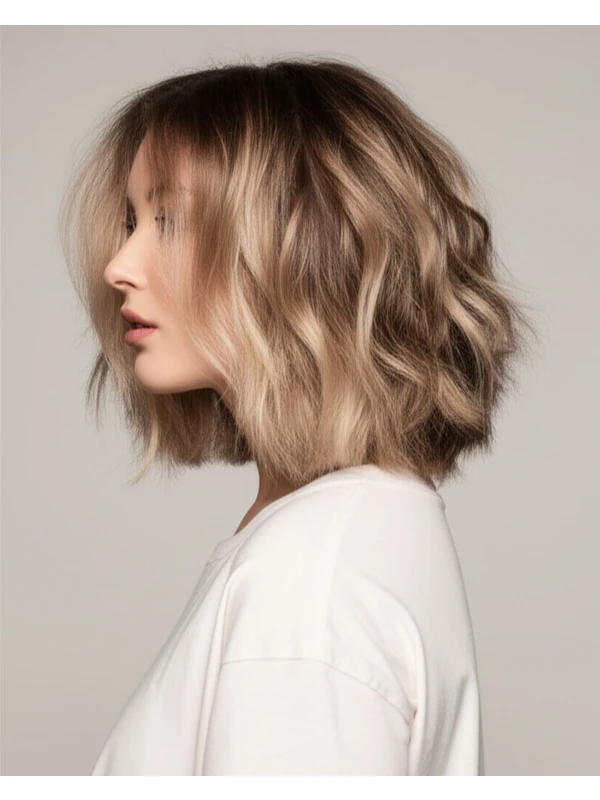
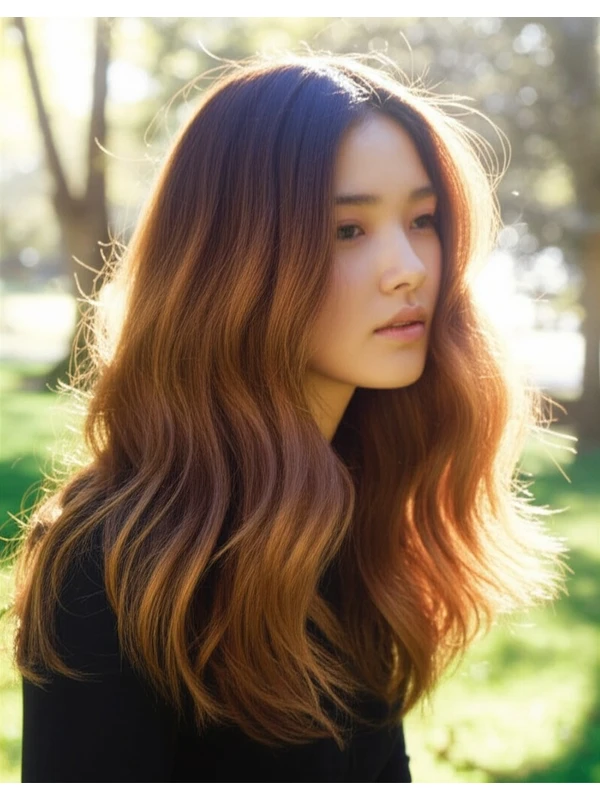
Mermaid layers aren’t a single, rigid style; they're more of an aesthetic. Think flowing, cascading waves that resemble the movement of water – hence the name! The cut itself is characterized by long, face-framing layers that gradually blend into longer lengths in the back. It’s all about creating soft lines and visual texture.
- Cut Geometry: Layers start around the chin or collarbone (or lower) and become progressively shorter towards the face. They're not blunt; they are blended to create a seamless transition.
- Key Features: Soft, flowing movement; face-framing layers; long lengths overall; subtle graduation of length.
- Typical Length Ranges: Generally works best on medium to long hair (shoulder-length or longer). Shorter versions can work with careful layering, but the effect is less dramatic.
- Alternative Names: Cascading Layers, Ocean Waves Cut, Flowing Layers.
#2) Face Shape Fit: Finding Your Perfect Frame
The beauty of mermaid layers lies in their adaptability. However, understanding how they interact with your face shape is key to a truly flattering result.
- Oval: This is the most universally flattering face shape! Mermaid layers will enhance your natural symmetry and highlight cheekbones. A side-swept fringe can add extra softness.
- Round: Longer mermaid layers that start below the chin help elongate the face. Avoid short, choppy layers around the cheeks as they can accentuate roundness. A long, wispy fringe (or no fringe) is best.
- Square: Soft, face-framing layers soften angular features. Layers starting at or just below the jawline are ideal. A side part adds asymmetry and balance. Avoid blunt bangs that emphasize a strong jawline.
- Heart: Mermaid layers with soft, sweeping sides help to balance a wider forehead and pointed chin. A feathered fringe can further soften the face.
- Diamond: Layers that start below the chin will create length and soften the angles of a diamond-shaped face. A side part is highly recommended for asymmetry.
- Oblong (Long): Shorter layers, starting around the cheekbones or collarbone, add width to a long face. A full fringe can also help shorten the appearance of the face.
#3) Body Proportions & Height Guidance: Silhouette Harmony
Beyond your face shape, consider your overall body proportions and height. This helps determine optimal length and volume placement.
- Petite: Longer layers that hit below the collarbone create a lengthening effect. Avoid overly voluminous styles which can overwhelm a smaller frame.
- Average: Most lengths work well! Experiment with layer placement to find what you love best.
- Tall: You can pull off longer, more dramatic versions of mermaid layers – think cascading waves that reach your mid-back.
- Narrow Shoulders: Face-framing layers and strategic volume around the shoulders create a wider silhouette.
- Broad Shoulders: Layers starting lower on the neck (around the collarbone or below) minimize shoulder width. Avoid overly voluminous top sections.
- Short Neck: Longer layers that fall past the collarbone visually lengthen the neck. Avoid short, choppy styles which can emphasize a shorter neck.
- Long Neck: Shorter layers around the face and shoulders add visual balance to a longer neck.
#4) Works Best With Hair Types & Densities: Finding Your Match
Mermaid layers are surprisingly versatile but shine brightest with certain hair types and densities.
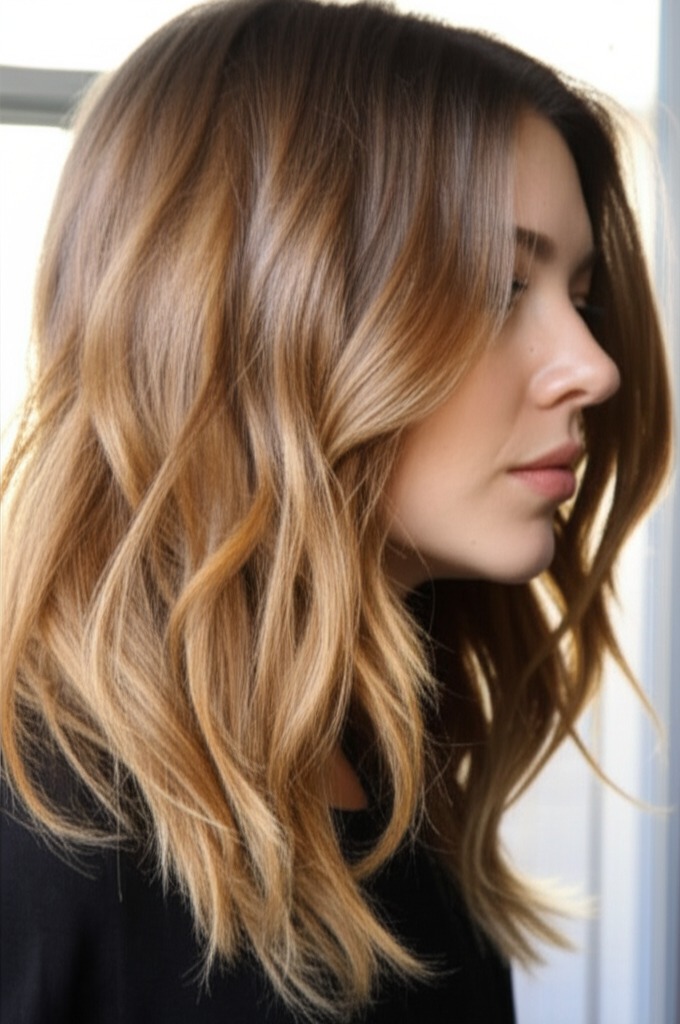
- Straight: Layers create movement, but require more styling effort to achieve the "mermaid" wave effect (curling or waving tools will be your friend).
- Wavy: This is a dream pairing! Layers enhance natural waves, creating even more texture and definition. Air-drying with product often yields beautiful results.
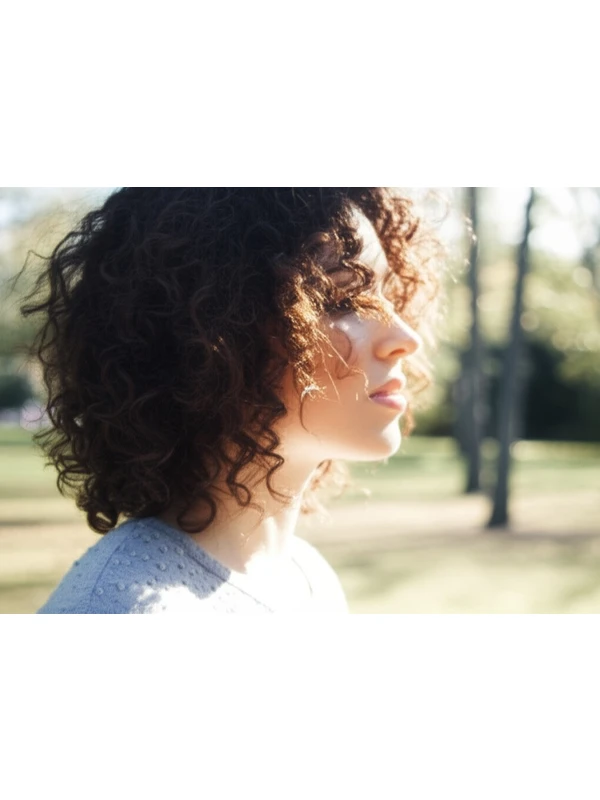
- Curly/Coily: Layers add shape and reduce bulk, but shrinkage needs to be considered (see below). Consult with a stylist experienced in cutting curly/coily hair.
- Fine: Layers can create the illusion of volume, but avoid too many short layers which can make hair look even thinner.
- Medium: This is generally ideal! Layers will add movement and shape without sacrificing density.
- Thick: Layers are essential to remove weight and create flow. Gradual layering prevents a "blocky" appearance.
Shrinkage Alert (Curly/Coily Hair): Remember that curly and coily hair shrinks significantly when dry. What looks like long layers in the salon might appear much shorter once styled! Communicate this with your stylist.
#5) Styling Variations: From Casual to Evening Glam
The beauty of mermaid layers is their versatility.
- Sleek vs Textured: Sleek styles involve straightening and smoothing, while textured styles embrace natural waves or curls.
- Middle vs Side Part: A middle part creates symmetry; a side part adds softness and asymmetry.
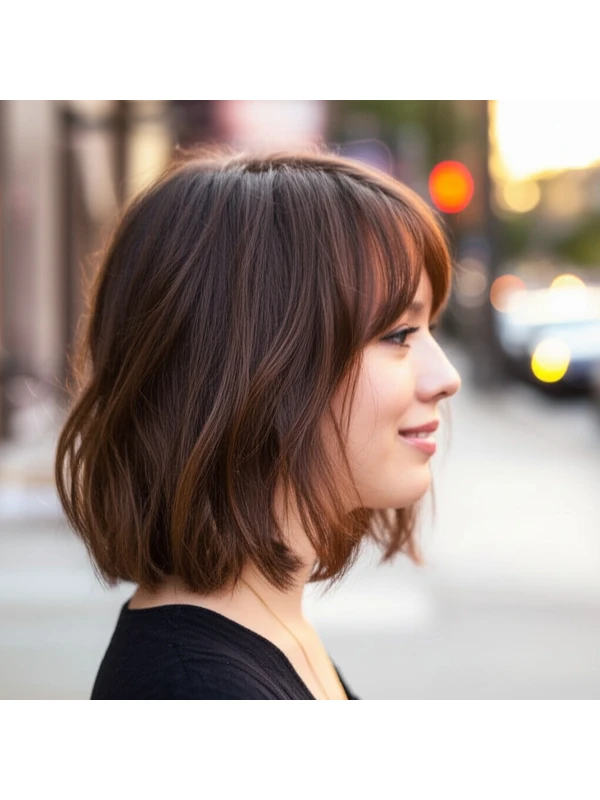
- Fringe Variations: Wispy bangs, curtain bangs, or no fringe – the choice is yours!
- Occasion Styling:
- Casual: Air-dry with sea salt spray for effortless waves.
- Office: Straighten hair with a round brush for a polished look.
- Evening: Curl sections of your hair with a curling iron or wand, adding shine serum for extra glamour.
#6) Maintenance: Keeping Your Mermaid Look Fresh
Regular maintenance is key to preserving the shape and flow of mermaid layers.
- Trim Cadence: Every 8-12 weeks (or sooner if you notice split ends).
- At-Home Routine: Gentle shampoo, hydrating conditioner, leave-in conditioner.
- Heat vs Air-Dry: Minimize heat styling; air-drying is healthier and preserves the layers' shape. When using heat, always use a protectant spray!
- Product Checklist:
- Shampoo & Conditioner (suited to your hair type)
- Leave-In Conditioner (for moisture and detangling)
- Sea Salt Spray or Texturizing Spray (for waves)
- Heat Protectant (if using heat styling tools)
- Shine Serum (for added gloss)
- Estimated Daily Styling Time: 15-45 minutes, depending on your hair type and desired style.
#7) Grow-Out Roadmap: The Evolution of Your Style
Mermaid layers evolve as they grow out.
- Months 1-3: Layers are most defined; regular trims maintain shape.
- Months 3-6: Layers blend together more, creating a softer look. Consider face-framing layers trimmed to prevent them from growing too long and losing their shape.
- Maintaining Shape: Ask your stylist for "dusting" trims – very light shaping to remove split ends without sacrificing length or layers.
#8) Color Pairings: Enhancing the Dimensionality
Color can elevate mermaid layers even further!
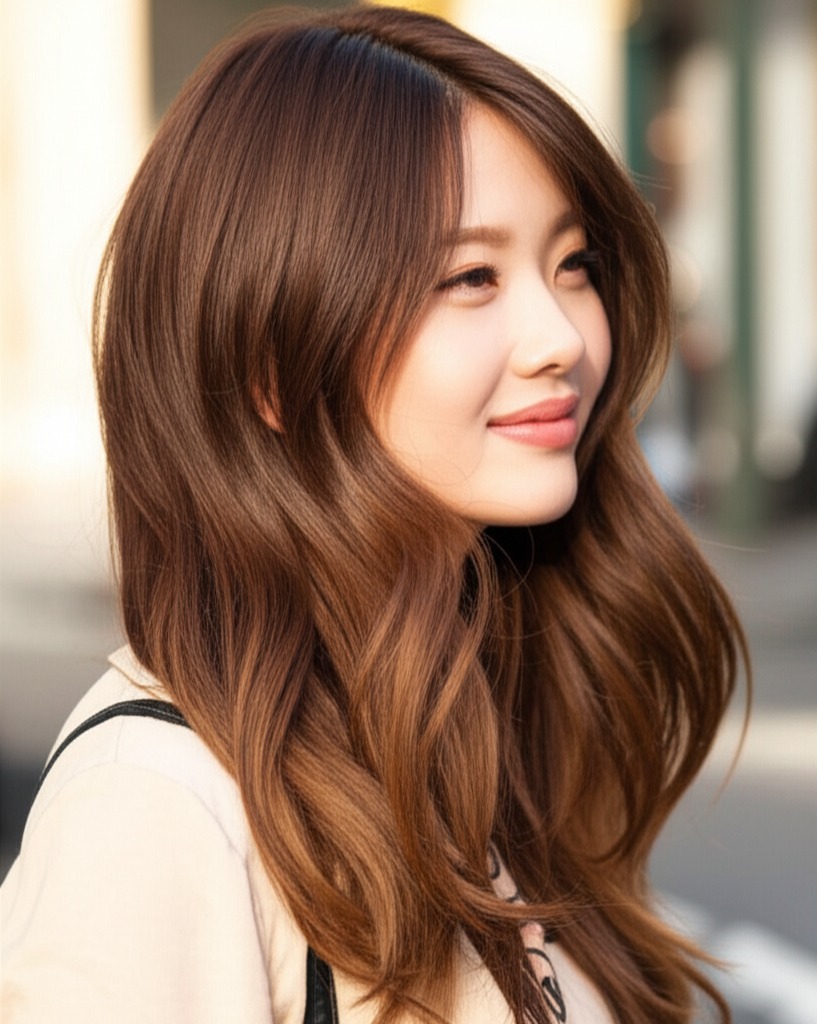
- Shades that Elevate: Balayage, highlights, and ombre techniques create depth and dimension.
- Cool Undertones (ashy blondes, cool browns): Enhance a cool-toned complexion.
- Warm Undertones (golden blondes, warm browns): Complement warmer skin tones.
- Low-Commitment Options: Root smudging or glossing can add subtle dimension without a full color change.
#9) Season & Occasion Guide: Adapting to the Moment
- Spring/Summer: Embrace lighter colors and air-dried textures for a breezy, effortless vibe.
- Fall/Winter: Richer tones (caramels, coppers) add warmth; sleek styles are perfect for more formal occasions.
- Work: Sleek, polished layers with minimal texture.
- Weddings: Romantic waves and soft curls create an ethereal look.
- Parties: Experiment with bolder colors or statement accessories.
#10) Cost & Time: Salon Investment
- Salon Time: Typically 1.5 - 3 hours, depending on hair length, density, and complexity of layering.
- Estimated Price Range: Relatively moderate to high – expect a higher price point due to the time and skill required.
#11) Pros & Cons: Weighing Your Options
Pros: Flattering on many face shapes; versatile styling options; creates movement and volume; romantic aesthetic. Cons: Requires regular trims; can be more challenging to style (especially for straight hair); may not suit very short hair lengths.
#12) Salon Consultation Script: Questions to Ask Your Stylist
Prepare for your appointment with these helpful questions:
- "I'm interested in mermaid layers. Can you show me examples of the look on someone with my face shape and hair type?"
- "How many layers will I need, and where should they start?"
- “What styling products do you recommend to achieve this style at home?”
- "How often will I need trims to maintain the shape?"
- "Can we discuss how to adjust the layers as my hair grows out?"
#FAQs: Your Burning Questions Answered
- Can mermaid layers work on short hair? While not ideal, a shorter version can be achieved with careful layering and blending. Expect a less dramatic effect.
- Will mermaid layers make my hair look thinner? Not necessarily! Strategic layering can actually create the illusion of volume. Avoid too many short layers if you have fine hair.
- How do I achieve the "mermaid" wave without heat styling? Use braiding techniques, pin curls, or a flexi-rod set to create waves while air-drying. Sea salt spray enhances texture.
- Can I get mermaid layers with balayage highlights? Absolutely! Balayage and mermaid layers are a perfect pairing for added dimension and visual interest.
- What if my hair is very curly/coily – will the layers be visible? Yes, but shrinkage needs to be factored in during cutting. Communicate your curl pattern and desired length with your stylist.
- How can I prevent split ends while maintaining mermaid layers? Regular trims, deep conditioning treatments, and using heat protectant are essential for healthy hair.