#Mid-Length Layers: Your Guide to Effortless Style
Mid-length layers are a timeless hairstyle that offers versatility and movement. They’re flattering on many face shapes and hair types, but understanding how they work with your unique features is key to achieving the best results. This guide breaks down everything you need to know about mid-length layered looks – from geometry to grow-out!
#1) Background & Definition: What Are Mid-Length Layers?
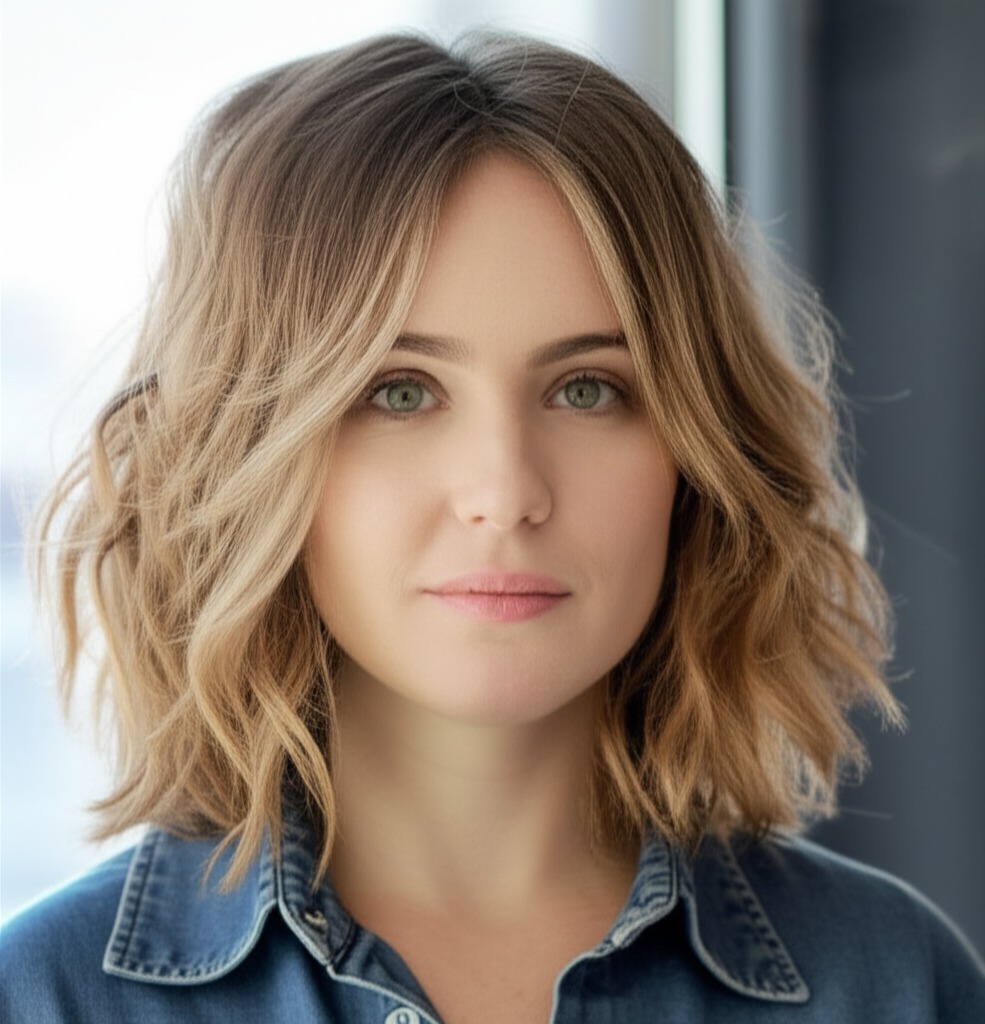
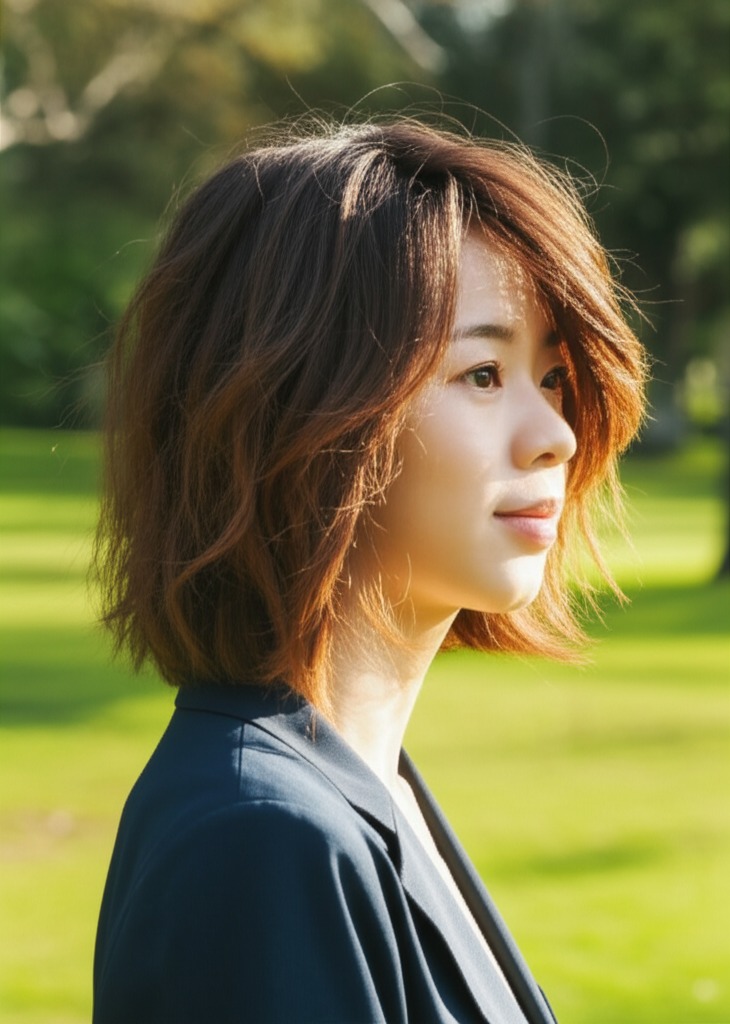
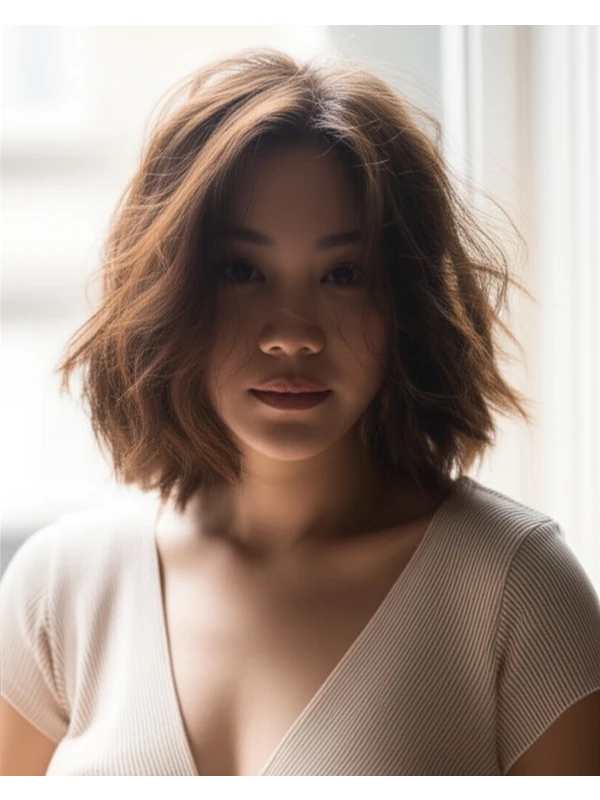
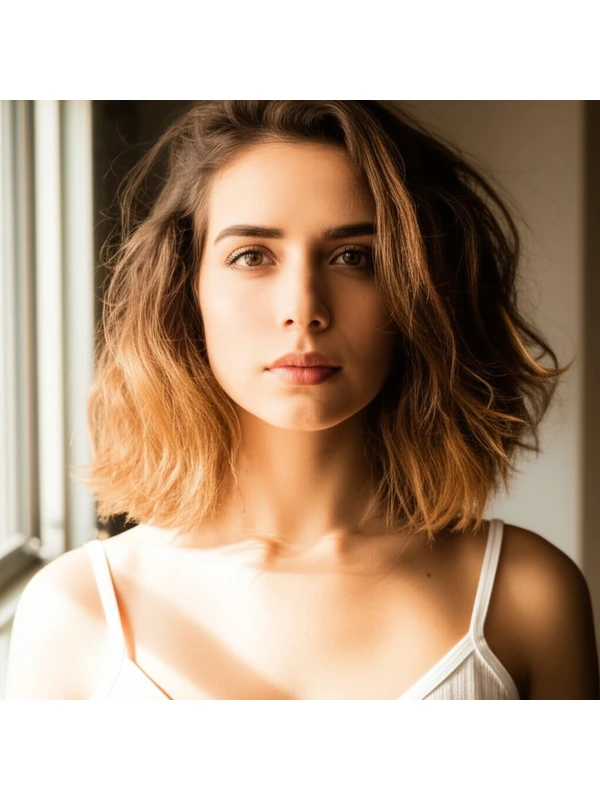
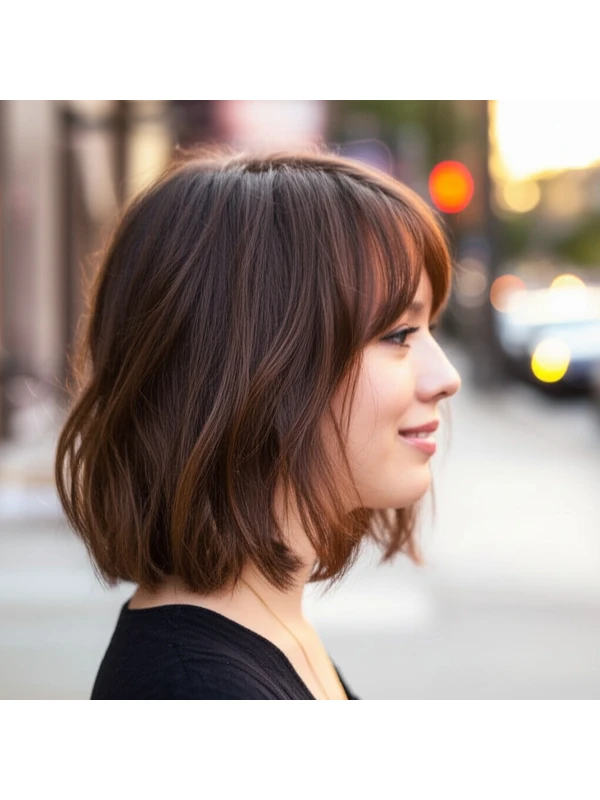
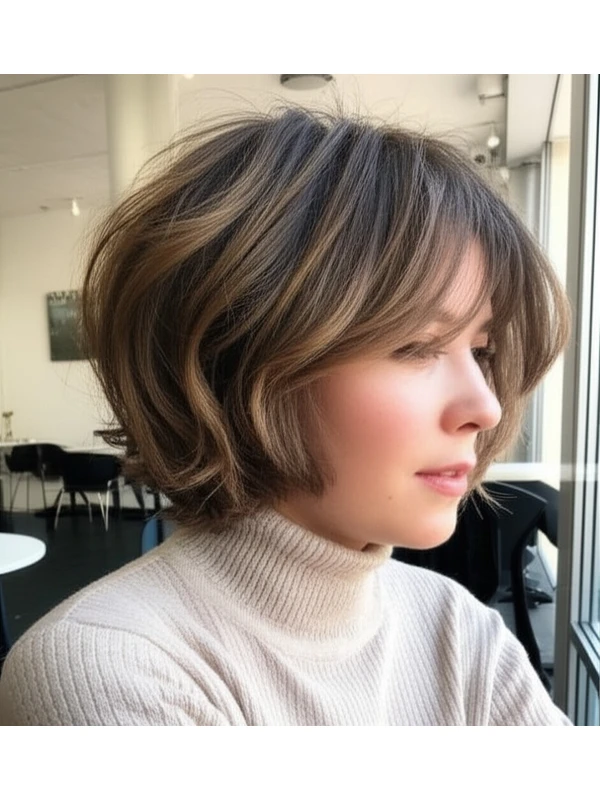
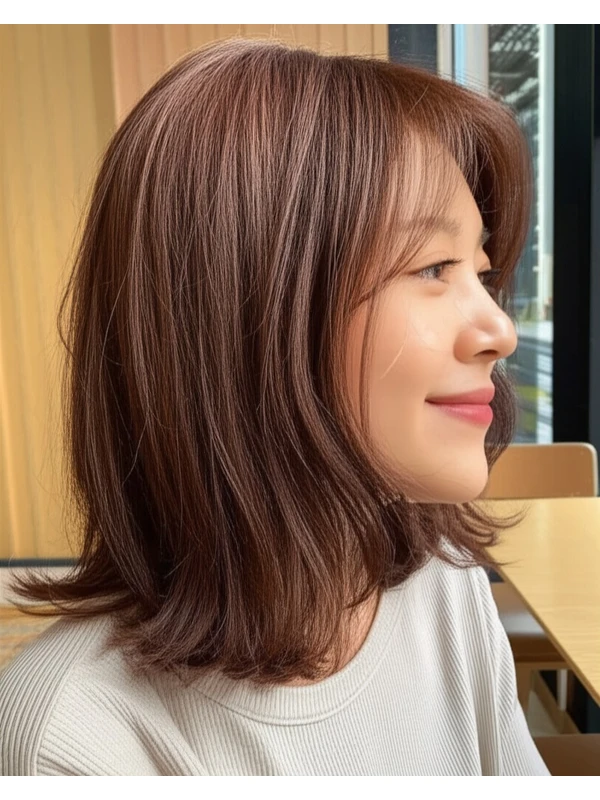
Mid-length layers generally fall between your collarbone and shoulder length (roughly 8–14 inches). The defining characteristic is the presence of graduated lengths throughout the hair, creating visual texture and movement. These layers aren't just random chops; they’re strategically cut to frame the face, add volume at the crown, or soften harsh angles.
- Cut Geometry: Layers are created by cutting sections of hair shorter than the surrounding length. The degree of layering (how much is removed) dictates how dramatic the style will be. Subtle layers create soft movement; more significant layers offer a lot of texture and volume.
- Key Features: Movement, dimension, frame the face, customizable volume.
- Typical Length Ranges: 8-14 inches from root to tip.
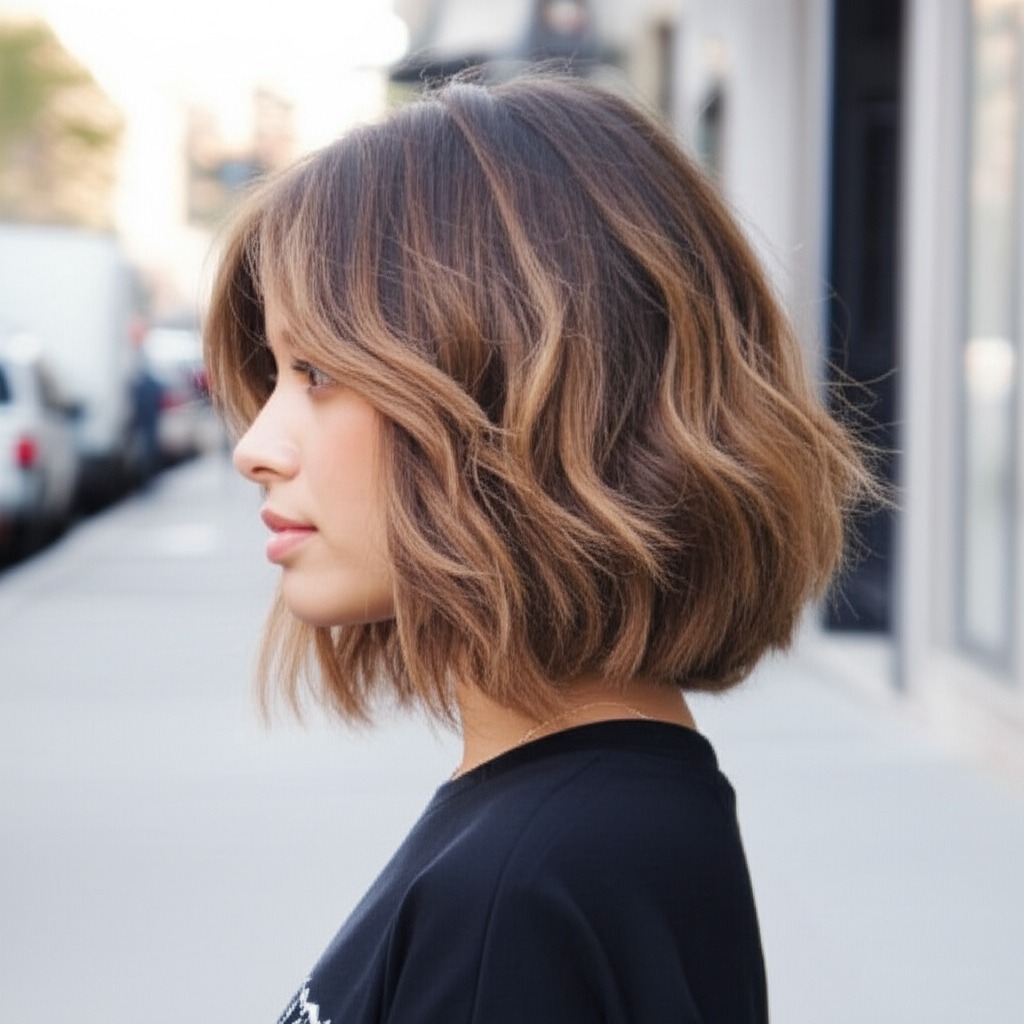
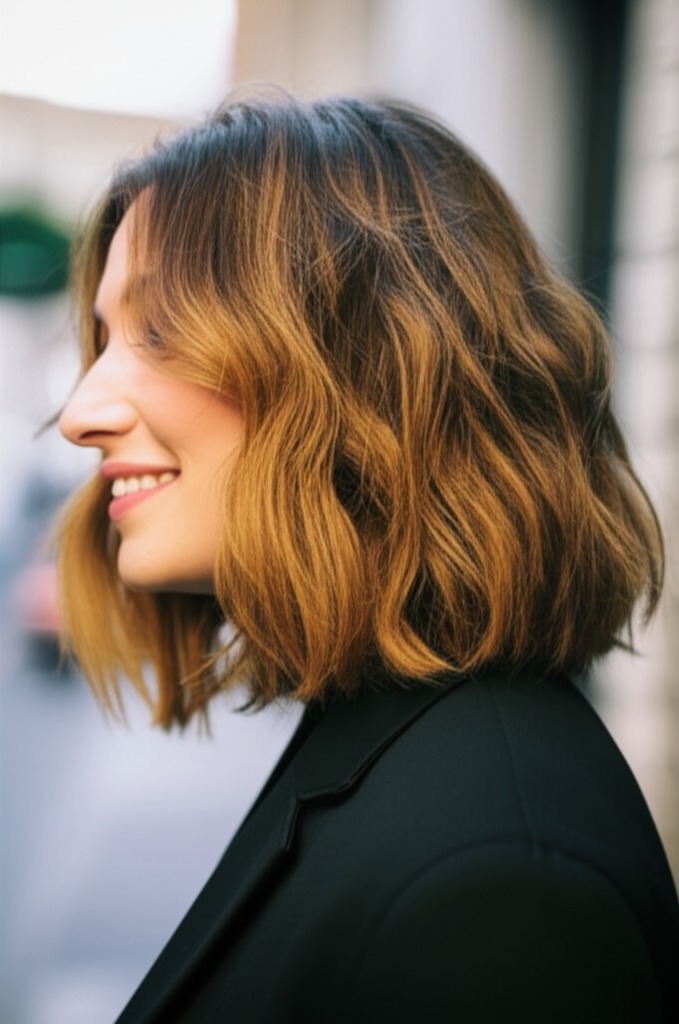
- Alternative Names: "Collarbone Cut with Layers," "Shoulder-Length Textured Haircut," “Layered Bob” (if shorter end of range).
#2) Face Shape Fit: Finding Your Angle
Mid-length layers are remarkably adaptable, but understanding how they interact with your face shape is crucial.
- Oval: Lucky you! This shape suits almost any layered style. Consider a slightly longer length to accentuate the oval’s natural symmetry. A side-swept fringe can add softness.
- Round: Layers help break up roundness by adding vertical lines and drawing the eye upward. Avoid blunt cuts at jawline, which emphasize width. Longer layers that fall below the chin are best. A long, wispy fringe softens a full face.
- Square: Soften strong angles with gentle layering around the cheekbones and jawline. A textured fringe (not blunt) can also help soften features. Avoid short, choppy layers near the jaw as they will accentuate squareness.
- Heart: Layers balance a wider forehead and narrower chin. Focus on volume at the sides to create balance. Side-swept bangs are universally flattering.
- Diamond: Layers around the cheekbones can soften angular features. A face-framing fringe (either side-swept or curtain style) works well. Avoid too much volume at the crown, which can exaggerate width.
- Oblong: Add width with shorter layers and a full fringe to make the face appear wider and more balanced. Avoid extremely long, one-length styles that elongate the face further.
#3) Body Proportions & Height Guidance: Tailoring the Look
Beyond your face shape, your overall body proportions influence how mid-length layers look.
- Petite: Shorter mid-lengths (8–10 inches) prevent overwhelming a smaller frame. Avoid excessive volume at the bottom to maintain balance.
- Average: Most lengths work well! Consider layering placement based on desired effect – more volume at the crown for balanced proportions, or lower layers for added movement.
- Tall: Longer mid-lengths (12–14 inches) can help fill out a taller frame. Strategic layering adds visual interest and prevents the hair from looking flat.
- Narrow Shoulders: Layers that add width around the shoulders create balance. A side part also visually broadens the shoulder line.
- Broad Shoulders: Avoid excessive volume at the shoulders, which can accentuate their width. Focus on layers that draw attention upward.
- Short Neck: Avoid very long layers or a center part, as they can emphasize a short neck. Opt for face-framing layers and a side part to elongate the neck visually.
- Long Neck: Longer mid-lengths and strategic layering around the collarbone can help balance a longer neck.
#4) Works Best With Hair Types & Densities: Finding Your Match
Mid-length layers are versatile, but understanding how they interact with your hair type is essential for success.
- Straight: Layers add movement and prevent flatness. Consider subtle layering for a softer look or more dramatic layering for added texture.
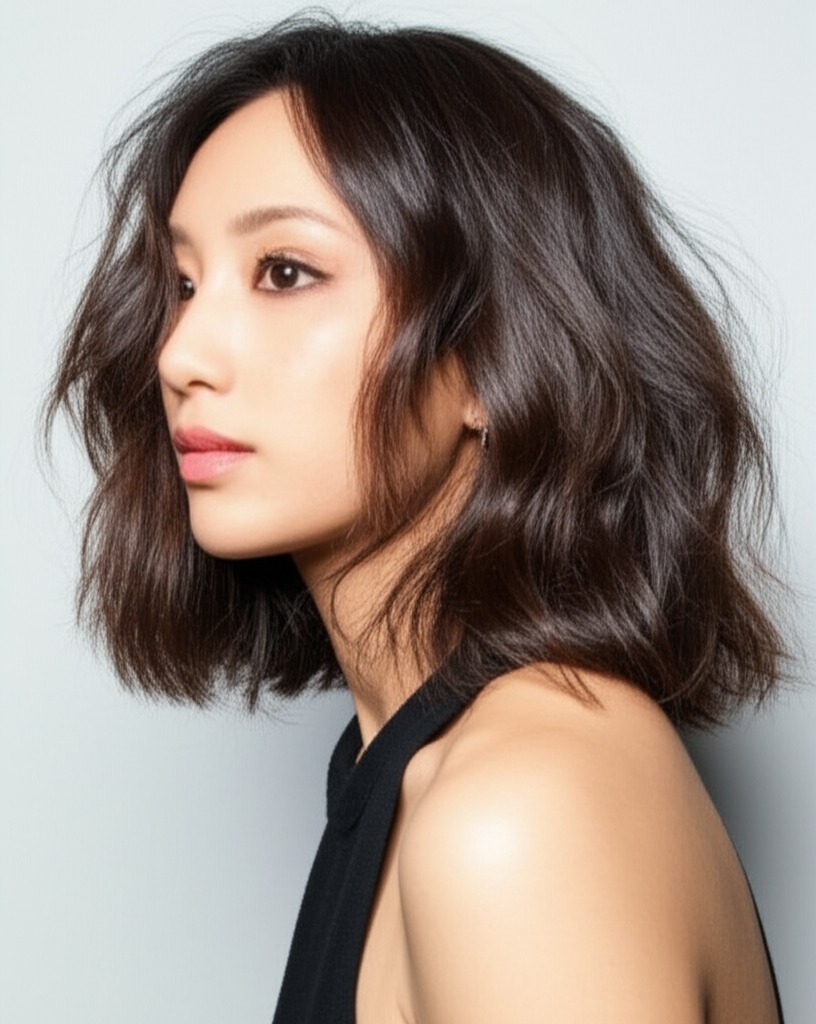
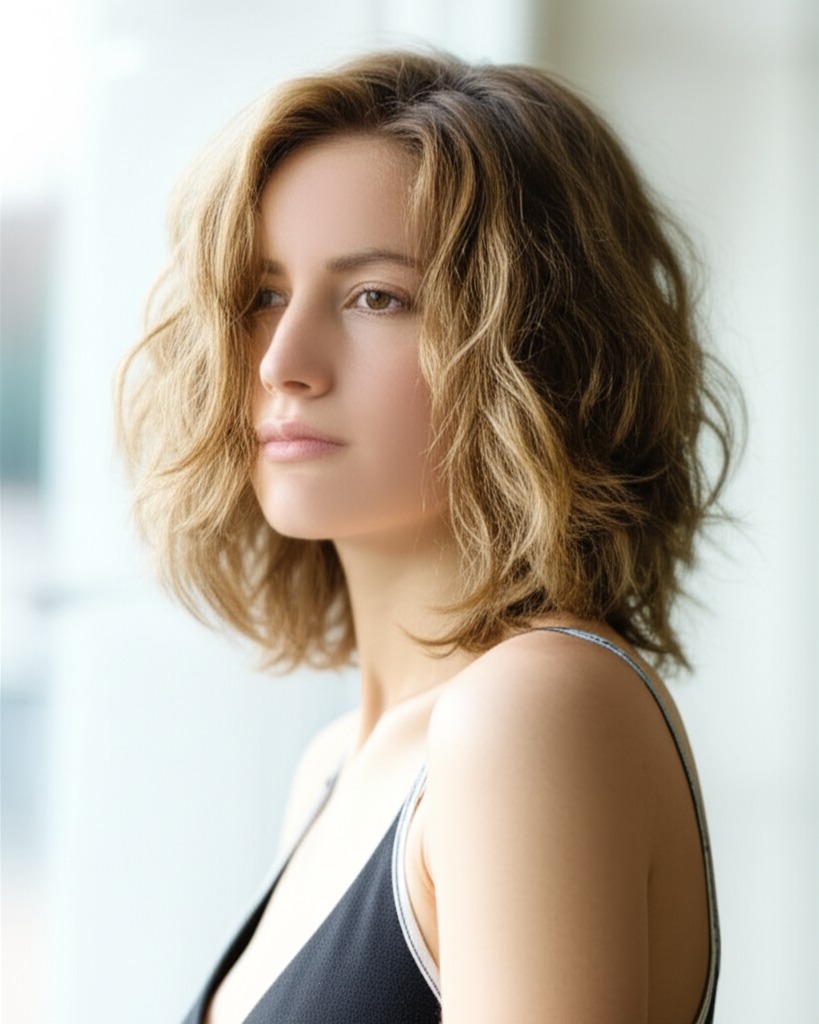
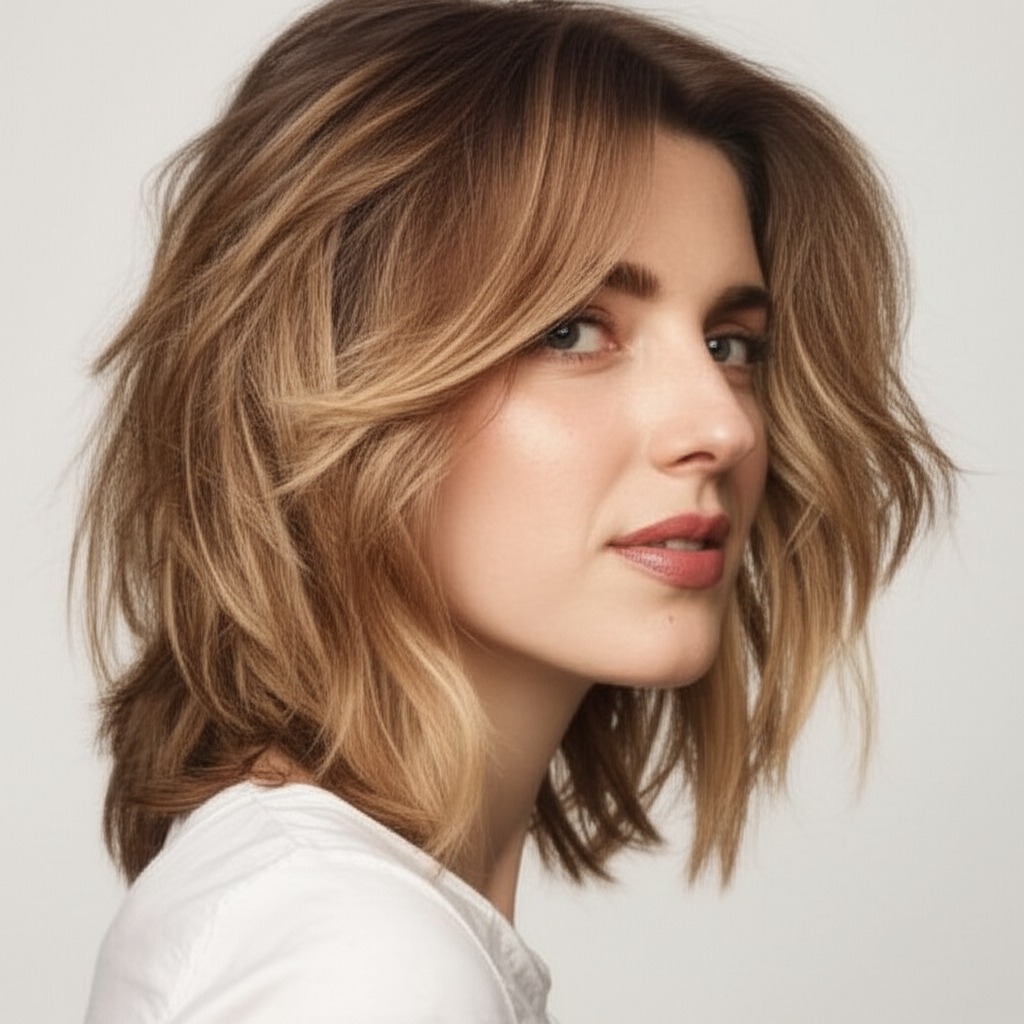
- Wavy: Layers enhance natural waves, creating definition and bounce. Ask your stylist to point-cut the ends of layers to soften them further.
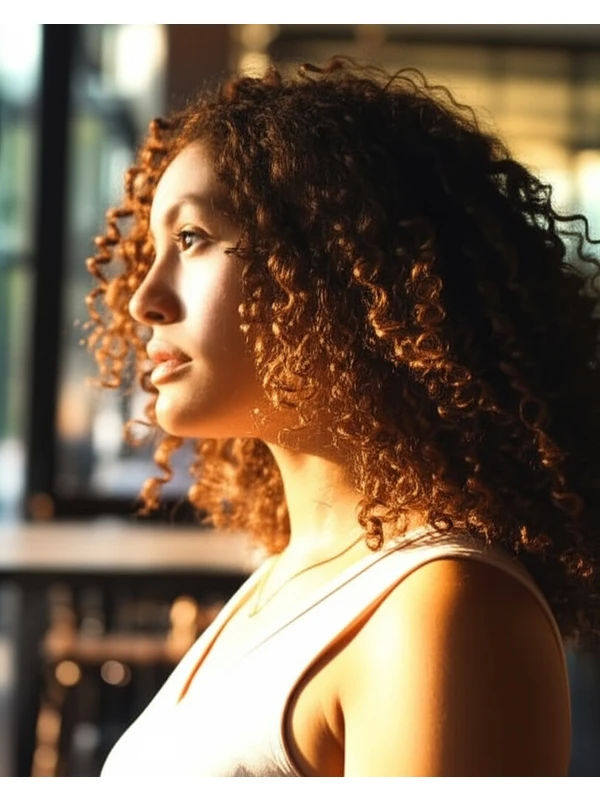
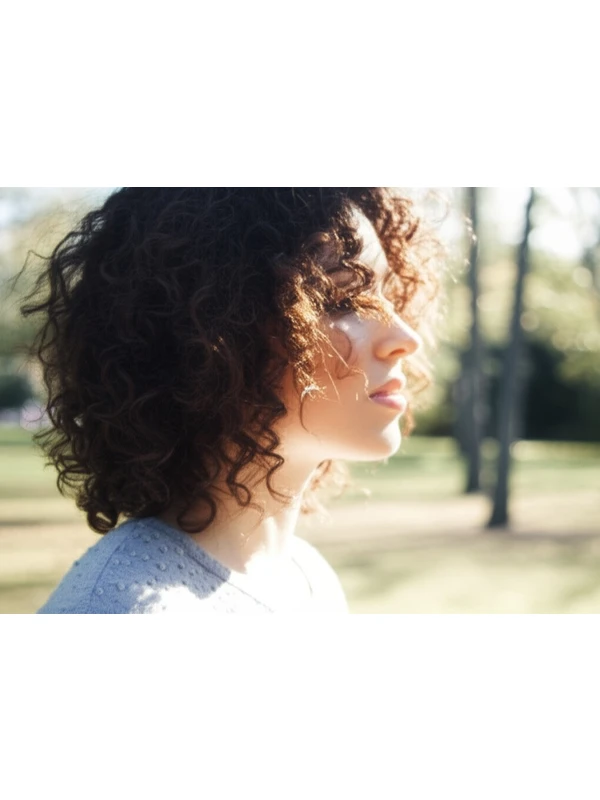
- Curly/Coily: Layers remove weight, allowing curls and coils to spring up with more volume and definition. Shrinkage is critical to consider – a layer that looks short when dry will appear longer when wet. Communicate your desired length after shrinkage! (Generally add 2-4 inches)
- Fine: Layers create the illusion of thickness by adding movement and texture. Avoid overly long layers, which can make fine hair look even thinner.
- Medium: Mid-length layers are a great option for medium density hair as they offer balance and versatility.
- Thick: Layers remove weight and bulk, making thick hair more manageable. Strategic layering around the face can soften features.
#5) Styling Variations: From Sleek to Textured
Mid-length layered cuts are incredibly adaptable!
- Sleek vs. Textured: Use a smoothing serum for sleekness; sea salt spray or texturizing cream adds texture and definition.
- Middle vs. Side Part: A center part creates symmetry, while a side part adds softness and volume.
- Fringe Variations: Curtain bangs, wispy fringe, blunt (for square faces), or no fringe at all!
- Occasion Styling:
- Casual: Air-dried with texturizing product.
- Office: Sleeked down with a flat iron and serum.
- Evening: Styled with waves using a curling wand, finished with hairspray for hold.
#6) Maintenance: Keeping Your Layers Looking Fresh
- Trim Cadence: Every 6-8 weeks to maintain shape and prevent split ends.
- At-Home Routine: Regular deep conditioning treatments are vital, especially for dry or damaged hair.
- Heat vs Air-Dry: Minimize heat styling whenever possible. When using heat tools, always use a heat protectant!
- Product Checklist:
- Shampoo & Conditioner (suited to your hair type)
- Leave-in Conditioner (for moisture and detangling)
- Styler (mousse, cream, or spray – depending on desired texture)
- Finishing Product (hairspray for hold, serum for shine)
- Estimated Daily Styling Time: 5–20 minutes, depending on styling complexity.
#7) Grow-Out Roadmap: Evolving Your Style
- Months 1-3: The layers will be most noticeable and may require more frequent trims to maintain the shape.
- Months 3-6: Layers start to blend as hair grows longer. Consider adding subtle face-framing pieces or adjusting layering placement for a refreshed look.
- Maintaining Shape: Communicate with your stylist about how you're styling your hair at home so they can adjust the cut accordingly during trims.
#8) Color Pairings: Enhancing Your Layers
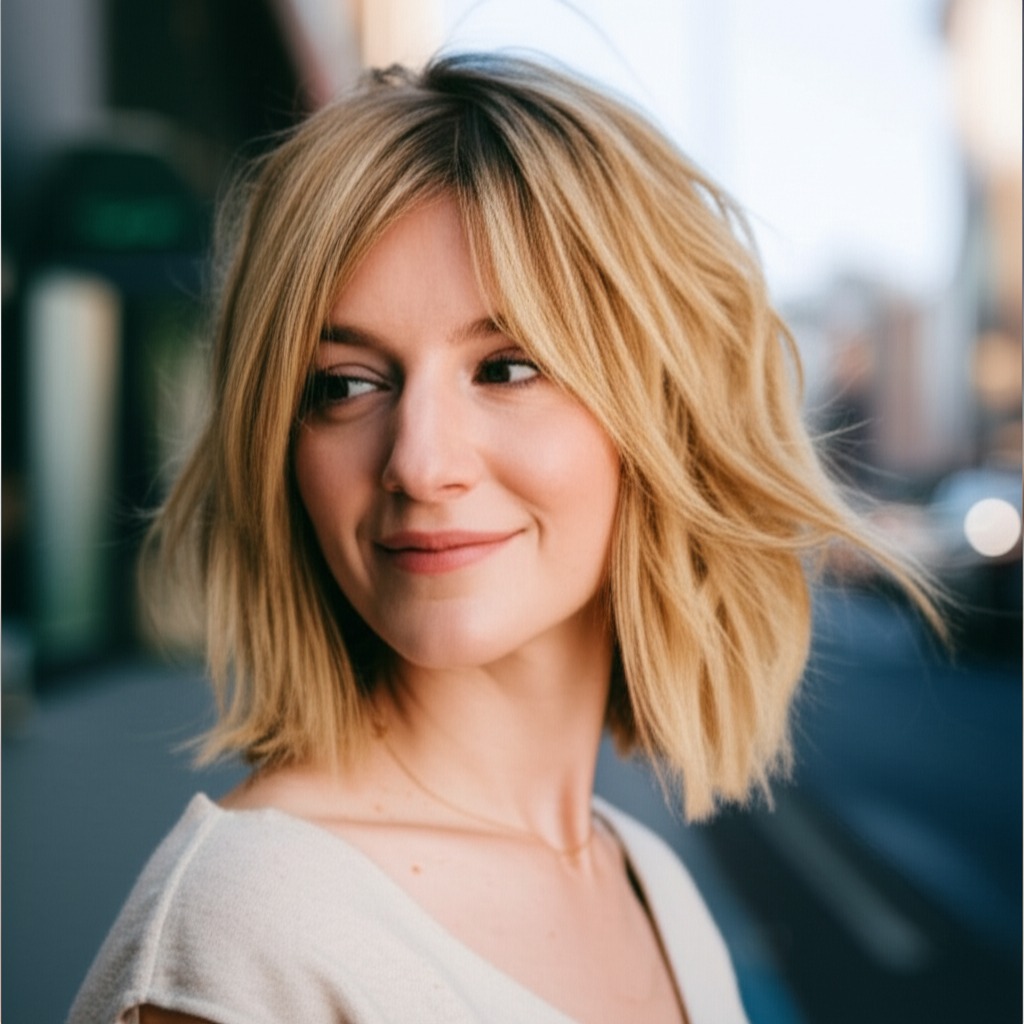
- Shades that Elevate: Balayage, highlights, or babylights add dimension and movement to layered cuts.
- Cool Undertones: Ashy blondes, cool browns, silver tones.
- Warm Undertones: Honey blondes, caramel browns, copper tones.
- Low-Commitment Options: Root smudging (shadow root) blends the natural base color with a lighter shade for a softer grow-out.
#9) Season & Occasion Guide: Adapting Your Look
- Spring/Summer: Lighter layers and brighter colors feel fresh and airy.
- Fall/Winter: Deeper, richer tones add warmth and depth. Consider adding texture with waves or braids for a cozy look.
- Work: Sleek and polished styles are generally preferred.
- Weddings: Romantic waves or an updo showcasing the layers beautifully.
- Parties: Experiment with bolder styling techniques like textured updos or playful braids.
#10) Cost & Time: Salon Investment
- Salon Time: Typically 1–2 hours, depending on complexity and stylist experience.
- Price Range: Expect to pay a moderate price range for this cut; it's more involved than a simple trim but less extensive than a complete transformation.
#11) Pros & Cons: Weighing the Options
Pros: Versatile, flattering on many face shapes, adds movement and volume, customizable. Cons: Requires regular trims to maintain shape, can be time-consuming to style (depending on desired look), layering too heavily can make fine hair appear thinner.
#12) Salon Consultation Script: Your Questions Answered
Here are some prompts to help you communicate your vision to your stylist:
- "I'm interested in mid-length layers, but I’m concerned about [specific concern – e.g., making my face look rounder/thinner]."
- “Can we discuss how the layers will work with my natural hair texture?”
- "What styling products do you recommend for maintaining this style?"
- "Could you show me some examples of mid-length layered cuts that would suit my face shape and hair type?"
- "How much volume/texture are we aiming to achieve?"
#FAQs: Your Burning Questions
- Can I get layers if I have very fine hair? Yes, but subtle layering is key to avoid thinning the appearance of your hair.
- Will mid-length layers make my hair look shorter? It depends on the length and placement of the layers. Shorter layers will create more lift and give a shorter appearance.
- How do I prevent my layers from looking choppy? Point-cutting (where the stylist snips into the ends at an angle) softens the edges of the layers.
- Can mid-length layers work with curly hair if I want to straighten it sometimes? Absolutely! But be sure your stylist understands how the layers will lay when straightened versus in their natural curl pattern.
- What's the difference between a layered bob and mid-length layers? A layered bob is generally shorter (chin length or slightly longer), while mid-length layers extend to collarbone/shoulder level.
- How do I avoid split ends when getting layers cut? Ensure your stylist uses sharp scissors, and consider a deep conditioning treatment before the cut to improve hair health.