#Ringlet Layers: A Whirlwind of Style
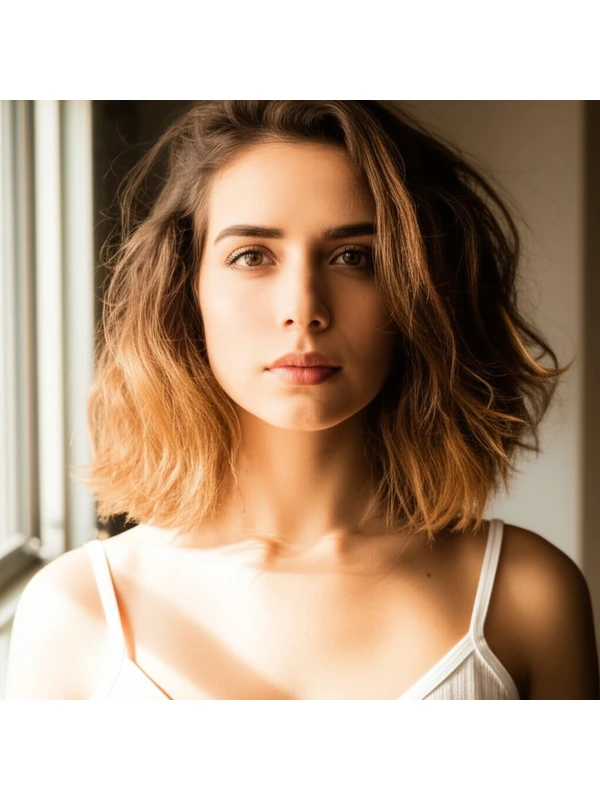
Ringlet layers are a seriously fun hairstyle! They’re all about embracing your natural curl pattern while adding shape and movement. This guide will walk you through everything you need to know – from whether it suits your face shape, to how to style it for different occasions. Let's dive in!
#1) Background & Definition: What Are Ringlet Layers?
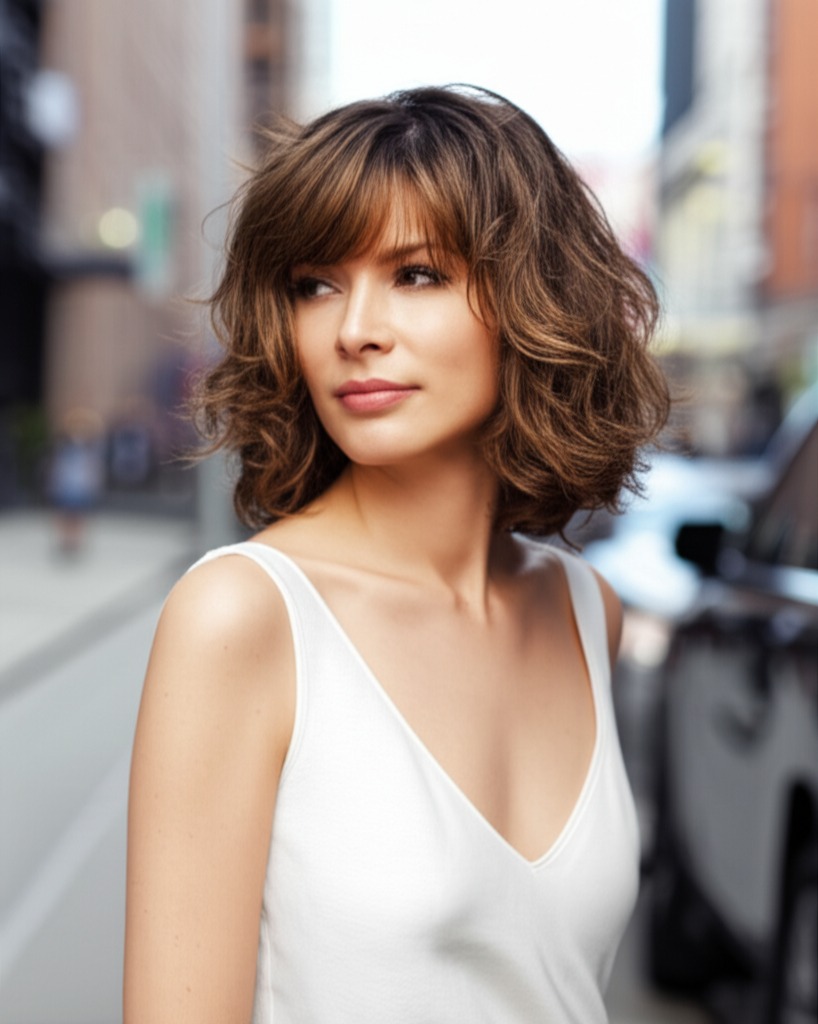
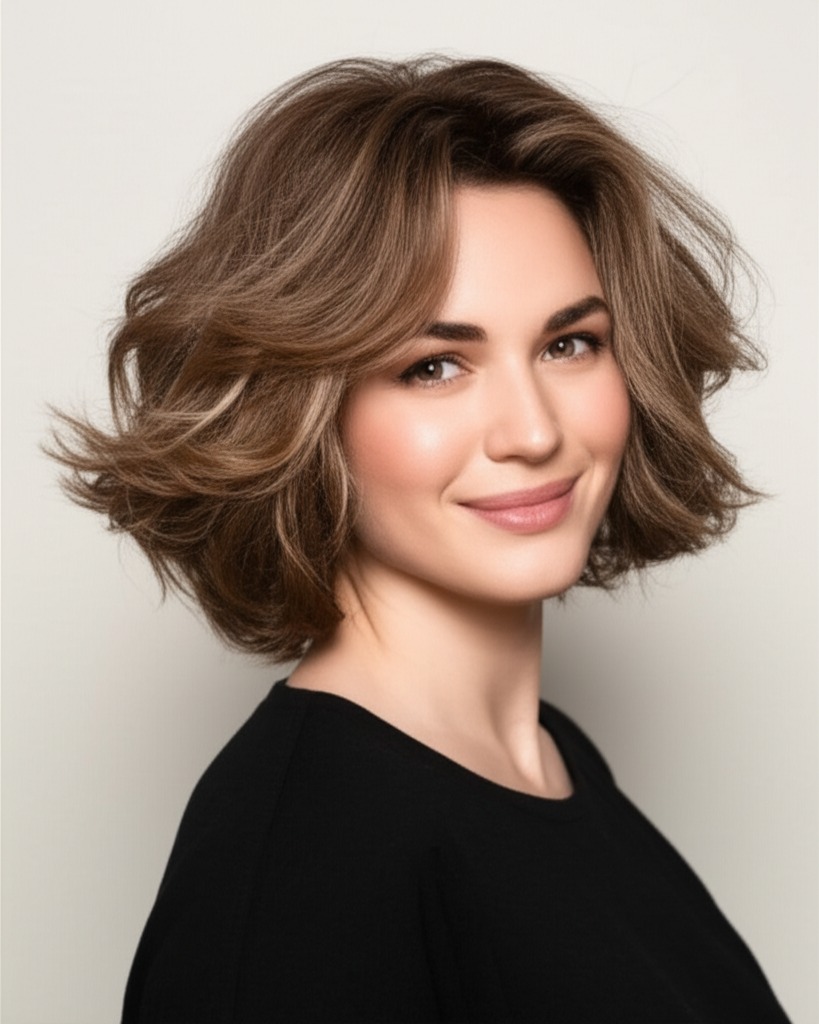
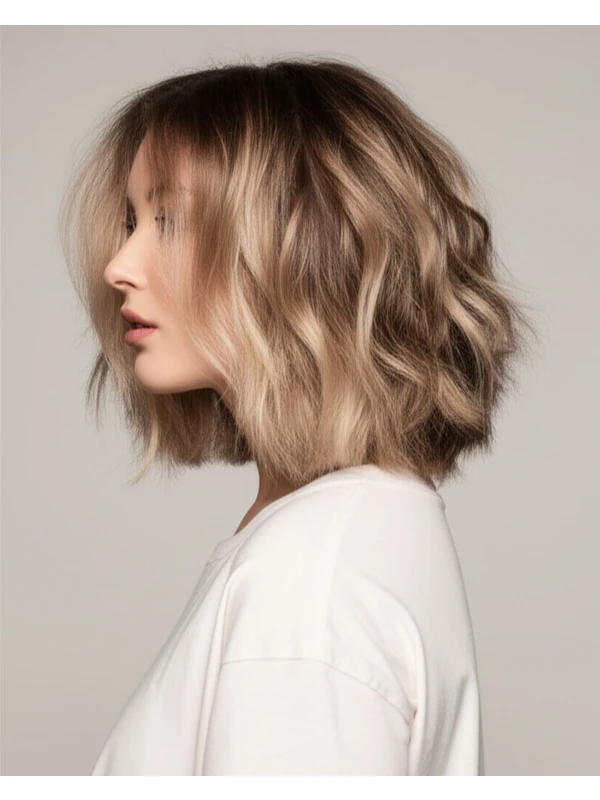
Ringlet layers aren’t just about adding layers; they are specifically designed to enhance and define natural ringlets (tight, defined curls). The key is how those layers are cut. They typically involve shorter lengths at the crown of the head that gradually lengthen towards the ends, creating a stacked effect which gives volume at the roots and allows for bouncy, spiraling ringlets throughout.
Key Features:
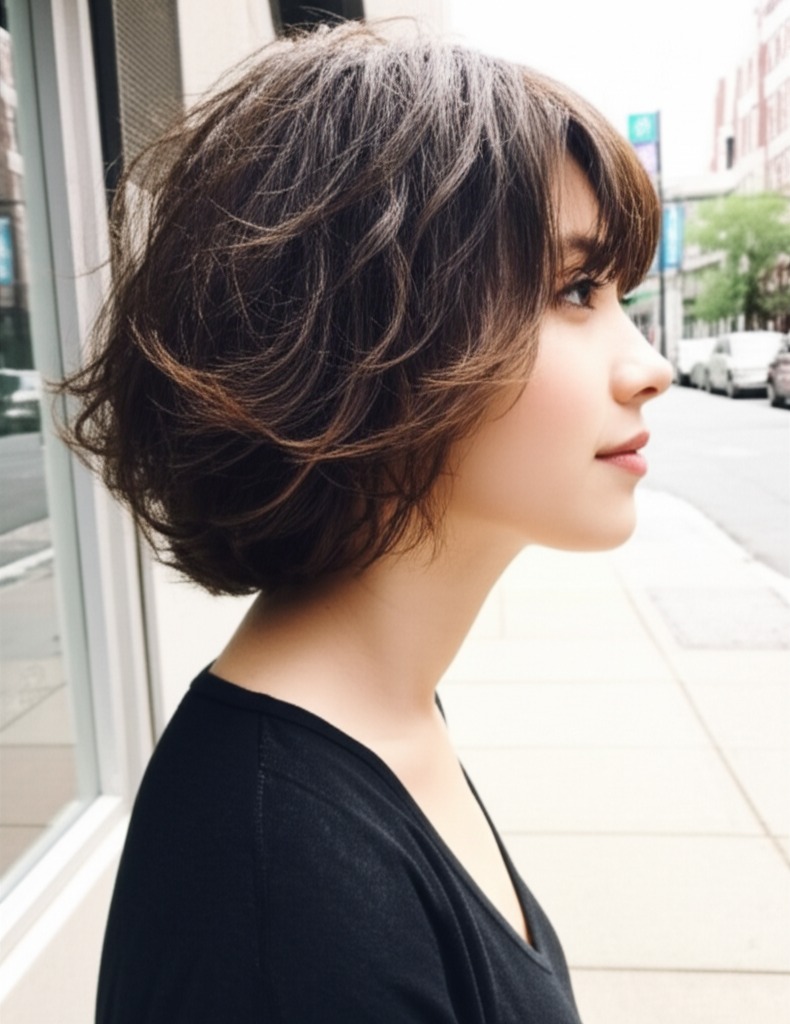
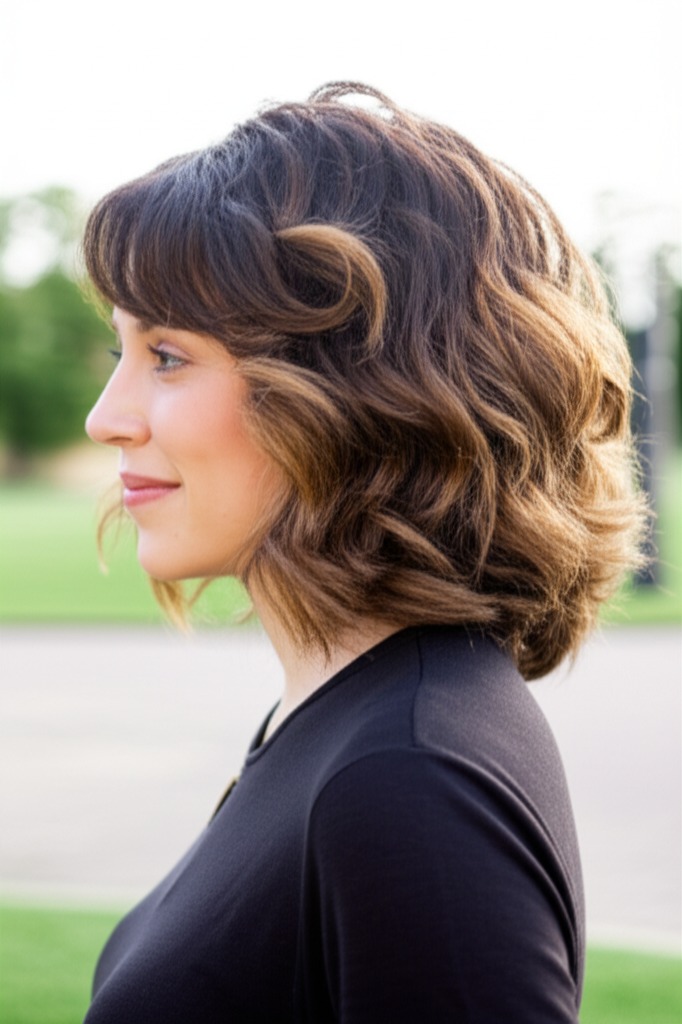
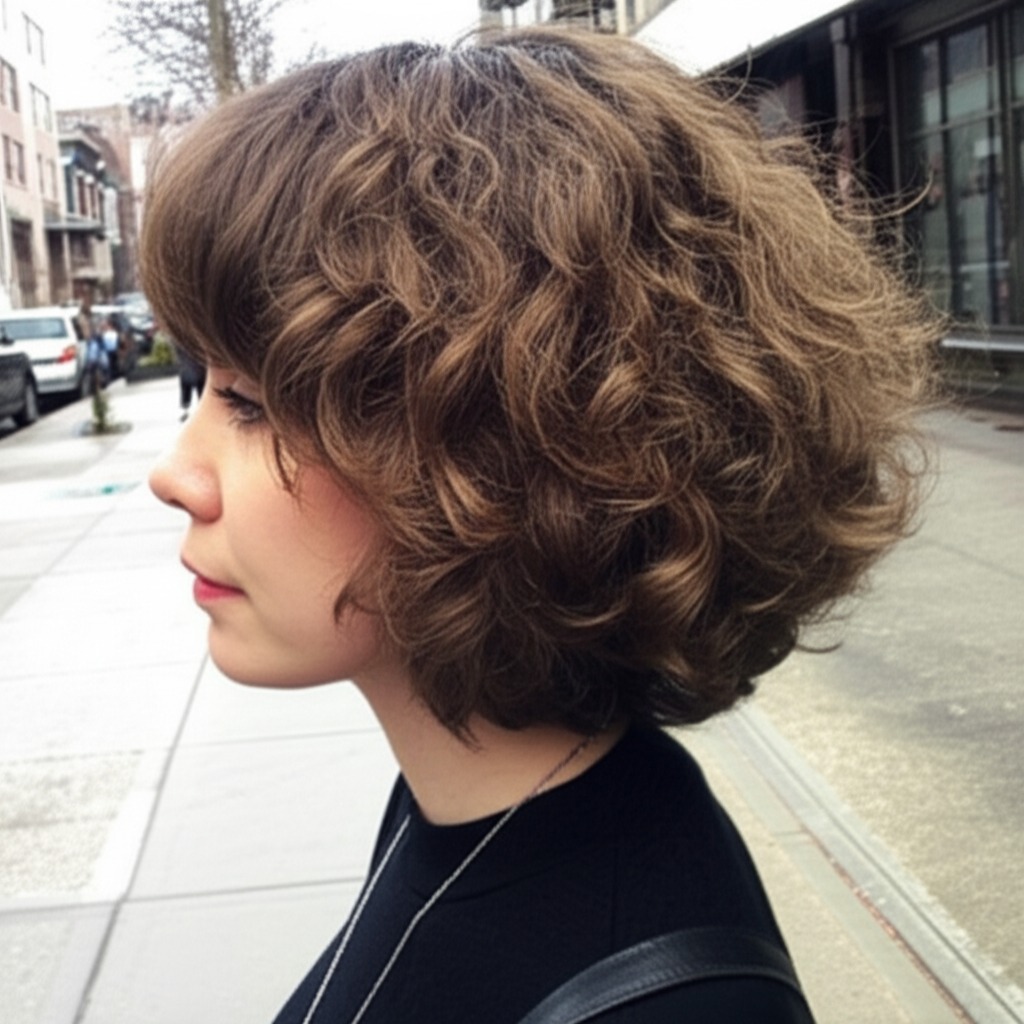
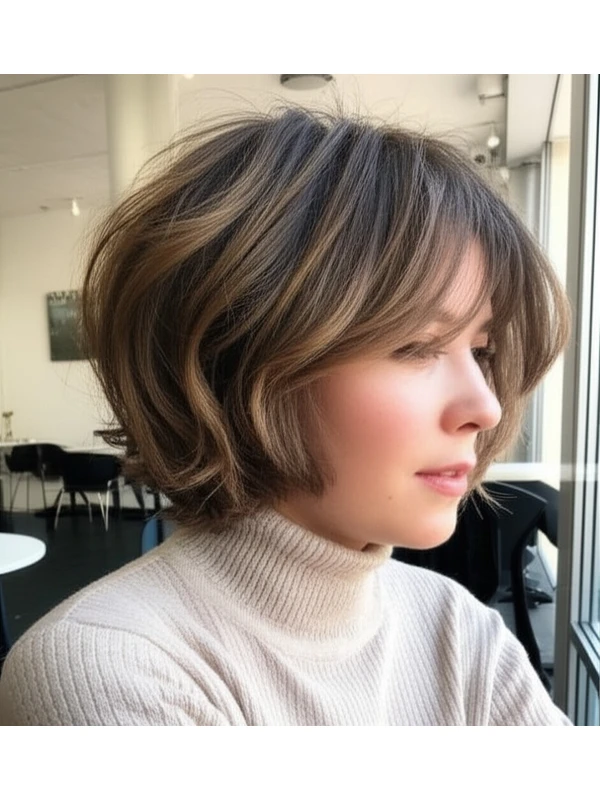
- Stacked Silhouette: Layers create lift at the root, adding overall volume.
- Defined Curls: The cut emphasizes individual curl definition rather than blending them together.
- Movement & Bounce: Ringlet layers are all about playful movement and a feeling of lightness.
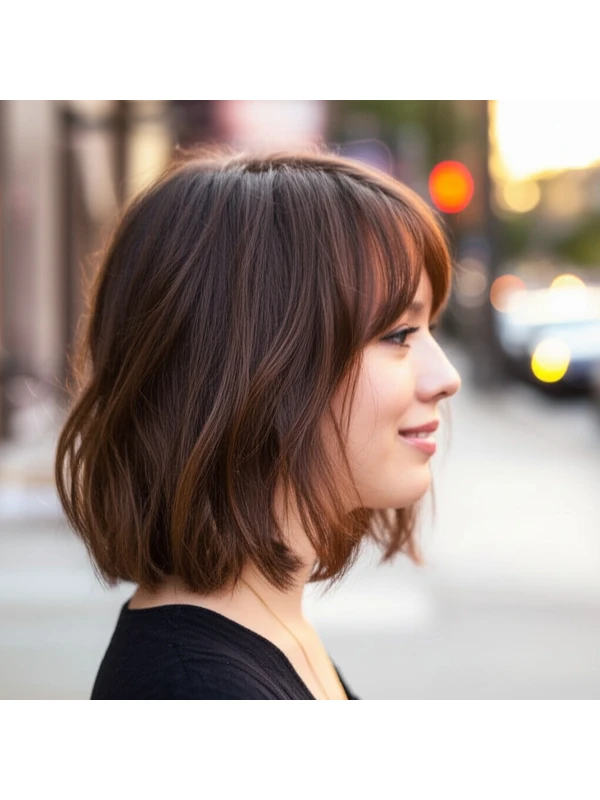
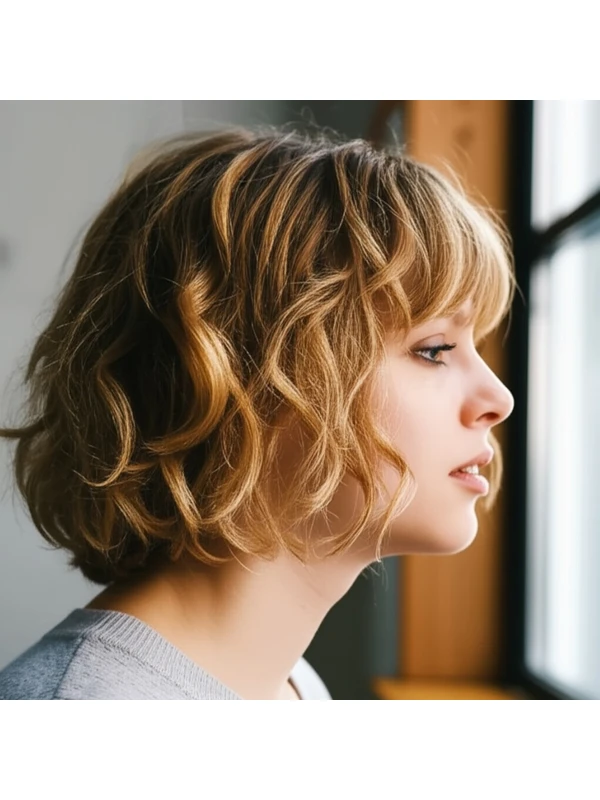
Typical Length Ranges: This style can work from chin-length bobs to shoulder-length or longer styles, but the shorter the length, the more dramatic the stacked effect will be.
Alternative Names: Curly Layers, Layered Curls, Ringlet Cut, Spiral Cut (though spiral cut is a broader term).
#2) Face Shape Fit: Finding Your Perfect Angle
The right ringlet layers can beautifully complement different face shapes. Here's how:
- Oval: Lucky you! Almost any length and layering pattern will work with an oval face. Experiment with shorter, more dramatic layers for extra volume or longer layers that cascade down.
- Fringe/Bang Options: Side-swept bangs or a soft curtain fringe can add softness.
- Round: Ringlet layers add height which helps elongate the face. Avoid very short, blunt cuts as they can accentuate roundness. Longer layers starting around the cheekbones are ideal.
- Fringe/Bang Options: Wispy side-swept bangs that draw the eye diagonally across the face work well. Avoid full, blunt bangs.
- Square: Softening is key! Ringlet layers soften a strong jawline and angular features. Focus on layering around the cheekbones and chin to create curves.
- Fringe/Bang Options: A long, sweeping fringe that blends seamlessly into the ringlets can be very flattering.
- Heart: Volume at the sides of the face balances out a wider forehead. Layers should start below the cheekbones to avoid drawing attention upwards.
- Fringe/Bang Options: Softly feathered side-swept bangs are a great choice, or no fringe at all.
- Diamond: Ringlet layers can soften the angles of a diamond face shape. Focus on layering around the chin and jawline to create balance.
- Fringe/Bang Options: A wispy, textured fringe that doesn’t cover too much forehead is flattering.
- Oblong (Long): Layers add width which helps balance out length. Shorter layers at the sides can create a more balanced look. Avoid very long, one-length styles as they will accentuate the face's length.
- Fringe/Bang Options: A longer, side-swept fringe adds width and breaks up the verticality of the face.
#3) Body Proportions & Height Guidance
The way ringlet layers look on you also depends on your overall body proportions:
- Petite: Shorter to medium lengths (chin to shoulder) work best, as longer styles can overwhelm a smaller frame.
- Average Height: Almost any length will suit you! Play with different layering patterns and fringe options.
- Tall: Longer ringlet layers that cascade down the back create balance and visual harmony.
- Narrow Shoulders: Layers at the sides add width, creating a more balanced silhouette.
- Broad Shoulders: Avoid overly voluminous cuts around the shoulders; focus on layering to draw attention upwards.
- Short Neck: Medium-length styles that end just below the collarbone are often most flattering. Shorter layers create vertical lift and elongate the neck visually.
- Long Neck: Longer ringlet layers can help fill in space and minimize the appearance of a long neck.
#4) Works Best With Hair Types & Densities
Ringlet layers shine on various hair types, but understanding your specific texture is key:
- Straight/Wavy (2A-3B): While ringlets are typically associated with curly hair, they can be achieved on wavy hair too! The layering creates the illusion of curls. Heat styling will likely be needed to define the ringlet shape.
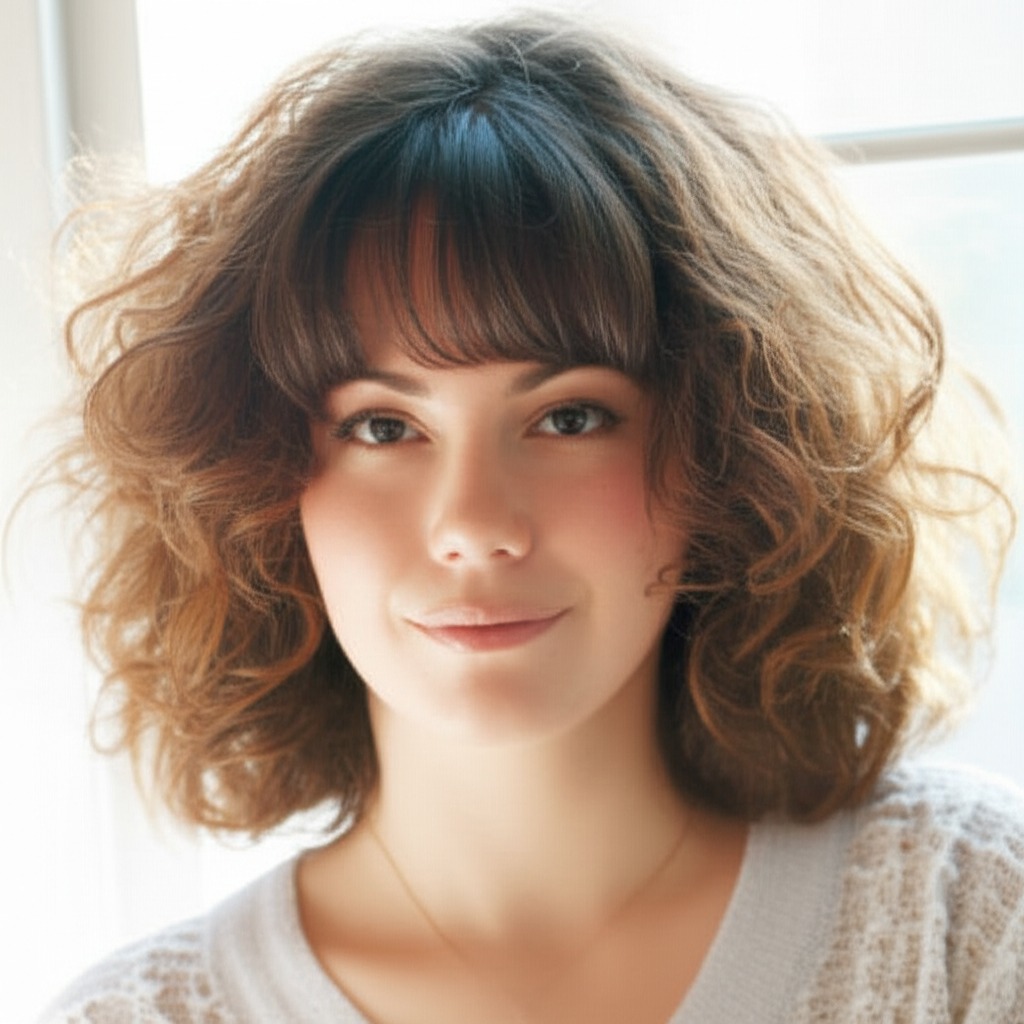
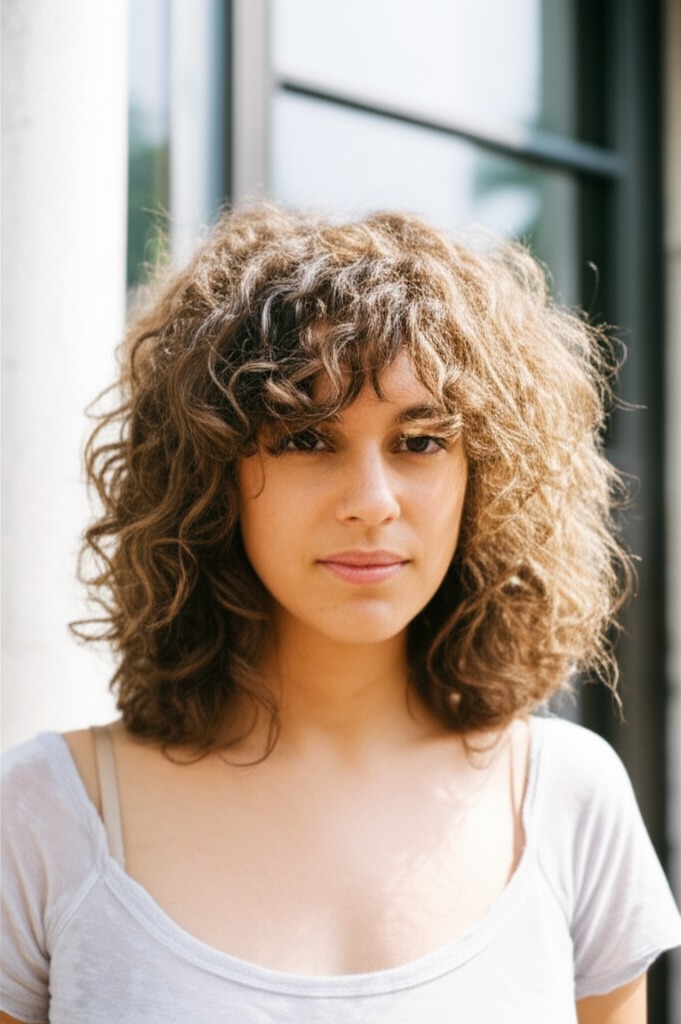
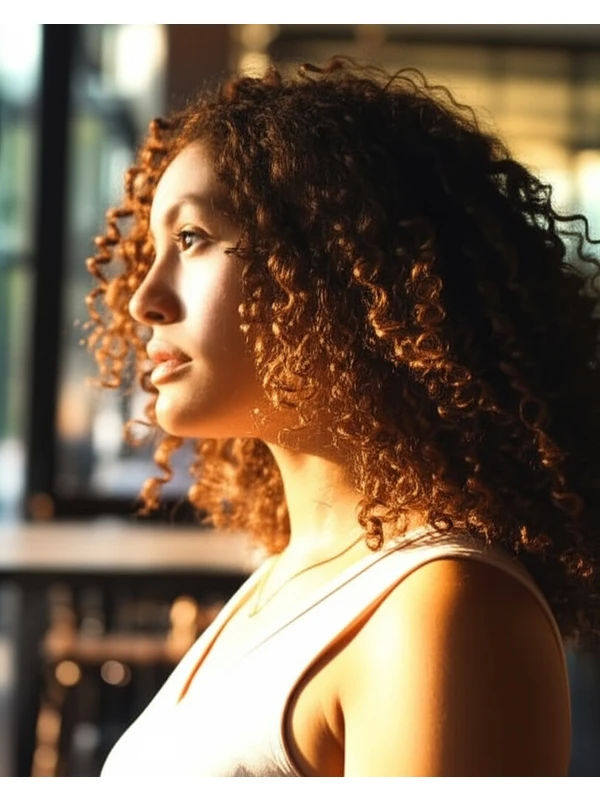
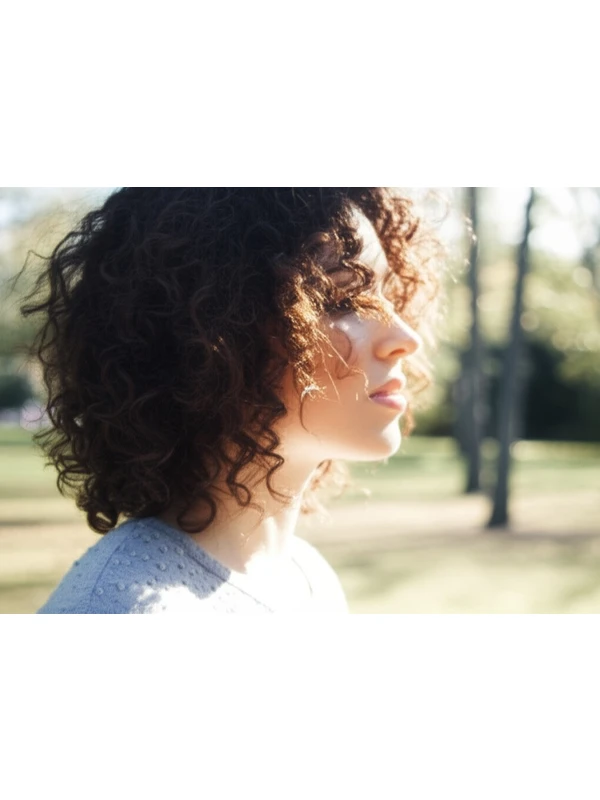
- Curly (3C-4A): This is where ringlet layers truly excel! They enhance curl definition and create a beautiful spiral effect.
- Coily (4B-4C): Ringlet layering can work, but requires careful consideration of shrinkage. A shorter cut will likely appear longer once dry. Ensure the stylist understands coily hair's unique texture and moisture needs.
Density:
- Fine Hair: Layers add volume and prevent a flat appearance. However, too many layers can make fine hair look even thinner.
- Medium Hair: Ringlet layers work beautifully to enhance natural curl pattern.
- Thick Hair: Layers are essential for removing weight and creating definition. Ask your stylist to remove bulk while maintaining shape.
Shrinkage (Curls & Coils): Always factor in shrinkage! A cut that looks like it reaches your shoulders when wet might end up at your collarbone when dry. Communicate this clearly with your stylist.
#5) Styling Variations: From Casual Cool to Evening Glam
- Sleek vs Textured: A sleek style uses minimal product for defined, polished ringlets. A textured look incorporates more product and techniques (like scrunching) for a looser, more natural feel.
- Middle vs Side Part: A middle part creates symmetry and balance. A side part adds softness and can create volume at the roots.
- Fringe Variations: Wispy, feathered, long sweeping, or even no fringe – all work depending on your face shape and desired look.
- Occasion Styling:
- Casual: Air-dry with a leave-in conditioner and curl cream for effortless ringlets.
- Office: A more polished look achieved by using a gel to define curls, then gently smoothing them down.
- Evening: Add shine serum or hair oil for extra gloss and definition.
#6) Maintenance: Keeping Your Ringlets Looking Their Best
- Trim Cadence: Every 6-8 weeks is typical, depending on how quickly your hair grows and how much shape you want to maintain.
- At-Home Routine: Focus on moisture! Deep condition weekly. Use a leave-in conditioner daily.
- Heat vs Air Dry: Minimize heat styling whenever possible. When using heat, always use a heat protectant.
- Product Checklist:
- Sulfate-free shampoo & moisturizing conditioner
- Leave-in conditioner (essential for moisture)
- Curl cream or gel (for definition and hold)
- Shine serum or hair oil (for added gloss)
- Estimated Daily Styling Time: 15-30 minutes, depending on your styling preference.
#7) Grow-Out Roadmap: Evolving Your Style
- Months 1-3: The shape is most defined and bouncy! Regular trims are crucial to maintain the layered effect.
- Months 4-6: Layers start to blend together slightly. Consider a trim that refines the shape and removes any length you’ve outgrown.
- Maintaining Shape: Ask your stylist for "dusting" trims – very light snips to remove split ends without significantly altering the overall length or shape.
#8) Color Pairings: Enhancing Your Ringlets
- Cool Undertones (ash blonde, cool brown): These shades enhance ringlet definition and create a sophisticated look.
- Warm Undertones (golden blonde, copper red): These tones add warmth and dimension to the curls.
- Low-Commitment Options: Balayage or highlights can brighten up your ringlets without a drastic color change.
#9) Season & Occasion Guide
- Spring/Summer: Lighter styling products, air drying for a more relaxed look.
- Fall/Winter: Heavier creams and gels to combat dryness and add definition in colder weather.
- Work: A polished, defined ringlet style with minimal frizz is ideal.
- Weddings/Parties: Embrace the drama! Add shine serum for extra gloss and consider a more voluminous styling technique.
#10) Cost & Time
- Salon Time: Expect 1.5 - 2.5 hours, depending on hair length and complexity of layering.
- Price Range: Generally higher than a basic cut due to the precision required (expect slightly above average salon prices).
#11) Pros & Cons: Weighing Your Options
Pros:
- Enhances natural curl pattern
- Adds volume and movement
- Versatile styling options
- Flattering for many face shapes
Cons:
- Requires regular trims to maintain shape
- Can be time-consuming to style (especially without heat)
- May require specific products
#12) Salon Consultation Script: Questions to Ask & Be Asked
Here are some prompts you can use during your salon consultation:
- “I’m interested in ringlet layers. Can you show me examples of the style on someone with my hair type and face shape?”
- "What length would be most flattering for my face?"
- "How will this cut affect shrinkage, given my curl pattern?"
- “Can we discuss a styling routine that works with my lifestyle and time constraints?”
- “What products do you recommend to maintain the health and shape of my ringlets?”
Your stylist might ask:
- "Are you looking for more or less volume?"
- "How much time are you willing to spend on your hair each day?"
- "Do you prefer a sleek, defined look or something more natural and textured?"