#The Shaggy Pixie: A Guide to Effortless Cool
The shaggy pixie is having a moment—and for good reason! It’s playful, modern, and surprisingly versatile. But it's more than just a trend; it’s a cut that can truly flatter many faces and hair types with the right adjustments. Let’s break down everything you need to know about this chic style.
#1) Background & Definition: What is a Shaggy Pixie?
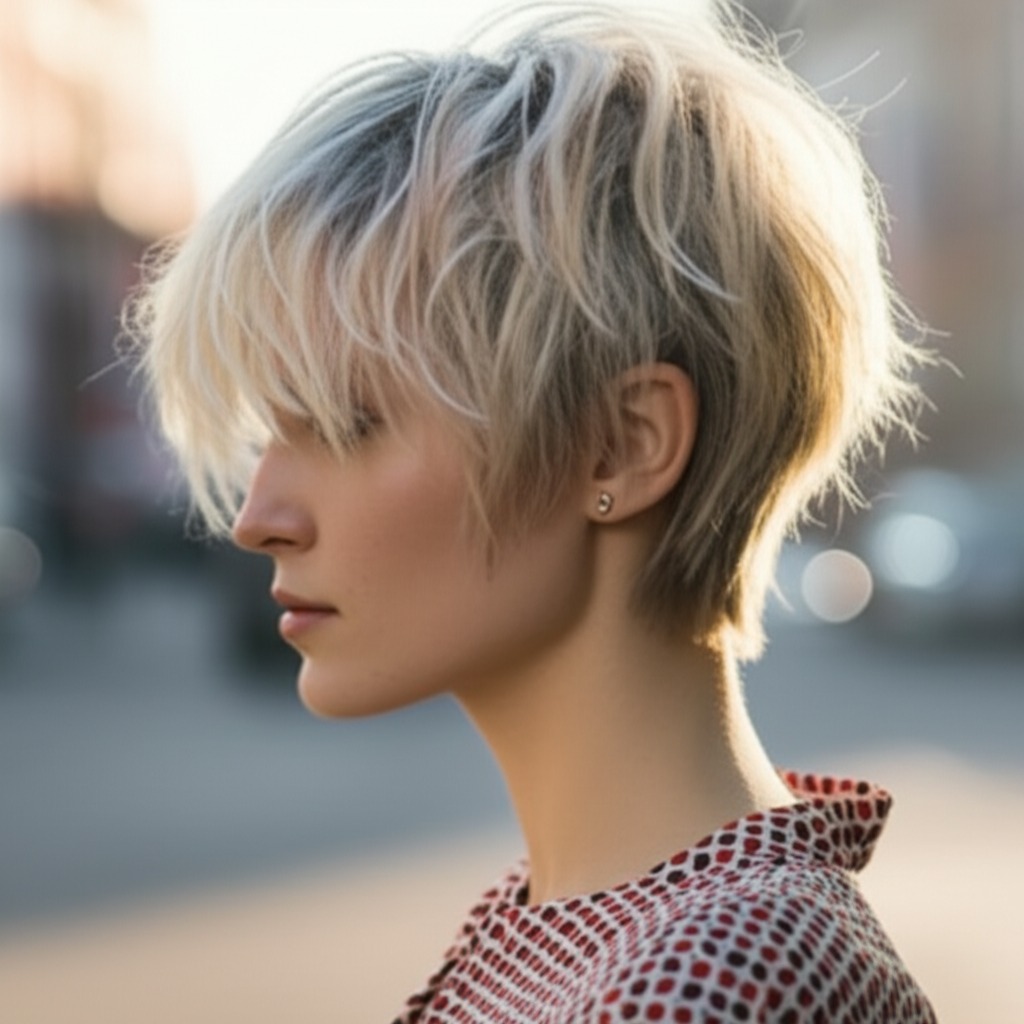
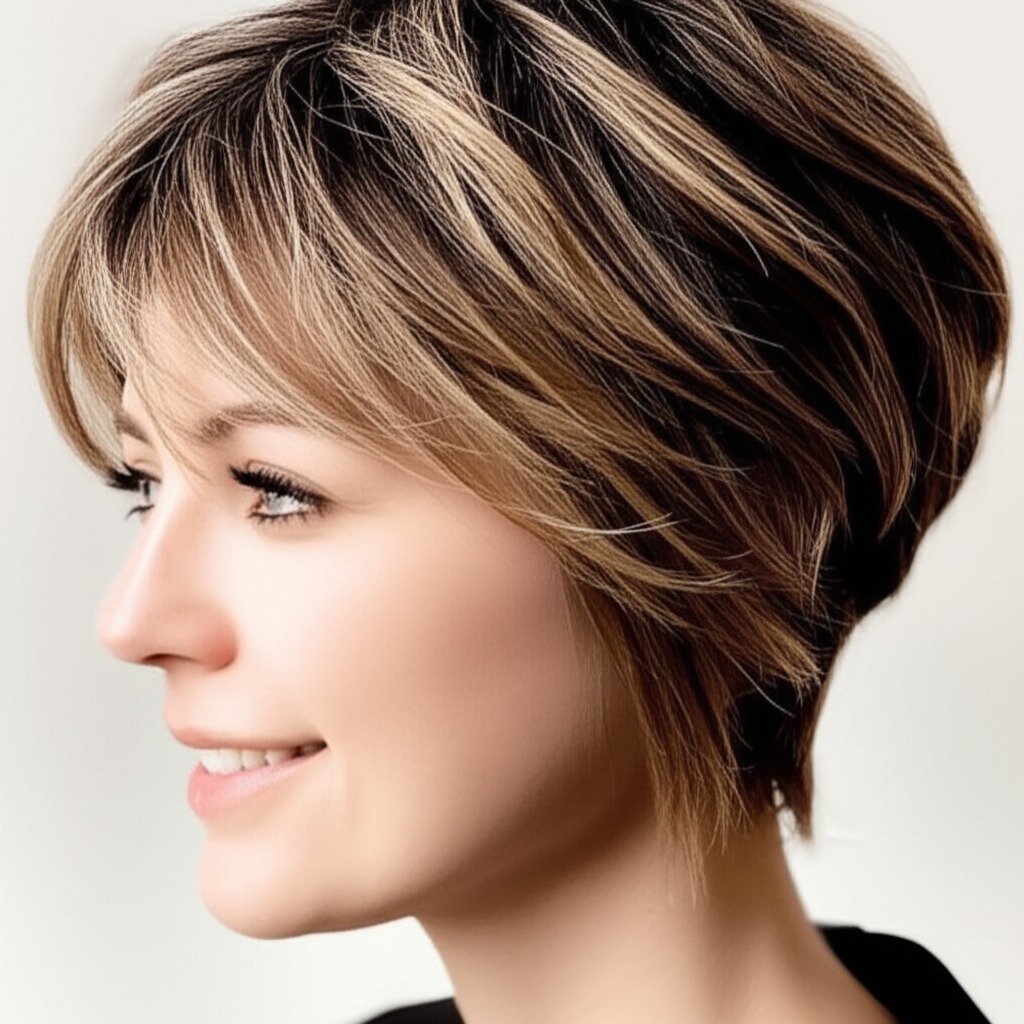
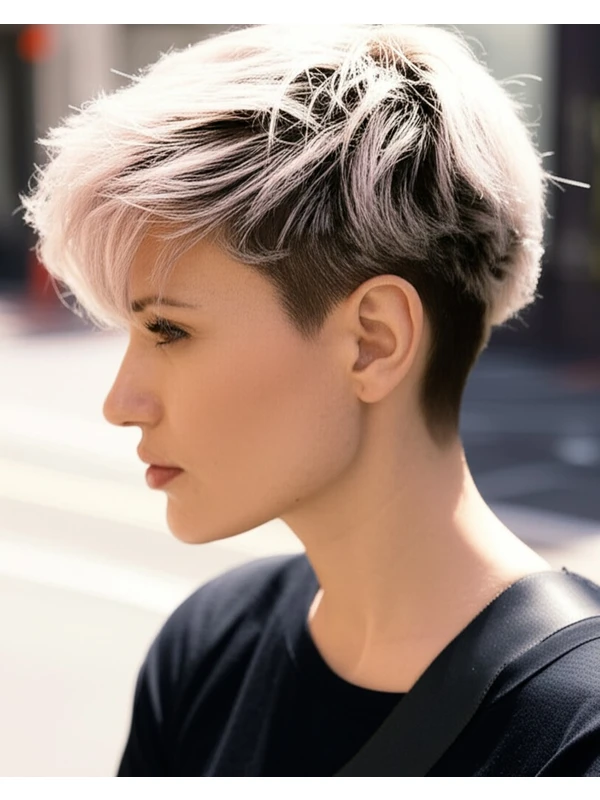
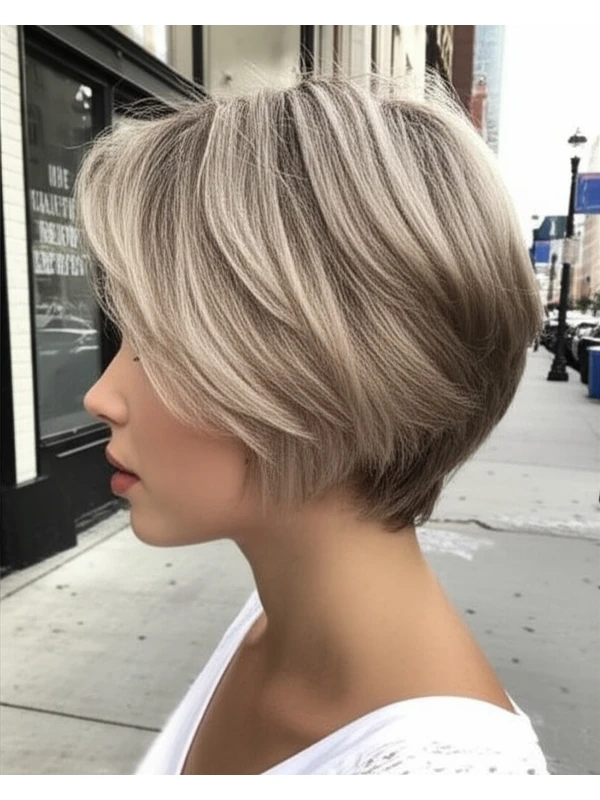
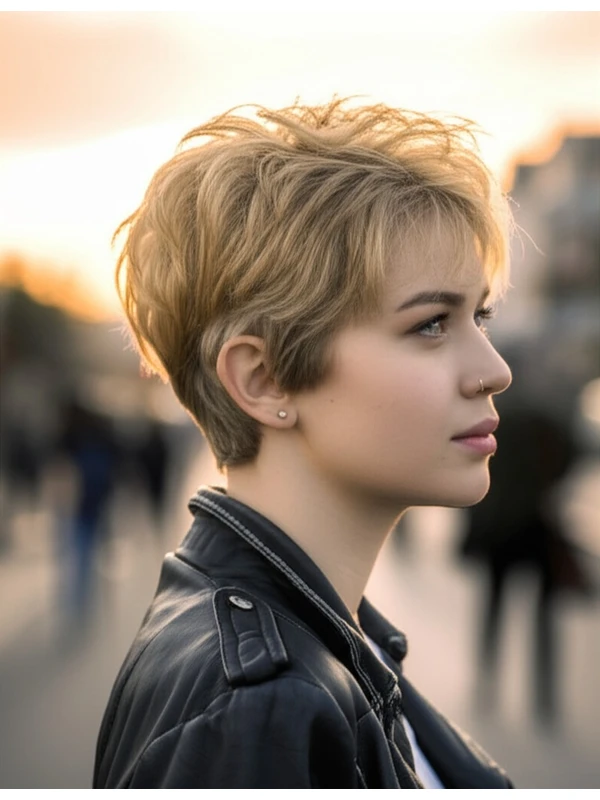
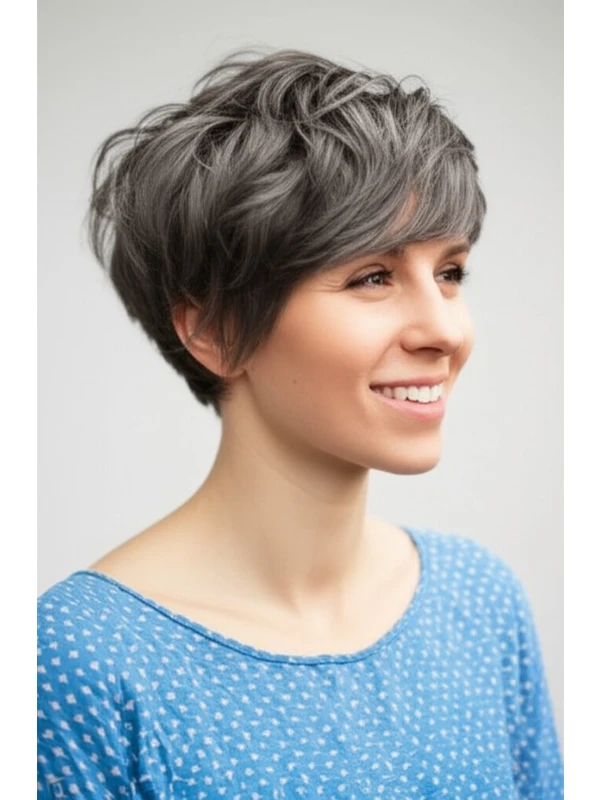
The shaggy pixie isn't your typical, super-short pixie cut. Think of it as a playful evolution! It combines the short length and boldness of a pixie with the choppy layers and texture reminiscent of a shag haircut. The overall effect is intentionally undone, effortlessly cool, and full of movement.
Key Features:
- Choppy Layers: This is the defining characteristic. Layers are cut at various lengths to create volume and texture.
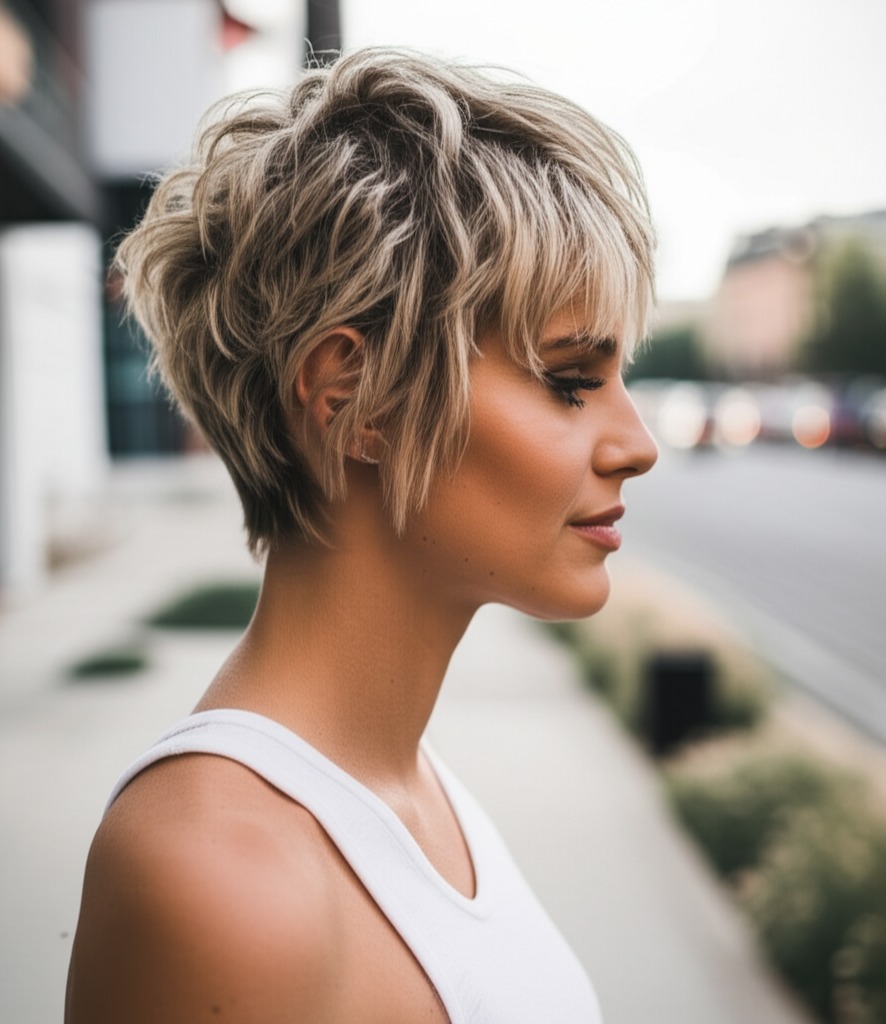
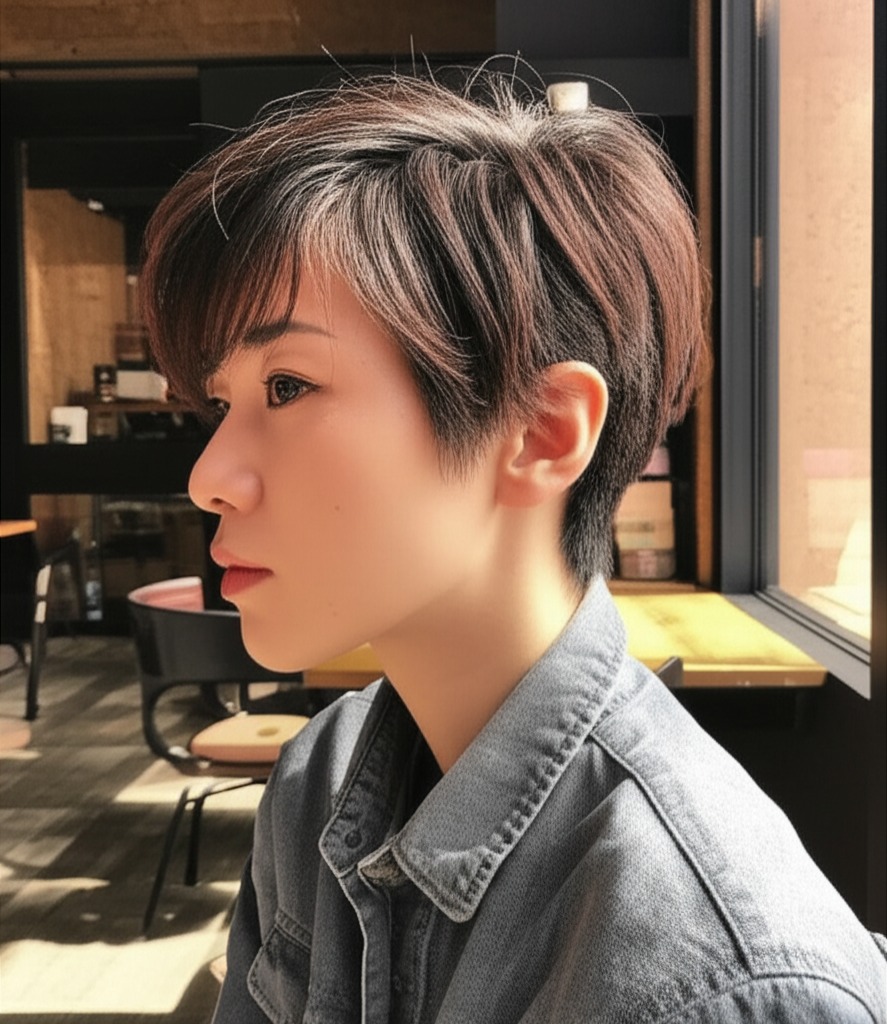
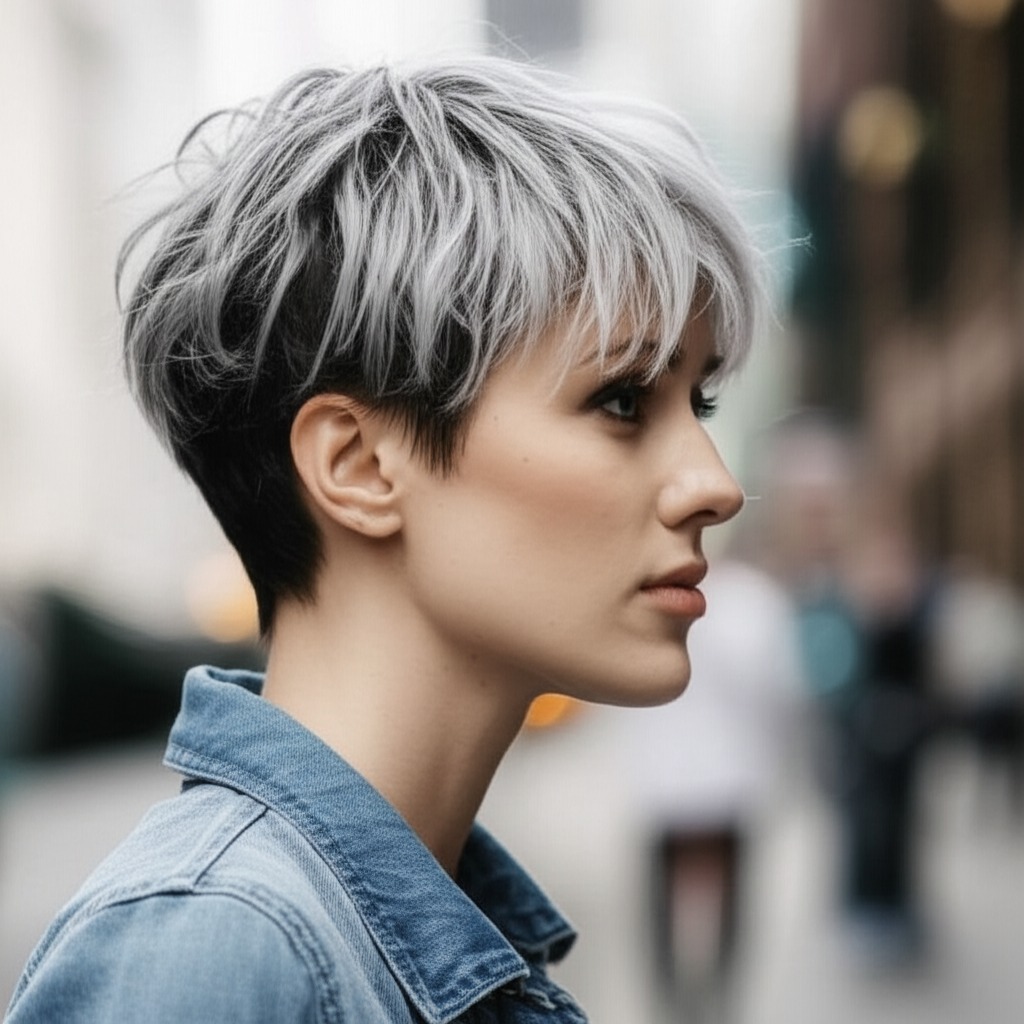
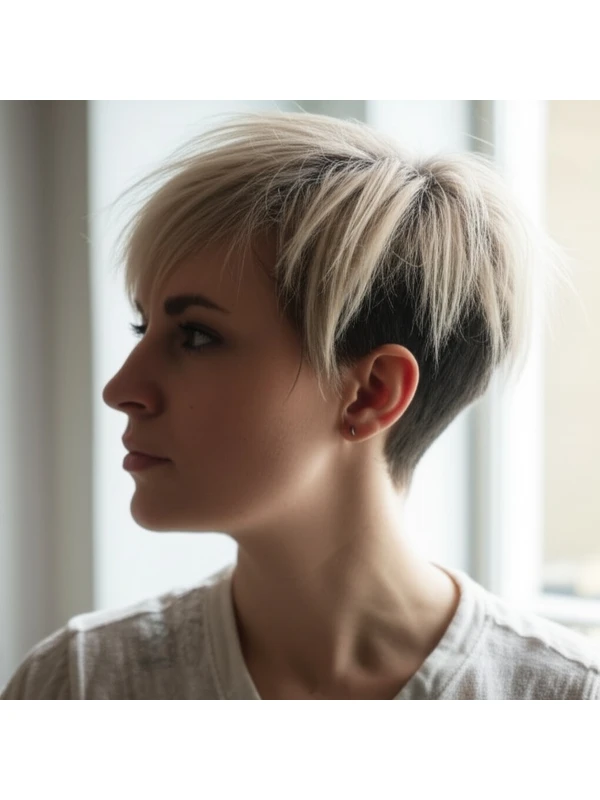
- Disconnected Undercut (Optional): Some shaggy pixies have a slightly longer back and sides that blend into the top layers, while others feature a more defined undercut for added edge.
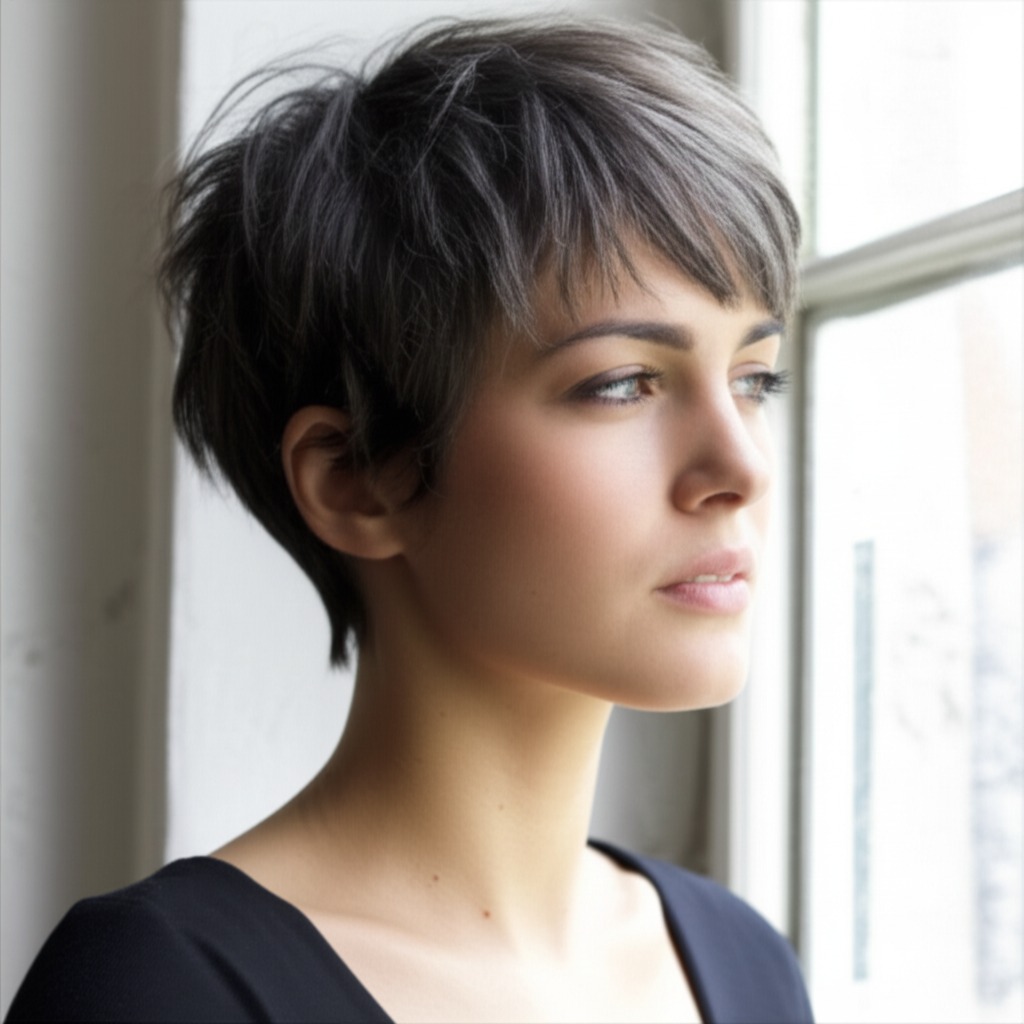
- Face-Framing: The front pieces are often styled forward or to the side to highlight facial features.
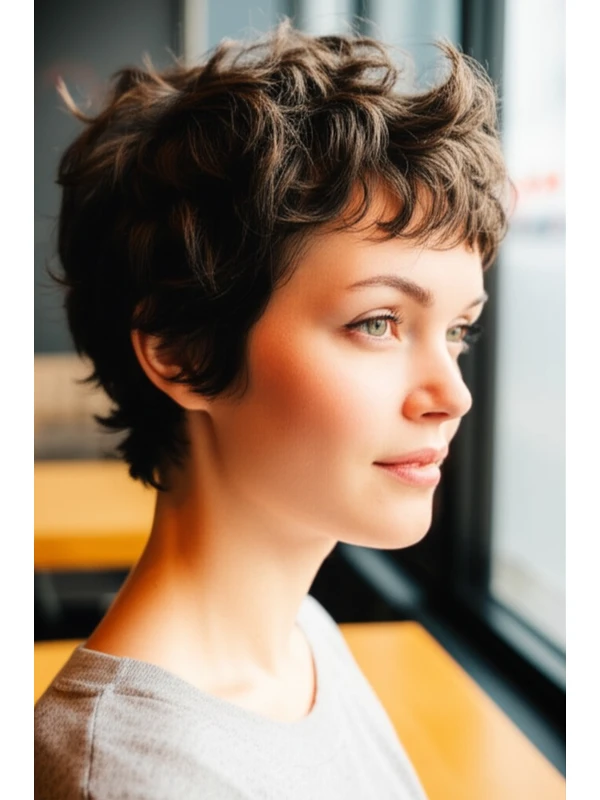
- Texture is Key: This cut thrives on natural texture – whether it's waves, curls, or even straight hair that can be easily textured.
Typical Length Ranges:
Generally, the shortest layers around the nape of the neck will range from ½ inch to 2 inches long. The longest layers on top might reach up to 3-4 inches. This is a general guideline; your stylist can customize it based on your preferences and hair type.
Alternative Names: Textured Pixie, Choppy Pixie, Modern Shag Pixie
#2) Face Shape Fit: Finding Your Perfect Angle
The shaggy pixie's versatility shines when tailored to your face shape. Here’s how this cut can work for you:
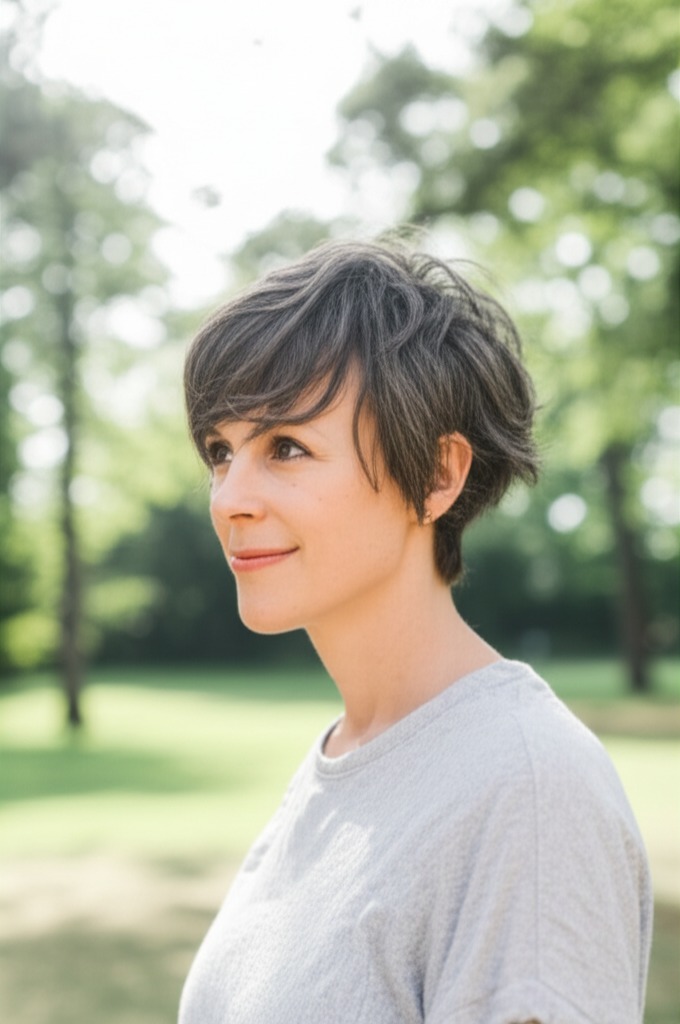
- Oval: Lucky you! This style generally looks fantastic on oval faces. The layers add width and interest without disrupting the balanced proportions. A side-swept fringe or a longer, wispy bang works beautifully.
- Round: The key here is to create length and angles. Ask your stylist for more height at the crown and longer face-framing pieces that draw the eye upwards. Avoid blunt bangs – opt for soft, textured ones instead.
- Square: Soften those strong jawlines with layers that fall gently around the face. A side part is a must to break up the symmetry. A piecey fringe can also help soften angles.
- Heart: This cut balances a wider forehead and narrow chin. Volume at the sides helps create balance, while shorter layers keep it from looking too heavy on a smaller chin. Consider a wispy, side-swept bang.
- Diamond: Similar to heart shapes, this style works by adding softness around the face. Layers that start above the cheekbones will flatter diamond faces. A fringe isn’t necessary but can be flattering if soft and blended.
- Oblong (Long): Shorter layers across the top create width, making your face appear wider and more balanced. Avoid styles that add too much height at the crown as this can elongate the face further.
#3) Body Proportions & Height Guidance: Silhouette Considerations
The shaggy pixie isn't just about your face; it impacts your overall silhouette.
- Petite: This cut can actually add visual height, which is a bonus for shorter individuals. Avoid overly voluminous styles that might overwhelm you.
- Average Height: You have the most flexibility! Experiment with different layer lengths and volumes to find what suits you best.
- Tall: A shaggy pixie keeps things from feeling too severe on taller frames.
- Narrow Shoulders: Volume at the crown can help broaden shoulders visually.
- Broad Shoulders: Avoid styles that add excessive volume directly at the shoulder line, as this can accentuate width. Focus on height and face-framing instead.
- Short Neck: Keeping the sides shorter helps elongate the neck.
- Long Neck: Layers around the face soften the appearance of a longer neck.
#4) Works Best With Hair Types & Densities: Texture Matters!
This cut is adaptable, but certain hair types and densities thrive with it more than others.
- Straight Hair: Achieving that shaggy texture on straight hair requires skillful layering and styling products to create movement.
- Wavy Hair: This is a dream pairing! The layers enhance natural waves, creating effortless volume and definition.
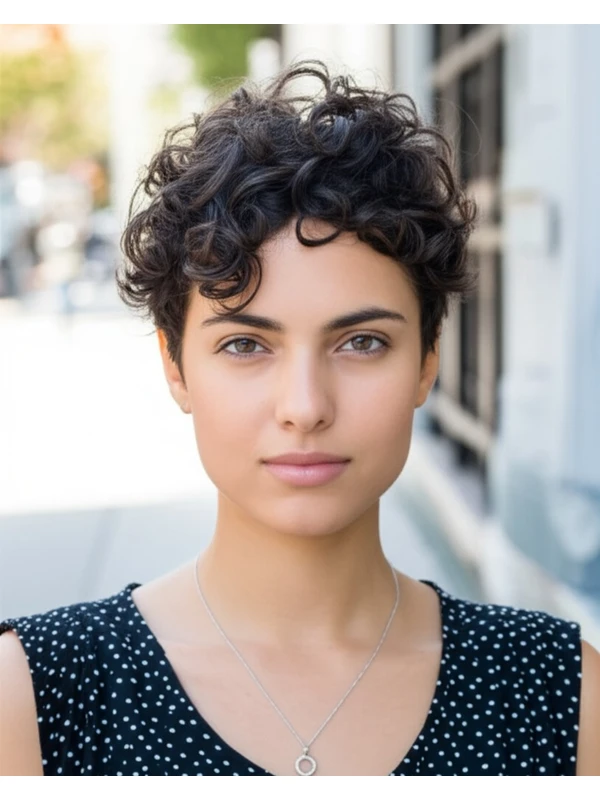
- Curly/Coily Hair: Absolutely possible! However, communication with your stylist is crucial to account for shrinkage. Shorter layers are key to prevent the hair from looking too bulky as it dries. A consultation incorporating a curl test (wet and dry) will help determine length.
- Fine Hair: Layers add volume where you need it most. Don’t go too short, or your hair might look sparse.
- Medium Hair: This cut works beautifully with medium density – the layers create balance and movement.
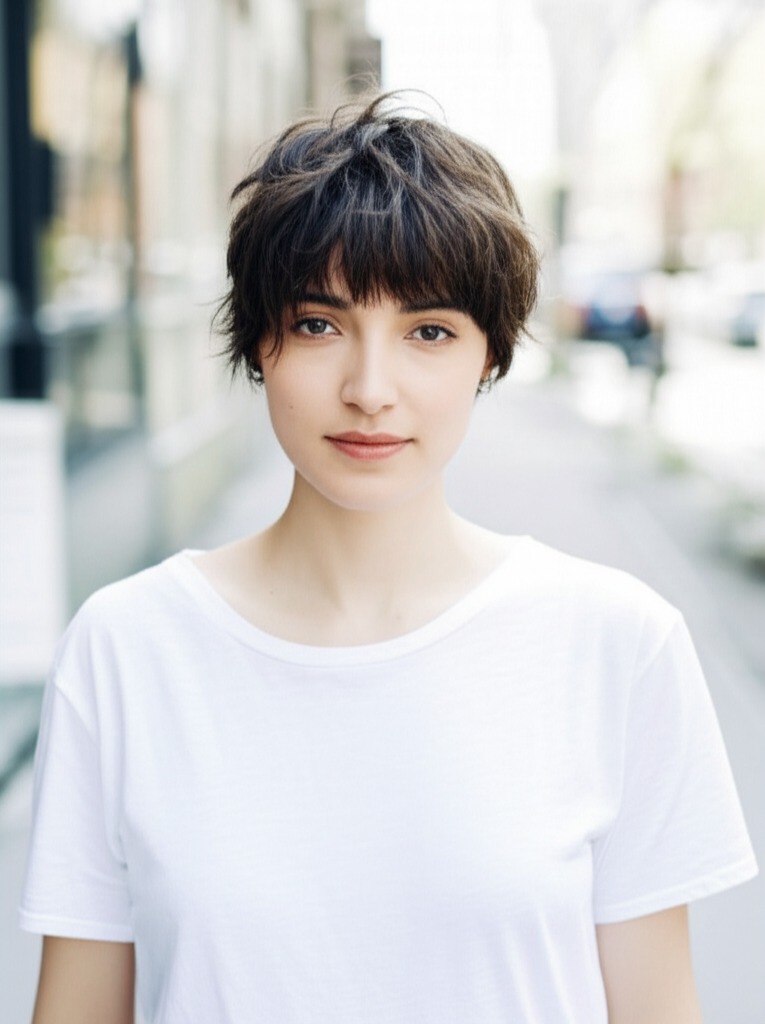
- Thick Hair: Lots of layering is essential to remove weight and prevent a bulky appearance.
Shrinkage Note (Curls/Coils): Remember that curly and coily hair shrinks as it dries! What looks like 4 inches wet might be only 2-3 inches dry. Factor this into your desired length.
#5) Styling Variations: From Casual to Chic
The beauty of the shaggy pixie lies in its versatility.
- Sleek vs. Textured: Use a smoothing serum for a polished, sleek look or embrace texture with sea salt spray or texturizing paste.
- Middle vs. Side Part: A side part adds asymmetry and softness; a middle part can create a more modern, edgy vibe.
- Fringe Variations: Wispy bangs, curtain bangs, choppy fringe – the options are endless!
- Occasion Styling:
- Casual: Air-dry with texturizing spray for an effortless look.
- Office: Smooth down flyaways with a serum and style with a side part.
- Evening: Add volume at the roots with mousse, create defined layers using wax or pomade, and finish with hairspray.
#6) Maintenance: Keeping Your Shag Sharp
- Trim Cadence: Every 4-8 weeks is typical to maintain shape and prevent it from growing out too much.
- At-Home Routine: Gentle cleansing, moisturizing leave-in conditioner (especially for curls/coils), and minimal heat styling are key.
- Heat vs. Air Dry: Air drying enhances natural texture; use a diffuser for curls/coils to minimize frizz. Heat styling should be used sparingly with protectant products.
- Product Checklist: Shampoo & Conditioner (suited to your hair type), Leave-in Conditioner, Texturizing Spray or Paste, Hair Wax/Pomade, Hairspray.
- Estimated Daily Styling Time: 5–15 minutes (can be less if air drying).
#7) Grow-Out Roadmap: The Evolution of Your Pixie
- Months 1-3: The cut will maintain its shape and texture. Regular trims are crucial to prevent it from looking overgrown.
- Months 3-6: Layers start to blend together, losing some definition. This is a good time to discuss adjusting the style with your stylist – perhaps adding more layers or softening the undercut. You can also experiment with longer bangs.
#8) Color Pairings: Enhancing Your Shag
- Cool Undertones (pink/blue): Ashy blondes, cool browns, and even a touch of icy lavender look stunning.
- Warm Undertones (yellow/gold): Honey blondes, caramel highlights, golden browns enhance warmth.
- Low-Commitment Options: Balayage or babylights add dimension without a harsh root line. Face-framing money pieces are also a great way to brighten your complexion.
#9) Season & Occasion Guide: Styling for Every Moment
- Spring/Summer: Embrace the undone vibe with lightweight texturizing products and air drying.
- Fall/Winter: Add warmth with richer tones and use styling creams or pomades for added definition against colder weather.
- Work: Sleek and polished – a side part, smoothed flyaways, and minimal texture.
- Weddings: Elevate the style with soft waves using a curling wand and secure with decorative pins.
- Parties/Formal Events: Experiment with volume at the roots for a more dramatic look.
#10) Cost & Time: Salon Investment
- Salon Time: Expect around 45-90 minutes, depending on your hair length and desired complexity.
- Price Range: Generally falls in the mid-range of salon services – expect to pay a bit more than a simple trim but less than a complex balayage.
#11) Pros & Cons: Weighing Your Options
Pros: Effortless style, versatile, flattering on many face shapes, can add volume and dimension. Cons: Requires regular trims, styling products are often necessary to achieve the desired texture, may not be suitable for very fine or thin hair without careful layering.
#12) Salon Consultation Script: Your Checklist
Here's what you can bring up with your stylist:
- "I love the look of a shaggy pixie – I’m drawn to its effortless vibe."
- “Can we discuss how this style will work specifically for my face shape (round, square, etc.)?”
- "What length would be best for me considering my hair type and density?"
- "I'd like some layers around my face – can you show me examples of different layering techniques?"
- “How much maintenance is involved with this cut and style?”
- "Can we discuss color options that will complement the cut and enhance my skin tone?"
FAQs:
- Is a shaggy pixie hard to style? Not necessarily! While it benefits from styling, the undone nature means you can often get away with minimal effort.
- Can I achieve this look at home without any experience? It’s best to have a professional cut and layer your hair properly. Styling is achievable at home with practice.
- Will this style make my face look wider/thinner? The effect depends on the specific layering and styling techniques – discuss concerns with your stylist.
- Can I wear glasses with a shaggy pixie? Absolutely! Adjust the fringe length to complement your frames.
- What if I want to grow it out? Talk to your stylist about strategic layers that will transition well during the grow-out phase.
- Is this style suitable for all ages? Yes, with adjustments! Younger individuals might embrace a more edgy version, while older clients can opt for softer layers and face-framing.