#The U-Cut: A Modern Classic for Every Style
The "U" cut is a versatile hairstyle that’s been gaining popularity – and for good reason! It's flattering on many face shapes, adaptable to different hair types, and offers a fresh, modern look. Let's dive into everything you need to know about this stylish choice.
#1) Background & Definition: What Is the U-Cut?
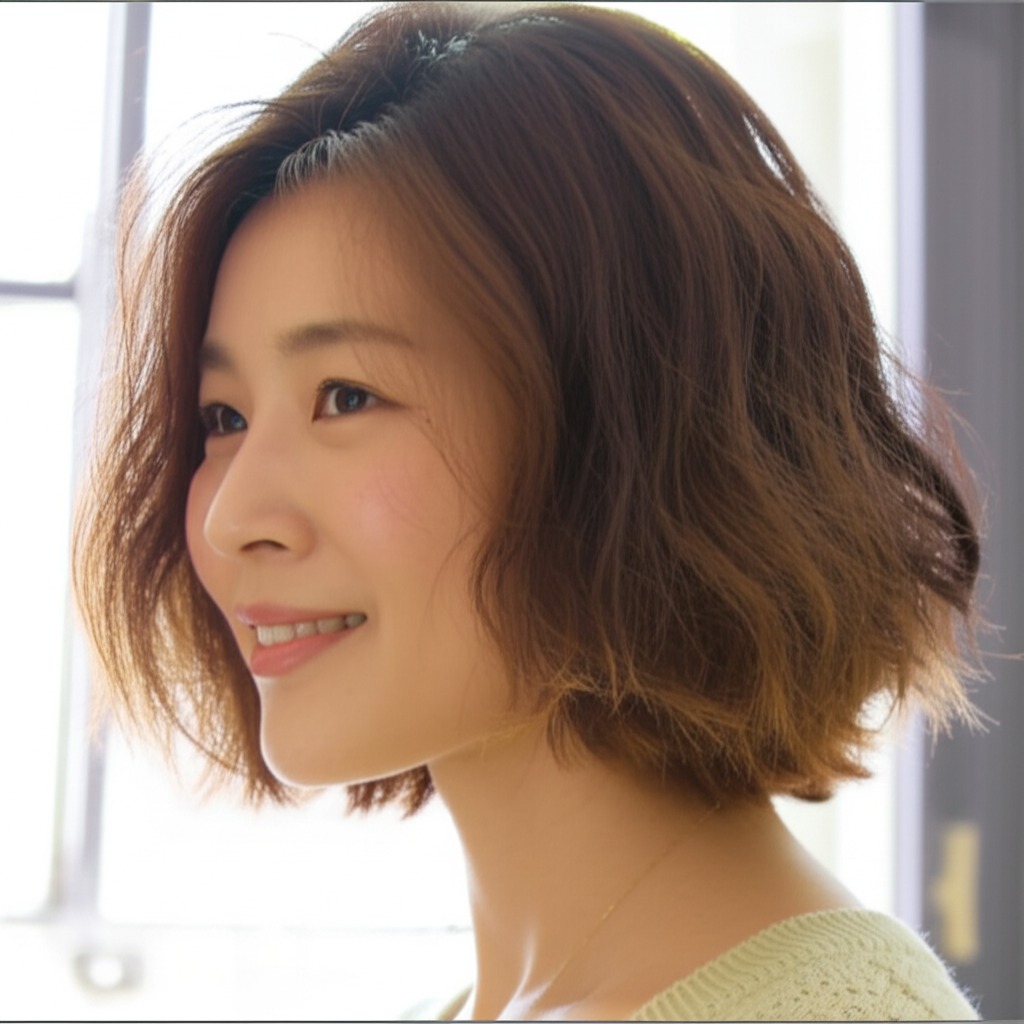
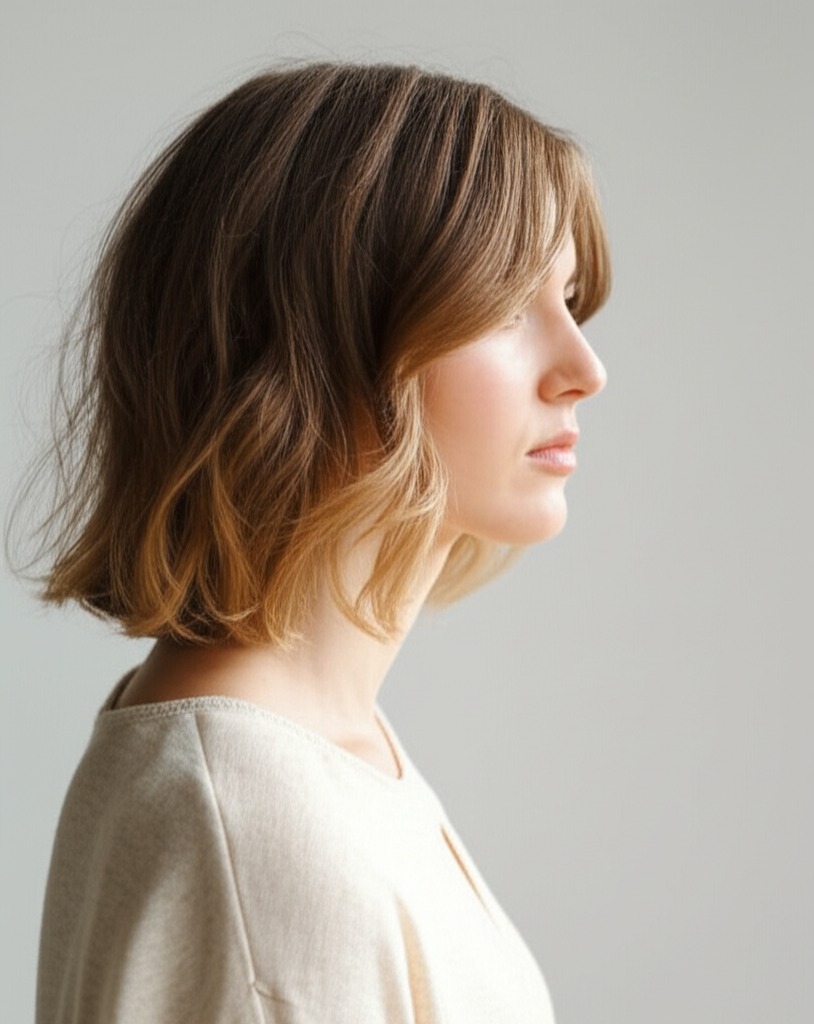
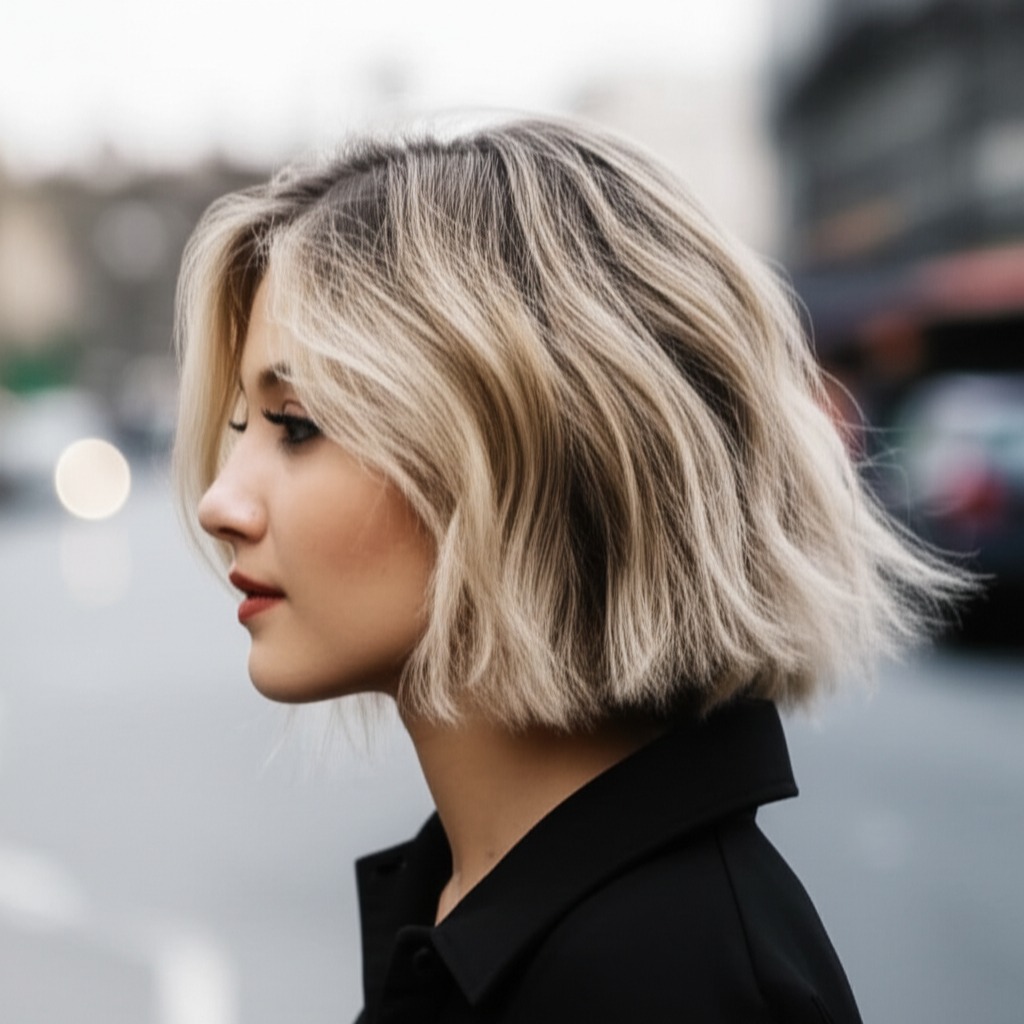
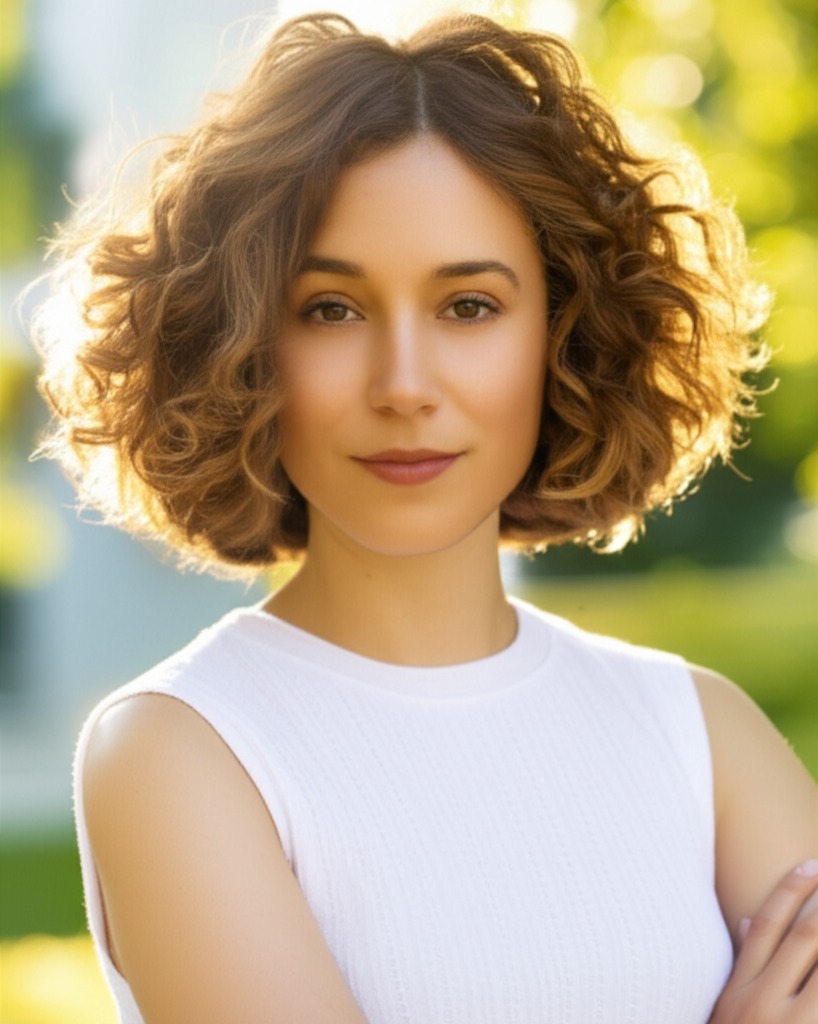
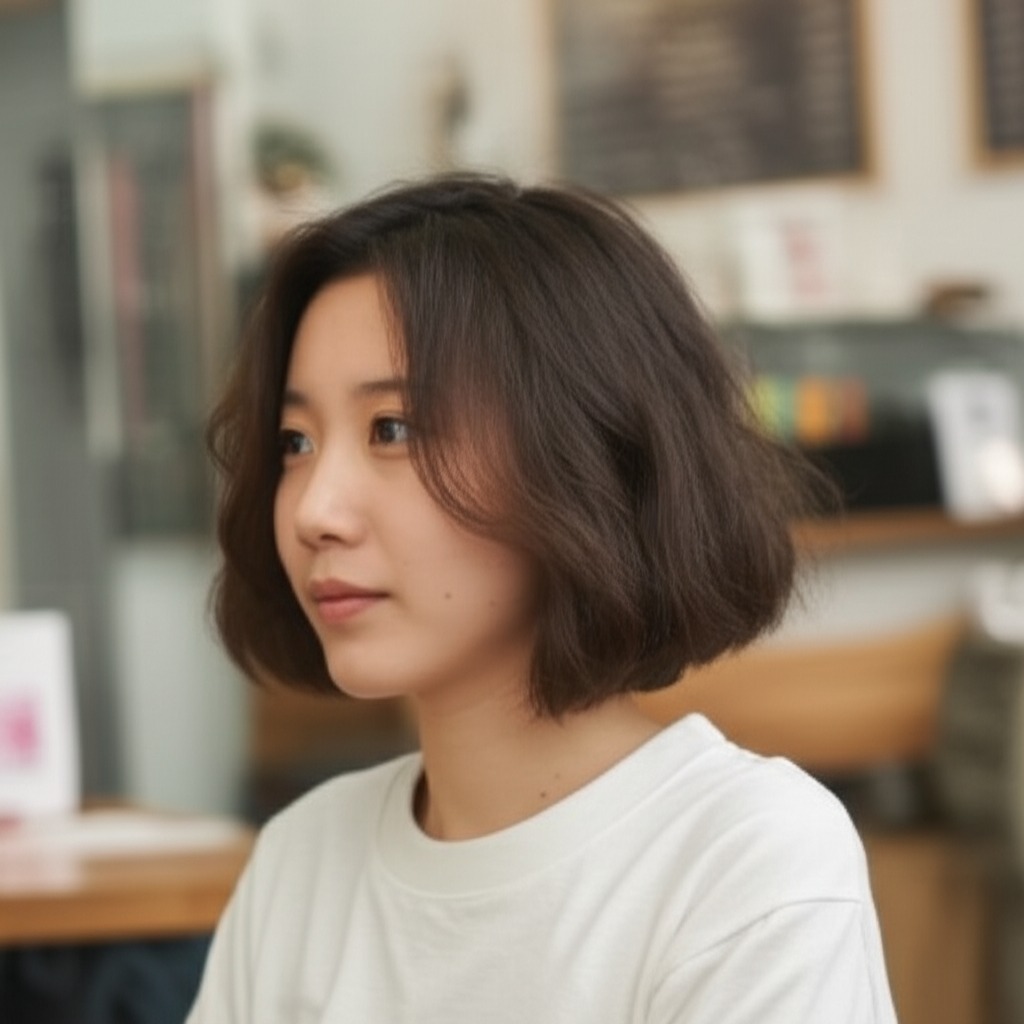
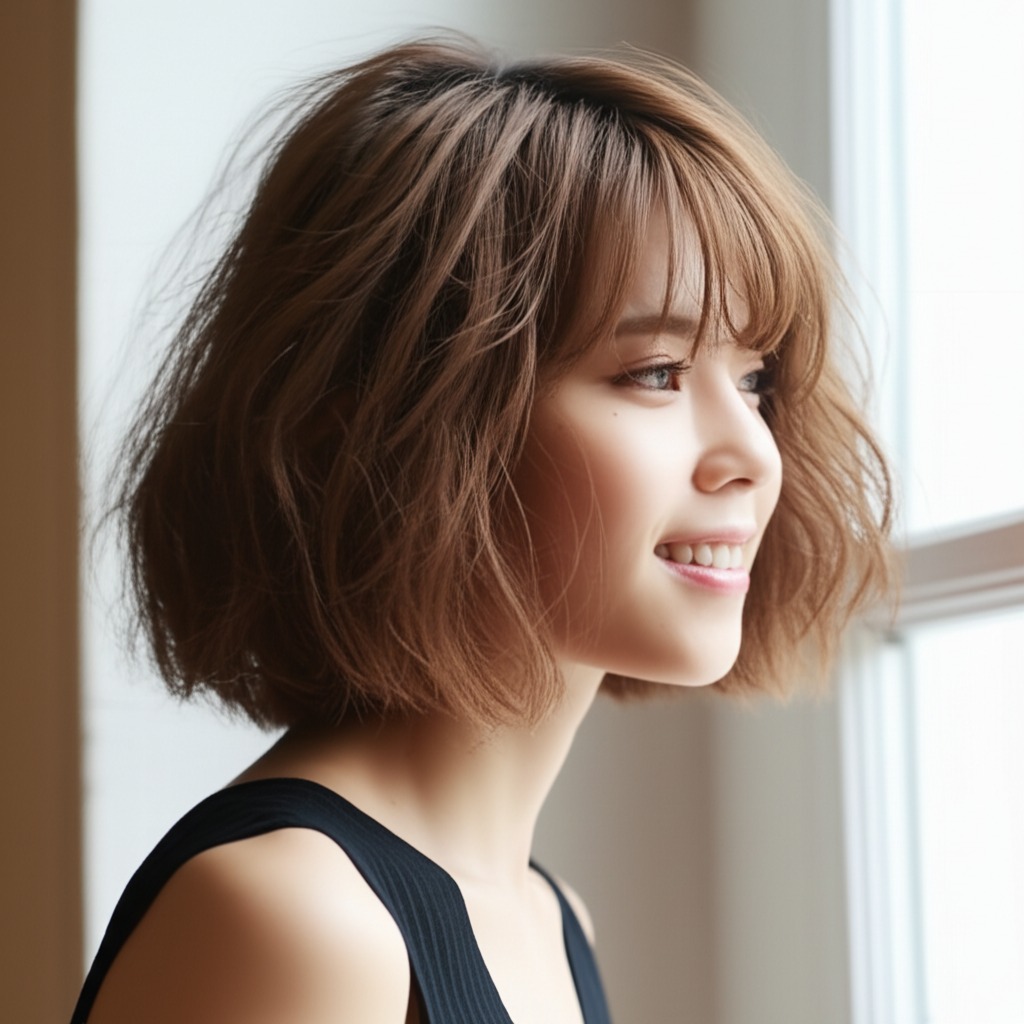
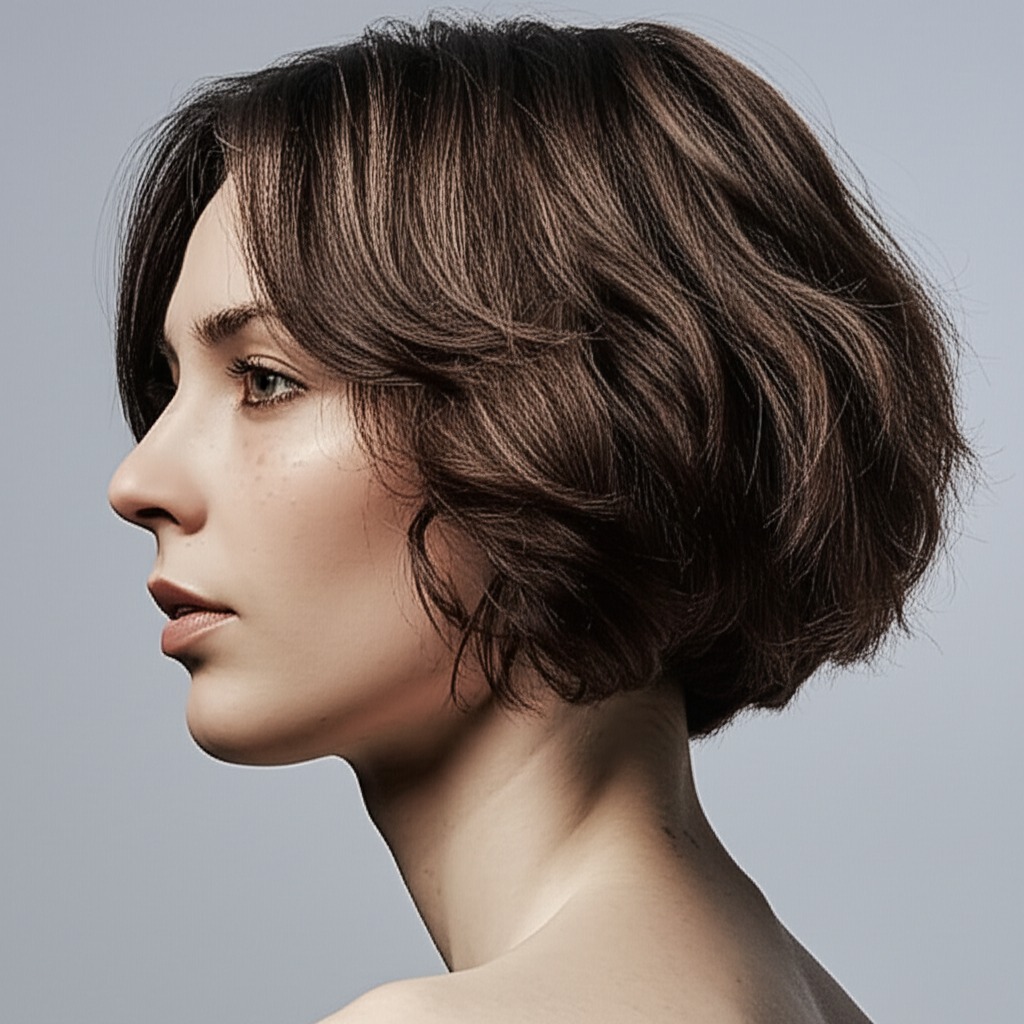
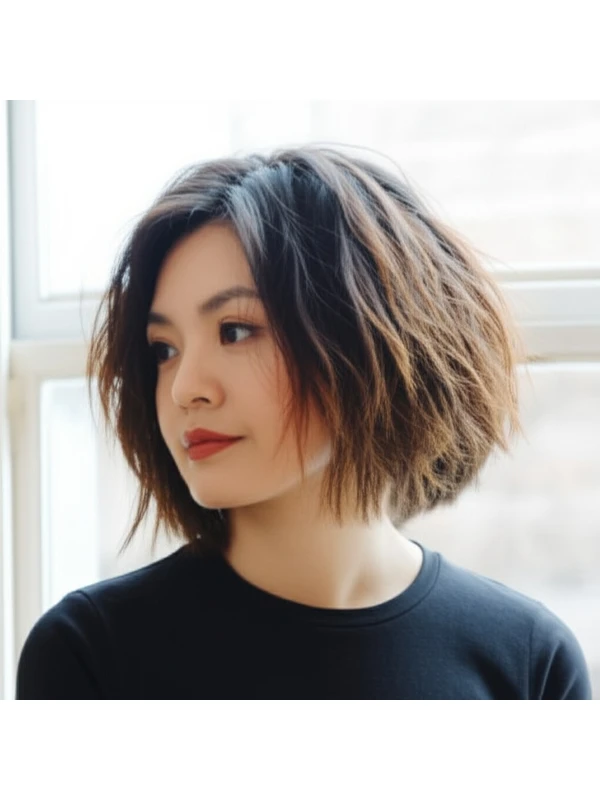
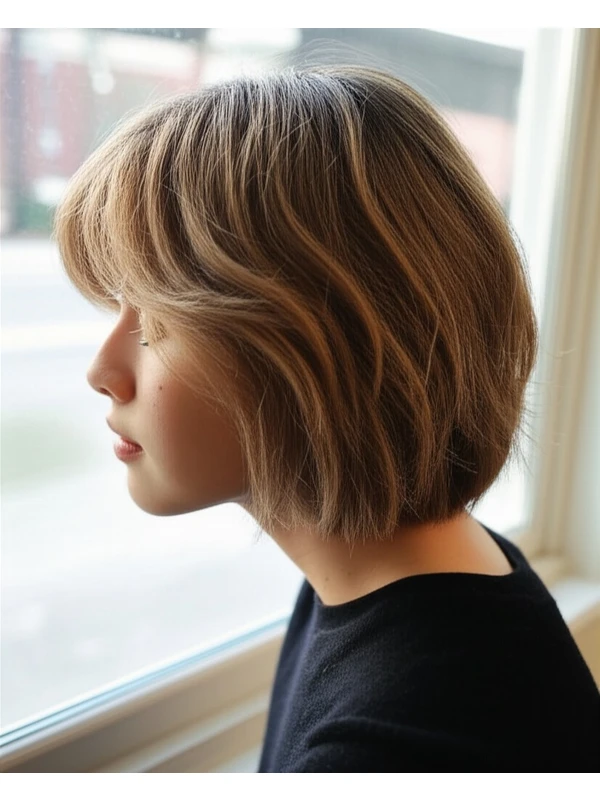
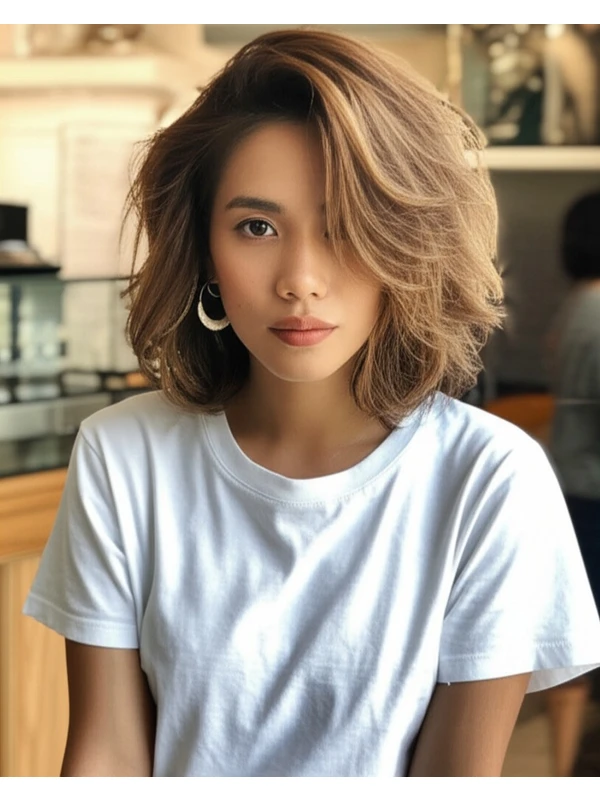
The name “U” cut comes from the shape of the haircut’s ends – resembling the letter "U." It’s a layered style, typically with longer layers around the face and shorter layers in the back. The key feature is that the bottom edges are softly rounded into that signature “U” shape, creating movement and softness.
- Geometry: Think of it as a softer, more modern version of the classic bowl cut. It’s not blunt; instead, it has gentle curves.
- Key Features: Layers for volume & movement; soft U-shaped ends; often includes face-framing layers.
- Length Ranges: Generally falls between chin length to shoulder length (or slightly longer). It can be adapted for shorter bobs too!
- Alternative Names: Sometimes called a "rounded bob," or simply, a layered bob with rounded edges.
#2) Face Shape Fit: Finding Your Flattering Angle
The U-cut's versatility makes it adaptable to most face shapes, but some tweaks are needed for optimal balance.
- Oval Faces: Lucky you! The U-cut generally looks fantastic on oval faces without much modification. A full fringe can add extra dimension.
- Round Faces: Lengthening is key. A longer U-cut (shoulder length or slightly below) with face-framing layers helps elongate the face. Avoid a very short, blunt cut as it can emphasize roundness. Side parts are generally more flattering than center parts. A wispy, angled fringe can also help slim the face.
- Square Faces: Soften those angles! The U-cut’s rounded edges naturally soften a square jawline. Layers around the cheekbones and chin will further diffuse harsh lines. A side part is almost always preferred to balance symmetry. Avoid blunt bangs that accentuate angularity.
- Heart Faces: Balance a wider forehead with face-framing layers that start at or below the brow line. A longer U-cut helps create length, which complements heart shapes well. Side parts are generally more flattering than center parts. A soft fringe can also help balance proportions.
- Diamond Faces: Similar to square faces, softening is important. The U-cut’s layers will soften diamond shapes and add balance around the cheekbones. A side part works best, as it softens angles.
- Oblong (Long) Faces: Avoid styles that make your face appear even longer! A shorter U-cut with more volume at the sides can create width. Bangs are a great option to shorten the appearance of an oblong face.
#3) Body Proportions & Height Guidance: Tailoring the Silhouette
The U-cut’s impact goes beyond just your face; it affects your overall silhouette too!
- Petite: A shorter, chin-length or slightly longer U-cut with minimal volume prevents overwhelming a smaller frame.
- Average: Most lengths work well for average heights and proportions. Experiment with different layer placements to find what you like best.
- Tall: A shoulder-length or longer U-cut adds balance, especially if you have broad shoulders. More layers create more volume which can help fill out a taller frame.
- Narrow Shoulders: Layers that add width at the shoulders will create a fuller look. Avoid styles that are too sleek and close to the head.
- Broad Shoulders: A U-cut with strategic layering can soften broad shoulders by drawing attention away from them. Keeping volume higher on top is generally more flattering than emphasizing shoulder width.
- Short Neck: A longer U-cut (shoulder length or slightly below) creates the illusion of a longer neck. Avoid very short cuts that accentuate a shorter neck.
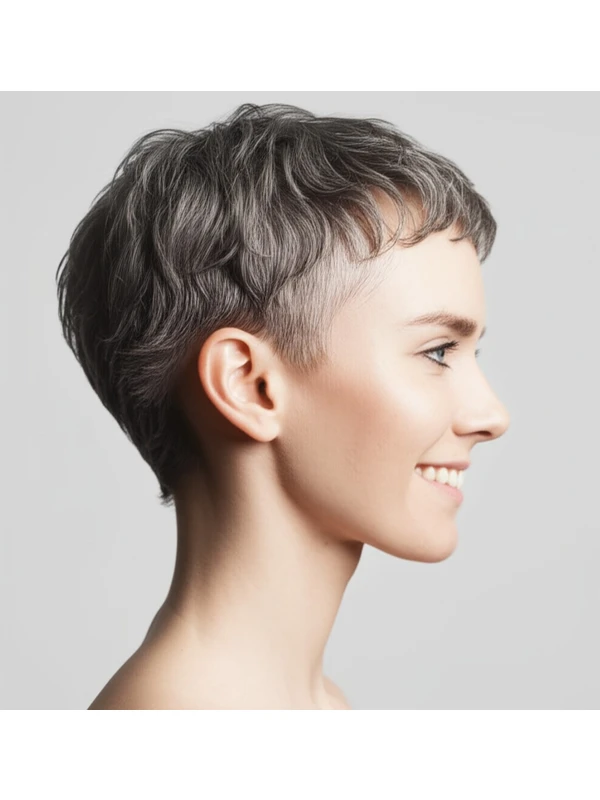
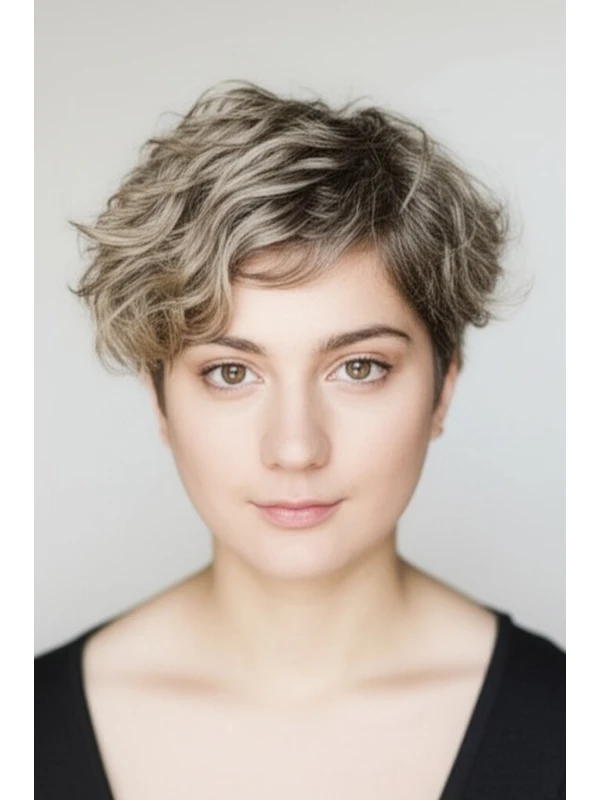
#4) Works Best With Hair Types & Densities: Finding Your Perfect Match
The beauty of the U-cut is its adaptability, but understanding your hair type and density is key to success.
- Straight Hair: The U-cut showcases straight hair’s shine and sleekness beautifully. Layering adds movement that can sometimes be lacking in naturally straight styles.
- Wavy Hair: The U-cut enhances natural waves, creating a soft, flowing look. Be sure to communicate your wave pattern to your stylist so they can place the layers correctly for optimal bounce.
- Curly & Coily Hair: The U-cut works well with curls and coils but requires careful consideration of shrinkage! What looks like shoulder length in the salon might end up hitting mid-back once dry. Discuss desired length and curl pattern with your stylist. A more gradual layering approach is often best to avoid excessive bulkiness.
- Shrinkage: Coily hair can shrink significantly (sometimes 50% or more!). Account for this when determining the final length of the cut.
- Fine Hair: Layers add volume and movement, making fine hair appear thicker. Avoid too many layers as it can create a wispy look.
- Medium Hair: The U-cut is generally flattering on medium density hair – experiment with layering to achieve desired fullness.
- Thick Hair: Layers are essential for removing weight and creating movement in thick hair. Consider point cutting (a technique where the stylist snips into the ends) to soften layers even further.
#5) Styling Variations: From Casual Cool to Evening Elegance
The U-cut is a blank canvas – here’s how to style it!
- Sleek vs. Textured: Sleek styles use smoothing products and heat styling for a polished look. Texturized styles embrace natural waves or curls with minimal product.
- Middle vs. Side Part: A center part creates symmetry, while a side part adds softness and asymmetry.
- Fringe Variations: Blunt bangs, wispy bangs, angled bangs – the possibilities are endless! Consider your face shape when choosing a fringe style.
- Occasion Styling:
- Casual: Air-dry with a texturizing spray for effortless waves.
- Office: Sleek and straight with minimal fuss.
- Evening: Add volume at the roots, curl the ends, and finish with hairspray.
#6) Maintenance: Keeping Your U-Cut Looking Fresh
Regular trims are crucial to maintain shape!
- Trim Cadence: Every 6-8 weeks for most hair types; more frequently (every 4-6 weeks) if you have curly or coily hair.
- At-Home Routine: Gentle shampooing and conditioning is key. Avoid harsh products that can dry out your hair.
- Heat vs Air-Dry: Minimize heat styling to prevent damage. When using heat, always use a protectant spray.
- Product Checklist:
- Shampoo & Conditioner (suited for your hair type)
- Leave-in conditioner or detangler (especially important for curly/coily hair)
- Heat Protectant (if using hot tools)
- Styling Cream, Mousse, or Gel (depending on desired texture)
- Finishing Hairspray (for hold)
- Estimated Daily Styling Time: 5-15 minutes (can be longer with complex styling).
#7) Grow-Out Roadmap: The Evolution of Your Style
The U-cut evolves as it grows out.
- Months 1-3: Maintains its shape well, layers are visible and provide movement.
- Months 3-6: Layers may start to blend together slightly. A trim will redefine the shape and prevent a boxy look. Maintain face framing layers for continued softness.
- Maintaining Shape: Regular trims are key! Ask your stylist to refine the U-shape and remove any unwanted bulkiness.
#8) Color Pairings: Enhancing Your Look with Hue
Color can elevate the U-cut even further!
- Cool Undertones (ash blonde, cool brown): These shades create a modern, sophisticated look.
- Warm Undertones (golden blonde, caramel brown): These shades add warmth and dimension.
- Low-Commitment Options: Balayage or highlights can add subtle depth and dimension without a drastic color change.
#9) Season & Occasion Guide: Adapting to the Moment
- Spring/Summer: Embrace lighter, brighter colors and air-dried textures for a fresh, effortless look.
- Fall/Winter: Richer tones like caramel or chocolate brown are perfect for cooler months. Add volume at the roots for extra warmth.
- Work: Sleek and polished – minimal fuss is key.
- Weddings/Parties: Elevate your style with curls, waves, or a statement accessory.
- Formal Events: Consider an updo that incorporates the layers of the U-cut for added elegance.
#10) Cost & Time: What to Expect at the Salon
- Salon Time: Typically 45 minutes to 1.5 hours, depending on hair length and complexity.
- Estimated Price Range: Moderately priced – expect a slightly higher cost than a basic trim but less than more complex styles.
#11) Pros & Cons: Weighing the Options
Pros: Versatile; flattering on many face shapes; modern look; adaptable to different hair types; relatively easy to style. Cons: Requires regular trims to maintain shape; can be tricky to achieve with certain curl patterns without expert styling; layering can make fine hair appear thinner if not done correctly.
#12) Salon Consultation Script: Your Questions, Answered
Here are some prompts you can use when talking to your stylist:
- "I'm interested in a U-cut. Can you show me some pictures of examples?"
- “What length would be most flattering for my face shape?”
- “How will the layers work with my hair texture and density?”
- “Can we incorporate face-framing layers to soften [specific feature]?”
- "I'm looking for a low-maintenance style. What styling tips can you give me?"
- "Could we discuss how this cut would look with some subtle highlights or balayage?"