#The Undercut Pixie: A Bold & Versatile Style Guide
The undercut pixie is a seriously cool haircut that’s been gaining popularity for years – and with good reason! It's edgy, low-maintenance (sometimes!), and can be adapted to suit almost anyone. But it’s more than just a buzzcut; it's about strategic layering and contrast. This guide will break down everything you need to know before taking the plunge.
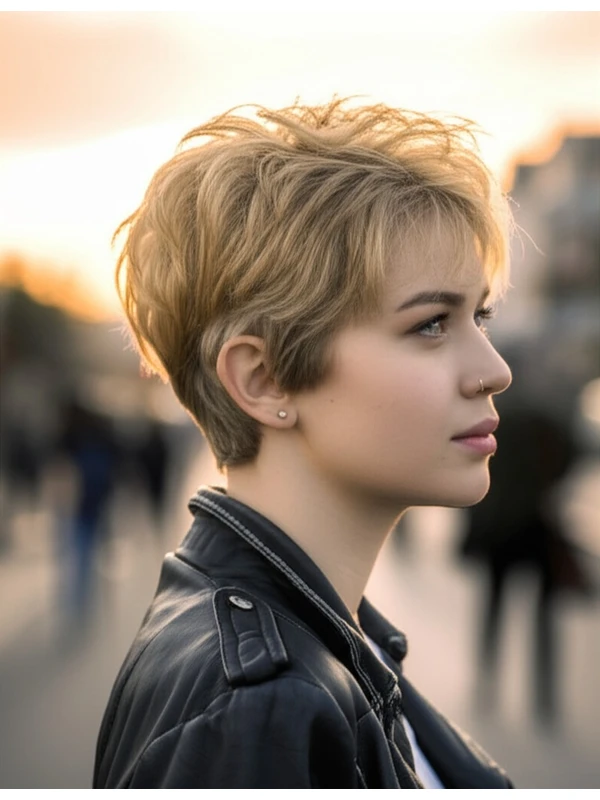
#1) Background & Definition: What is an Undercut Pixie?
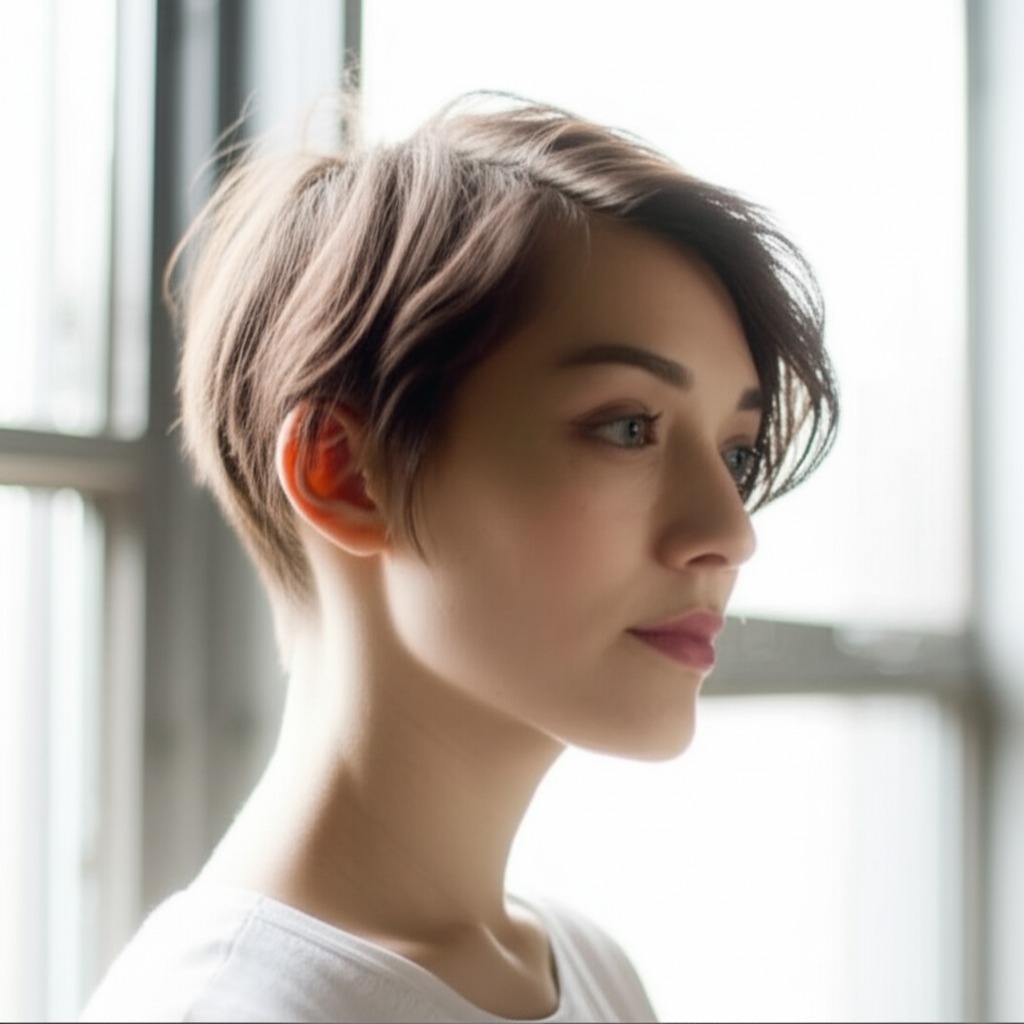
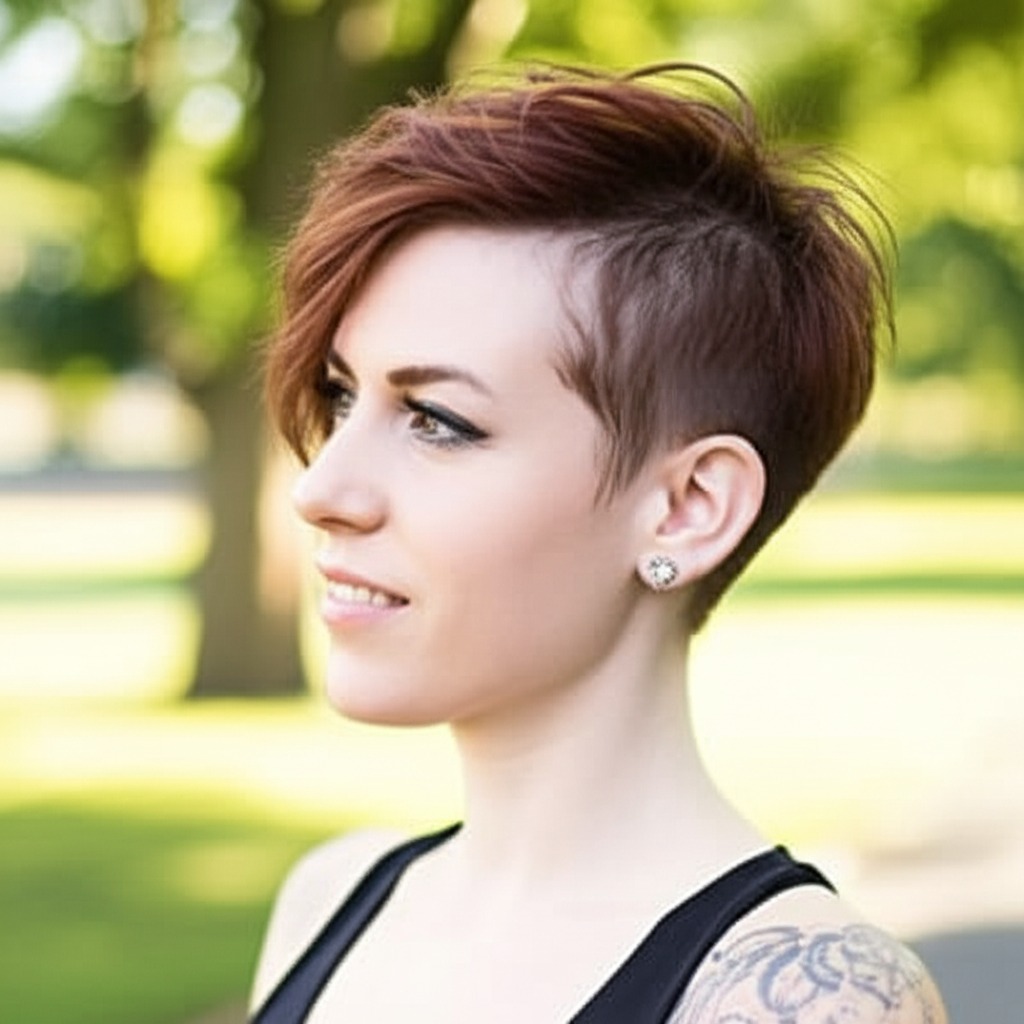
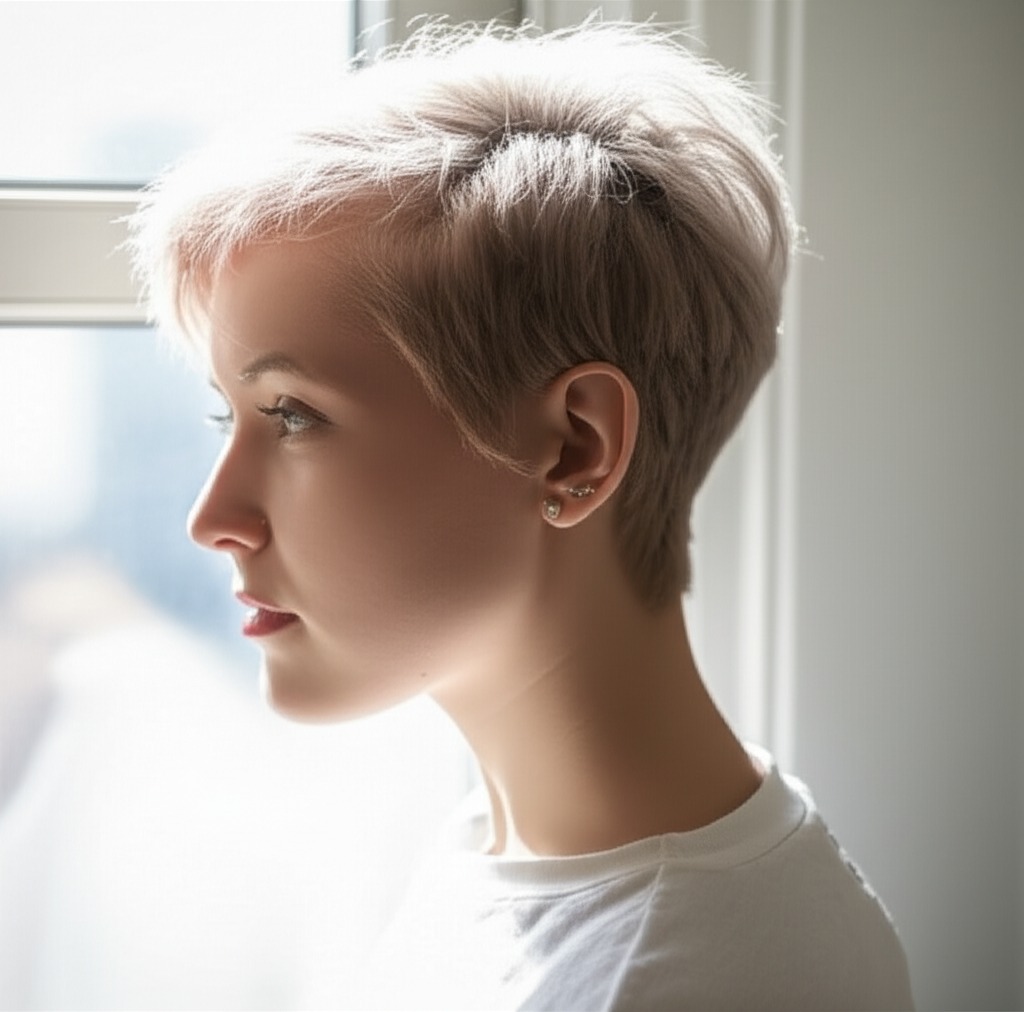
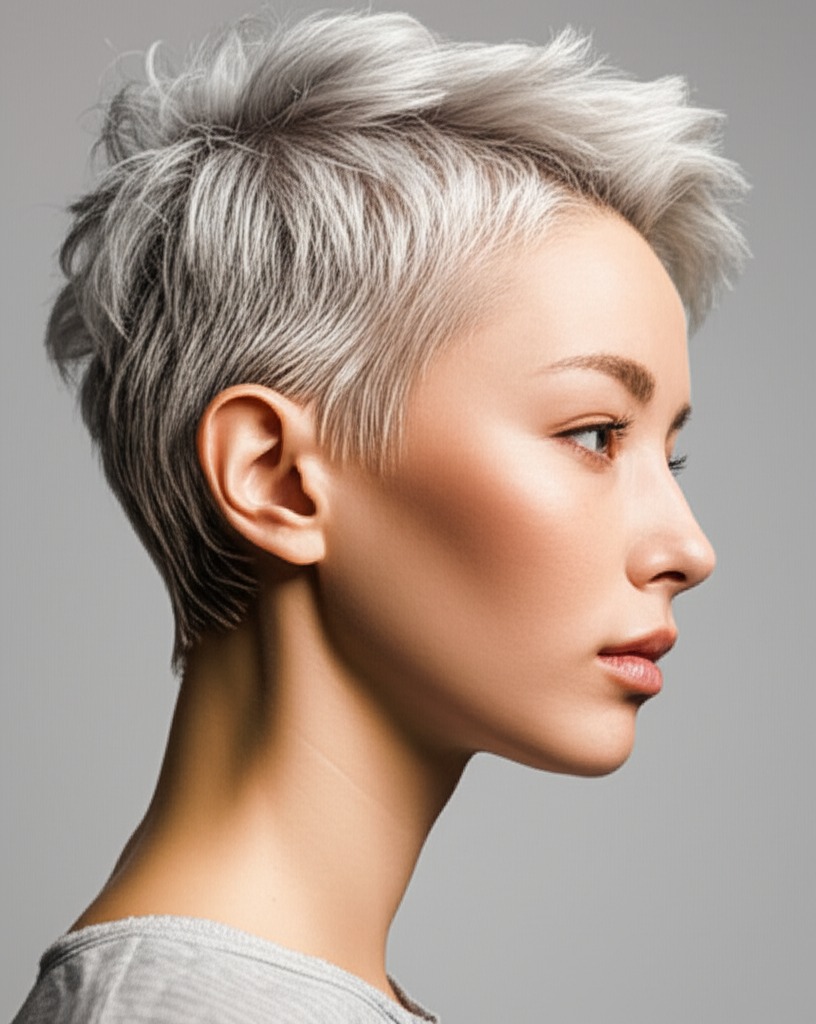
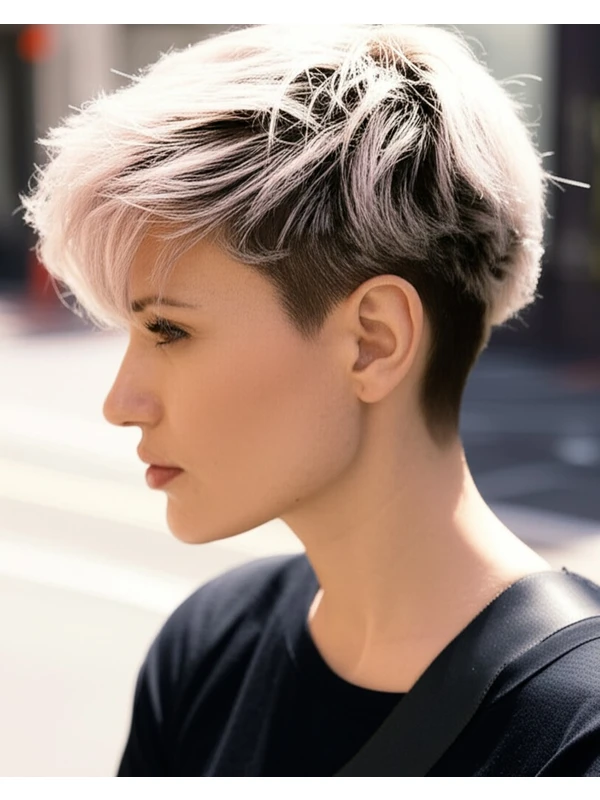
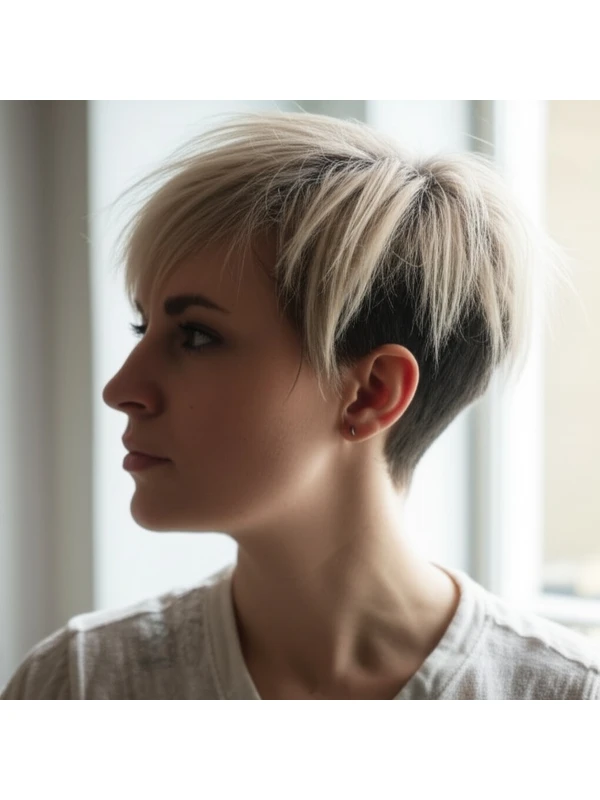
An undercut pixie combines the short, choppy layers of a traditional pixie cut with shaved or significantly shorter sections at the back and/or sides – the “undercut” element. Think of it as a playful rebellion against longer hair.
- Cut Geometry: The top and front are kept relatively longer (typically 1-3 inches), allowing for styling versatility. The undercut itself can range from a subtle taper to a bold, completely shaved area.
- Key Features: Sharp lines, contrasting lengths, often textured layers on top. It’s all about the juxtaposition of short and long.
- Length Ranges: The longer sections usually fall between your eyebrows and chin. Undercuts can be anywhere from just below ear length to completely shaved down to skin level.
- Alternative Names: Disconnected pixie, textured undercut, faux hawk pixie (if styled with more volume on top).
#2) Face Shape Fit: Finding Your Perfect Angle
The undercut pixie isn’t a one-size-fits-all style. Here's how it works with different face shapes and fringe options to create balance:
- Oval: Lucky you! Most styles suit an oval face. An undercut pixie will highlight your features beautifully. Consider a side-swept fringe or textured layers for added dimension.
- Round: The key is adding angles. A longer, asymmetrical fringe (worn to one side) and strategically placed volume on top can elongate the face. Avoid overly round shapes at the sides of the undercut – keep it more angular.
- Square: Soften those strong jawlines! A textured pixie with a soft, wispy fringe that blends into the cheekbones is ideal. The undercut helps to break up the sharpness.
- Heart: A side-swept fringe and volume at the crown can balance a wider forehead and pointed chin. An undercut adds edge without overwhelming your features.
- Diamond: Highlight your cheekbones! A slightly longer pixie with layers that frame the face is flattering. The undercut draws attention to your eyes and cheek structure.
- Oblong (Long): Create width! A fuller fringe (even a blunt bang) can shorten the appearance of a long face. Avoid styles that pull hair straight up, as this will accentuate length even more.
#3) Body Proportions & Height Guidance: Playing with Silhouette
The undercut pixie’s impact goes beyond just your face – it affects your overall silhouette!
- Petite: A shorter, bolder undercut can create the illusion of height. Avoid overly voluminous styles on top that might overwhelm a smaller frame.
- Average: You have more flexibility! Experiment with different lengths and volumes to find what suits you best.
- Tall: A longer pixie with layered texture adds visual interest without making you appear even taller.
- Narrow Shoulders: Volume on top will broaden your shoulders visually. A slightly wider undercut can also create a more balanced proportion.
- Broad Shoulders: Keep the volume on top controlled to avoid emphasizing shoulder width. A more subtle undercut might be preferable.
- Short Neck: Avoid very short, close-cropped styles around the neck as they can accentuate a shorter neck length. A slightly longer fringe and layers that drape down can soften this area.
- Long Neck: You can rock almost any variation! The undercut pixie really allows you to play with different lengths and volumes without feeling overwhelmed.
#4) Works Best With Hair Types & Densities: Matching the Cut to Your Texture
This cut is surprisingly versatile, but understanding your hair type is crucial for a successful outcome.
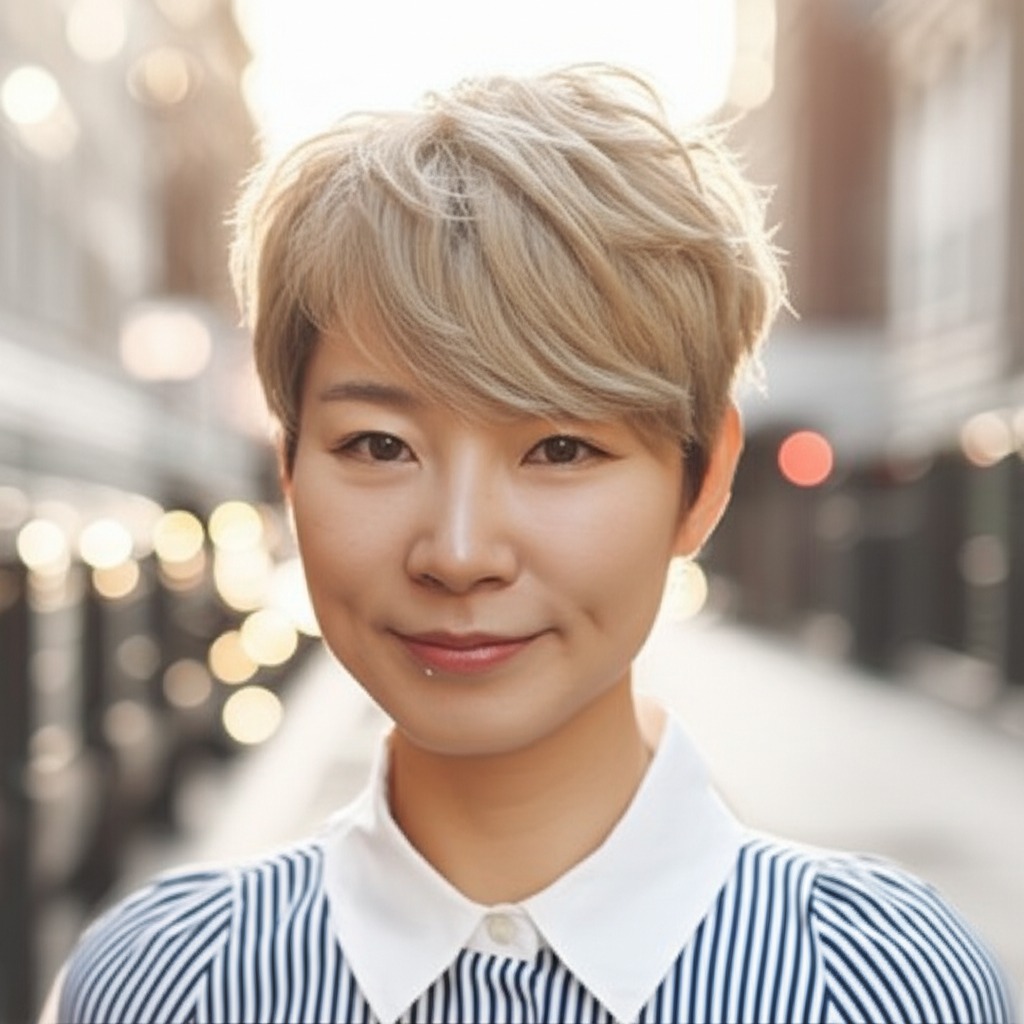
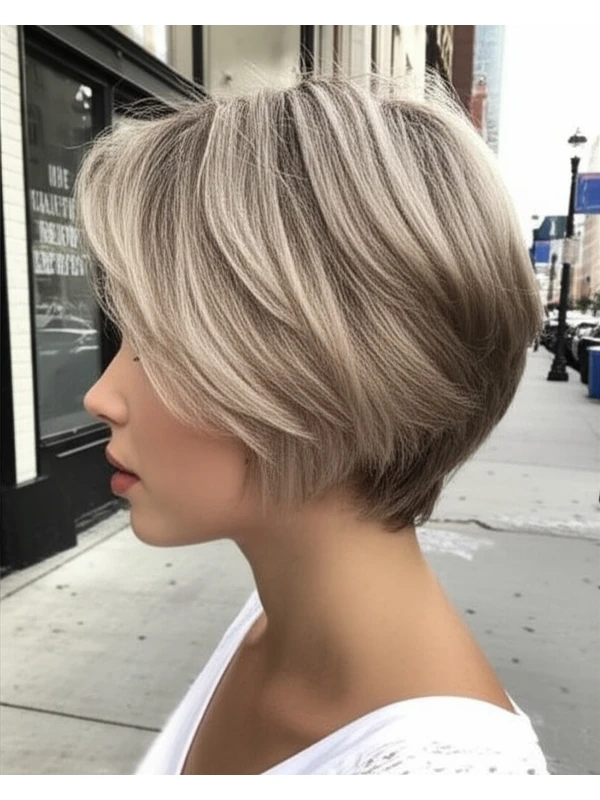
- Straight: The undercut pixie looks incredibly sharp on straight hair! It showcases clean lines and allows for easy styling – sleek or textured.
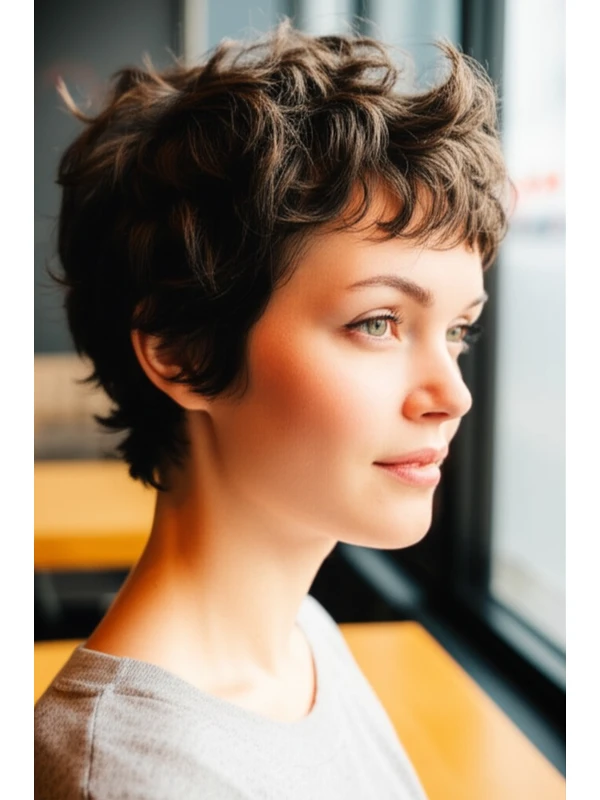
- Wavy: Wavy hair adds natural texture and movement to the style. Embrace the waves with minimal effort, or use product to enhance definition.
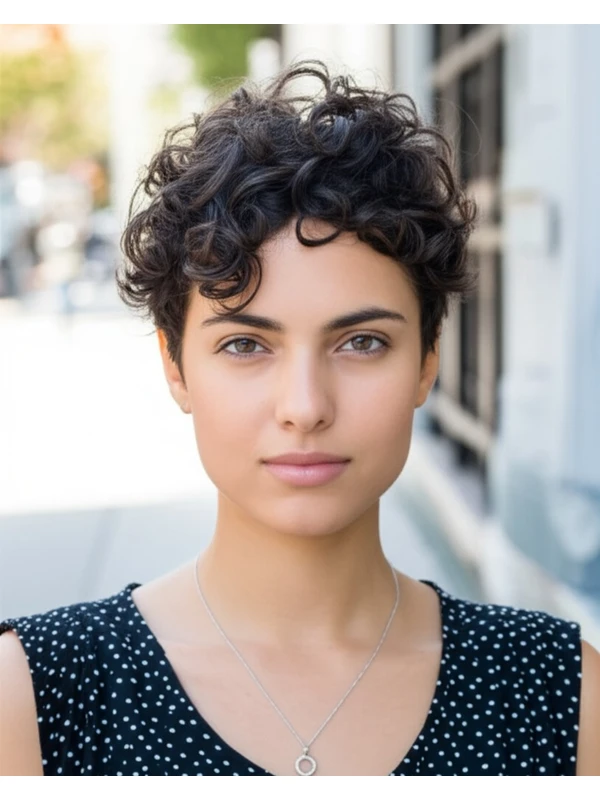
- Curly/Coily: This cut can be amazing but requires careful consideration of shrinkage! Communicate your curl pattern and desired length after shrinkage to your stylist. A shorter undercut is generally better for curls as it removes bulk.
- Density Tips: Thicker hair will need more layers to avoid a bulky look. Fine hair benefits from strategic layering to create the illusion of volume.
- Shrinkage Factor: Coily and curly hair can shrink significantly when dry (sometimes up to 50%!). What looks like 3 inches in the salon might be much shorter once it’s fully dried at home.
#5) Styling Variations: From Sleek to Spiked
The beauty of an undercut pixie is its adaptability!
- Sleek vs Textured: Use smoothing serums for a polished, sleek look or texturizing creams/waxes for a more edgy, piece-y style.
- Middle vs Side Part: A side part adds asymmetry and can soften features. A middle part creates a bolder, more symmetrical look.
- Fringe Variations: Blunt bangs, wispy fringes, asymmetrical fringes – the possibilities are endless!
- Occasion Styling:
- Casual: Air-dry with a texturizing product for effortless cool.
- Office: Sleek and polished with minimal volume.
- Evening: Add height at the crown with mousse or pomade, and finish with hairspray.
#6) Maintenance: Keeping Your Pixie Sharp
Regular trims are essential to maintain the shape of an undercut pixie.
- Trim Cadence: Every 4-6 weeks is typical.
- At-Home Routine: Wash and style as usual. Use a heat protectant if using hot tools.
- Heat vs Air-Dry: Air drying enhances natural texture, while heat styling allows for more control.
- Product Checklist:
- Shampoo & Conditioner (suited to your hair type)
- Leave-in conditioner (especially important for curly/coily hair)
- Texturizing cream or wax (for textured styles)
- Smoothing serum (for sleek styles)
- Hairspray (to set the style)
- Estimated Daily Styling Time: 5-15 minutes, depending on desired look and styling method.
#7) Grow-Out Roadmap: The Evolution of Your Style
Growing out an undercut pixie takes patience!
- Months 1-3: The undercut will be most noticeable. Focus on maintaining the shape with regular trims.
- Months 3-6: The longer layers start to blend, creating a more transitional style – often resembling a layered bob. Consider adding face-framing pieces or softening the undercut slightly.
- Maintaining Shape: Ask your stylist for tips on how to style and shape your hair during the grow-out phase.
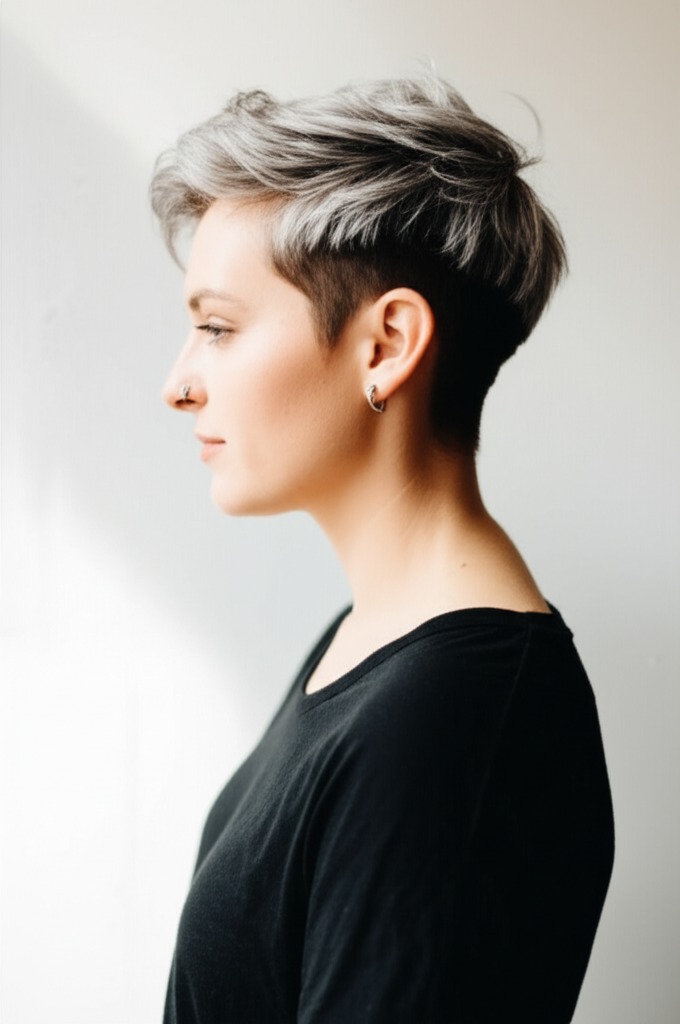
#8) Color Pairings: Elevating Your Look
Color can dramatically enhance an undercut pixie!
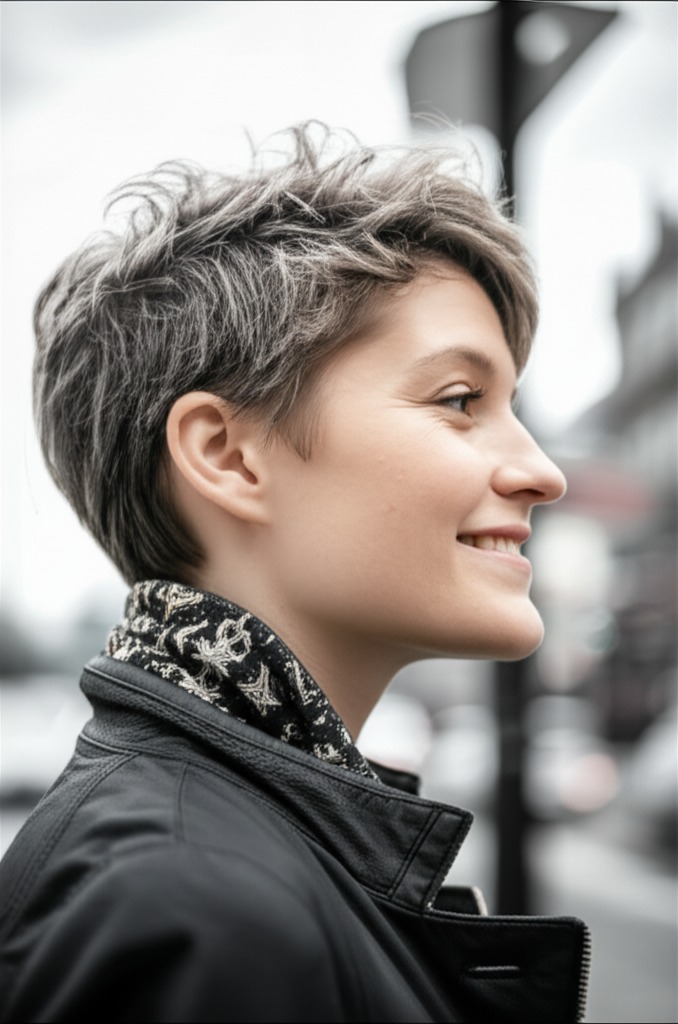
- Cool Undertones: Ashy blondes, cool browns, platinum shades – these will create a sleek, modern look.
- Warm Undertones: Honey blondes, caramel highlights, copper tones – these add warmth and dimension.
- Low-Commitment Options: Root shadows or balayage can add depth without requiring frequent touch-ups.
#9) Season & Occasion Guide: Styling for Every Moment
- Spring/Summer: Embrace lighter textures and brighter colors. A messy, textured pixie is perfect for warm weather.
- Fall/Winter: Add warmth with richer tones and more volume at the crown to combat flatter winter light.
- Work: Sleek and polished – think controlled layers and minimal texture.
- Weddings: Elegant updo variations are possible, showcasing the undercut in a unique way.
- Parties: A bolder, edgier style with more volume and texture is always a hit!
#10) Cost & Time: What to Expect at the Salon
- Salon Time: Typically 45-90 minutes for the initial cut. Grow-out trims are usually shorter (20-30 mins).
- Price Range: Generally, expect to pay slightly more than a standard trim – somewhere in the mid-range of salon services.
#11) Pros & Cons: Weighing Your Options
Pros:
- Edgy and stylish
- Can be adapted to suit many face shapes
- Relatively low maintenance (with proper styling skills)
- Highlights facial features
Cons:
- Requires regular trims to maintain shape
- Grow-out phase can be awkward
- May not be suitable for all hair types/densities without adjustments.
#12) Salon Consultation Script: Questions to Ask & Discuss
When you’re ready to book your appointment, prepare with these questions:
- "I'm interested in an undercut pixie. Can you show me some examples that would suit my face shape?"
- “What length should the top and sides be, considering my hair texture and desired style?”
- "How will the undercut placement affect my overall silhouette?"
- "Can we discuss a plan for growing out the style if I change my mind later?"
- “How can I best maintain this cut at home? What products do you recommend?”
#FAQs: Your Burning Questions Answered
- Is an undercut pixie painful? No, it's just like getting any other haircut – a little buzzy!
- Can anyone get an undercut pixie? While versatile, certain hair types and densities might require modifications for the best results.
- How long does it take to grow out an undercut pixie? It depends on your desired length, but expect at least 6 months.
- What if I don't like the shaved part? The shorter sections will gradually blend in as your hair grows.
- Can I style an undercut pixie with a hat? Absolutely! A beanie or baseball cap can complement the edgy vibe.
- Will this look good on grey hair? Yes! Grey hair adds sophistication and texture to the cut – consider highlights to enhance the dimension.