#Underlights: A Hidden Pop of Color
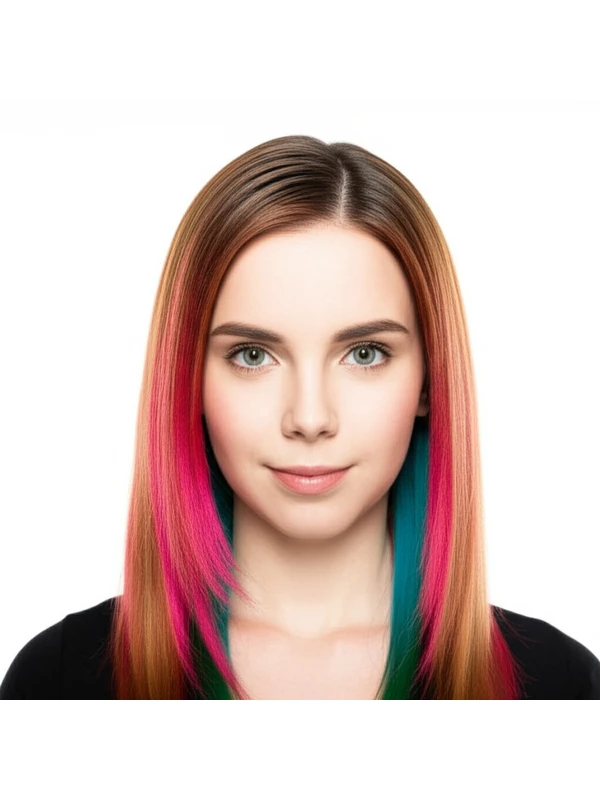
Underlights are a trendy hair coloring technique that adds subtle or bold pops of color hidden underneath your top layer of hair. They’re all about creating visual interest and dimension without a dramatic overall change. Think of it as a secret splash of fun!
#What Are Underlights & How Do They Work?
Underlights involve strategically placing colored strands below the surface layers of your hair. It's not like traditional highlights, which lift and color from the top. Instead, the stylist focuses on weaving color underneath, so it’s only visible when you move or flip your head.
Tools & Placement:
- Foils are key: While some stylists might experiment with other methods, foils are most common for precise placement.
- Strategic Sections: The stylist will section off the top layers of hair to expose the underneath area.
- Placement is everything: Color is applied to strands that sit underneath your existing hair color. The location (closer to the roots or further down) influences how visible they are and their effect on overall dimension.
- Angle Matters: The angle at which foils are placed creates a specific visual effect – more angled for wider, softer pops of color; straighter for more concentrated sections.
Timing:
The process typically takes 2-4 hours, depending on hair length, density, and the number of underlights desired. Multiple passes with color may be needed to achieve the intended vibrancy.
#Best Use Cases: What Can Underlights Achieve?
Underlights are surprisingly versatile! They can accomplish several goals beyond just adding a fun color element.
- Dimension & Depth: They add hidden depth and complexity, making hair look fuller and more interesting.
- Root Blur/Shadow Effect: Strategically placed underlights near the roots can soften harsh lines as your natural color grows out. This reduces the need for frequent touch-ups.
- Face Framing: Underlights around the face can draw attention to your features with a subtle, playful glow when hair moves.
- Subtle Coverage (Sometimes): While not their primary purpose, underlights can help mask very fine areas of grey or brassiness if strategically placed and toned correctly – but this isn't guaranteed and requires careful consultation.
#Who Suits Underlights?
Underlights can be adapted to suit a wide range of people, but here’s what to consider:
- Natural Color Level: Underlights work best on hair that is already lightened (level 7 or higher) as the color needs a lighter base to show effectively. Darker hair can have underlights done, but it requires more lifting and can impact hair health – discuss with your stylist.
- Undertone: Consider how the chosen color will interact with your skin’s undertones (warm, cool, or neutral). Cool colors look great on those with cooler skin tones; warmer colors complement warmer complexions.
- Hair Type/Texture:
- Straight Hair: Shows underlights clearly and evenly.
- Wavy Hair: The waves create natural movement to reveal the hidden color.
- Curly & Coily Hair: Underlights are beautiful, but require a skilled stylist who understands how curls coil and where the color will be visible. Placement is crucial for even distribution.
- Hair Density: Thicker hair can handle more underlights without looking sparse; finer hair may need fewer to avoid a thin appearance.
- Hair Length: Underlights work well on all lengths, but are most impactful on medium-to-long styles where there's enough hair to create depth and movement.
- Lifestyle: Underlights are great for those who want a subtle change with low maintenance – or those wanting a bolder statement that’s still somewhat hidden!
#Comparing Techniques
Understanding how underlights differ from other coloring methods is key:
- Balayage vs. Foilyage vs. Highlights: Balayage and foilyage are freehand techniques, creating softer, more blended highlights. Highlights often involve a more uniform application of lighter color. Underlights are focused, not diffused.
- Root Smudge vs. Shadow Root: A root smudge softens the line between your natural roots and colored hair with a blended transition. A shadow root creates a darker, slightly blurred effect at the roots. Underlights add hidden pops – they don't primarily address root transitions, though they can contribute to that effect if placed strategically.
#Maintenance & Longevity
Keeping those underlights looking vibrant requires some planning:
- Salon Timing: Expect touch-ups every 6-12 weeks, depending on how quickly your hair grows and the vibrancy of the color.
- Toner/Gloss Refresh: A gloss or toner can refresh the underlying color between full coloring appointments, keeping it bright.
- Grow-Out Behavior: As your roots grow out, the underlights will become more visible at the scalp but maintain their placement within the hair shaft. This is often a desirable effect for root blurring!
- Budget/Time Planning: Underlights typically cost between $150-$400+ depending on salon location and stylist expertise. Factor in time for consultations, application, and toning.
#At-Home Care Tips
Proper care extends the life of your underlights:
- Wash Cadence: Wash hair less frequently (2-3 times per week) to prevent color fading.
- Cool Water: Rinse with cool water; hot water opens the hair cuticle, releasing pigment.
- Color-Safe Products: Use shampoos and conditioners specifically formulated for colored hair.
- Heat Protection: Always use a heat protectant spray before using styling tools (blow dryers, straighteners, curling irons). Excessive heat accelerates color fading.
#Pros & Cons
Pros:
- Unique & Stylish: Adds a subtle or bold pop of personality.
- Versatile: Customizable to different hair types and color levels.
- Dimension: Creates depth and visual interest.
- Root Blurring Potential: Can soften root lines for less frequent touch-ups.
- Hidden Fun: The surprise element when the color is revealed!
Cons:
- Requires Skilled Stylist: Placement is crucial for optimal results.
- Can Be Expensive: Requires multiple foils and coloring processes.
- Potential Damage (if hair isn't prepped): Lifting color can weaken hair, especially on darker shades.
#Salon Consultation Script Prompts
To ensure you get the underlights of your dreams, be prepared to discuss these points with your stylist:
- What is my natural hair color level?
- What undertones do I have in my skin and hair?
- What colors are you suggesting based on my complexion and desired look?
- How many foils will be needed for the desired effect?
- Where should the underlights be placed (near roots, throughout length)?
- Can we see examples of similar styles before we start?
- What is your plan to protect my hair during the process?
#FAQs
- Can I get underlights on dark brown or black hair? Yes, but it requires more lifting and may impact hair health. A strand test is essential.
- Are underlights damaging to my hair? Any coloring process can cause some degree of damage. Proper preparation (deep conditioning treatments) and aftercare are key to minimizing this.
- How long will the color last? Color longevity varies depending on the chosen shade, your hair porosity, and how often you wash it. Expect a refresh every 6-12 weeks.
- Can I do underlights myself at home? While technically possible for experienced DIYers, placement is tricky; professional application is highly recommended.
- What if I don’t like the color once it's in? A toner can adjust the shade slightly, but drastic changes may require a completely new coloring process.
- Can underlights be combined with other techniques (like balayage)? Absolutely! Combining techniques creates even more complex and customized results. Discuss your vision with your stylist.
- Will underlights make my hair look brassy? If the color isn't toned correctly, yes. A good stylist will use a toner to neutralize any unwanted tones.
- How do I protect my underlights from fading when swimming? Use a swim cap or apply leave-in conditioner before entering the pool or ocean to create a barrier against chlorine and saltwater.