#Foil Highlights: A Complete Guide
Foil highlights are a classic hair coloring technique used by stylists to create brighter strands and add dimension to your look. Here’s everything you need to know about them – from how they work to what kind of upkeep is involved.
#1. What Are Foil Highlights & How Do They Work?
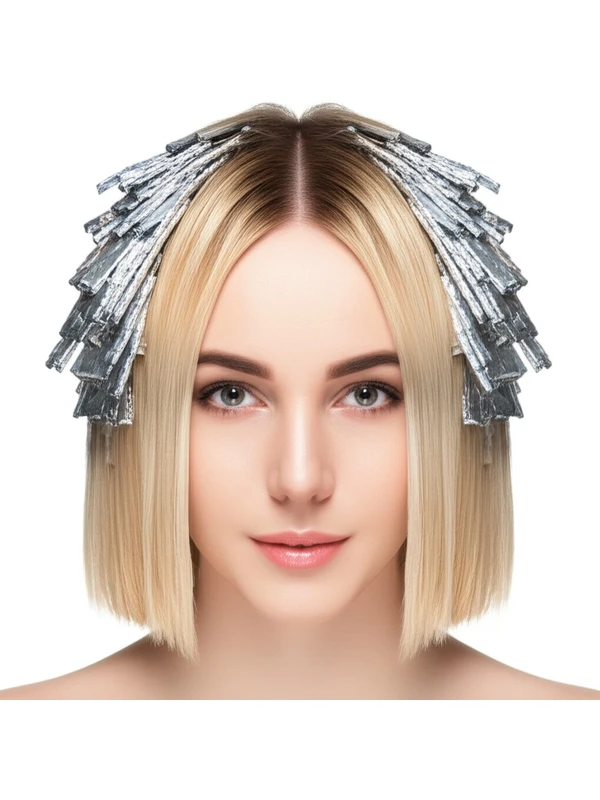
Foil highlighting involves carefully weaving lightener (a product that lifts color) through sections of hair and then wrapping each section in a foil. This isolates the strands being colored, preventing them from lifting other parts of your hair.
Tools Used:
- Lightener/Bleach: A developer activates this to lift pigment.
- Foil: Usually aluminum or mylar; used to wrap sections of highlighted hair.
- Applicator Brush: For precise product application.
- Sectioning Clips: To keep hair organized during the process.
- Gloves: To protect skin from lightener.
The Process:
- Consultation & Sectioning: Your stylist will discuss your desired look and section your hair into small, manageable pieces.
- Lightener Application: The lightener is applied to specific strands based on the desired placement (more on that later).
- Foil Placement: Each strand of highlighted hair is carefully wrapped in a foil. This keeps the product from bleeding onto surrounding hair and helps control the lifting process.
- Processing Time: The stylist monitors the color development, which varies based on your natural hair color, desired lightness, and strength of the lightener used. Times can range from 20-60 minutes or longer.
- Rinsing & Toning: Once the desired level is achieved, the lightener is rinsed out thoroughly. A toner (more details below) is often applied to neutralize any unwanted tones and create a more polished finish.
#2. Best Use Cases: What Can Foil Highlights Achieve?
Foil highlights are incredibly versatile! They’re great for achieving several looks:
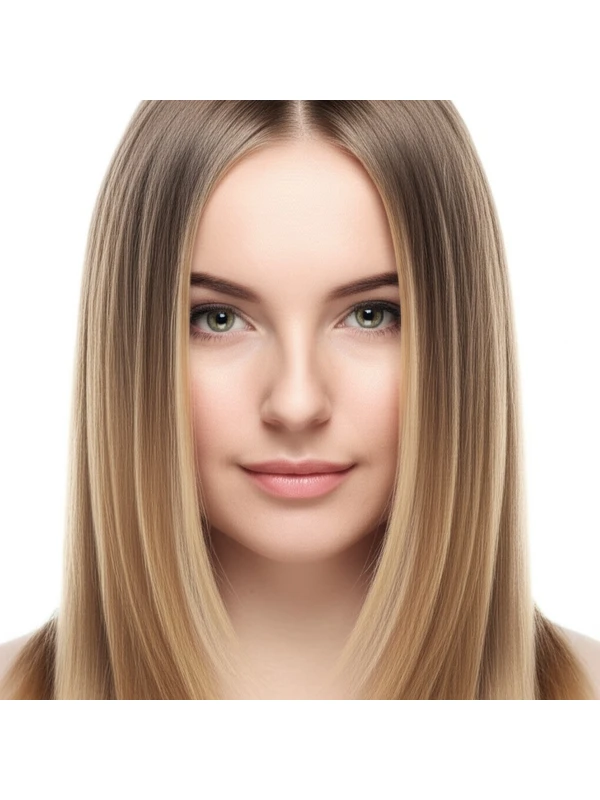
- Dimension & Brightness: Adding multiple levels of lightness creates depth and visual interest.
- Root Blur/Shadow Root: Strategically placed foils can soften the line between your natural root color and the lighter sections, creating a more gradual transition.
- Face-Framing Highlights: Lightening strands around your face to brighten your complexion and highlight features.
- Overall Coverage (Subtle or Dramatic): While known for dimension, foil highlights can be used for more significant lightening throughout the hair, though this requires careful planning and multiple sessions.
#3. Who Are Foil Highlights Right For?
This technique can work on almost anyone! However, certain factors influence how it will look:
- Natural Color Level: Works well from dark brown to light blonde bases. Those with very dark hair (level 1-3) may need multiple sessions for significant lightening.
- Undertone: Your undertones (warm or cool) impact the final color result. A stylist will consider this when choosing a toner. Warm tones (golden, red) might benefit from neutralizing toners. Cool tones (ashy, violet) can enhance existing coolness.
- Hair Type/Texture:
- Straight Hair: Highlights show up clearly and evenly.
- Wavy Hair: Adds dimension and definition to waves.
- Curly & Coily Hair: Requires a skilled stylist who understands curl patterns; highlights can enhance or disrupt curl formation if not done correctly. Careful sectioning is crucial for even lift.
- Density: Thicker hair may require more foils for even saturation and brightness.
- Length: Works well on all lengths, from short bobs to long layers.
- Lifestyle: Consider your maintenance commitment! Highlights require regular touch-ups (see section 5).
#4. Foil Highlights vs. Similar Techniques
It’s easy to get confused about hair color terminology! Here's a breakdown:
- Balayage: Hand-painted highlights that create a softer, more blended look with less defined lines than foil highlights. Balayage often requires less maintenance but offers less precision.
- Foilyage: A hybrid technique combining balayage and foiling. Sections are painted like balayage, then wrapped in foils for faster processing and greater control over the lightness. Offers a balance of softness and brightness.
- Highlights (General): This is an umbrella term; foil highlights are a type of highlighting.
- Root Smudge: A technique applied after foiling to soften the root line, creating a more blended transition. Often used in conjunction with foil highlights.
- Shadow Root: Similar to a root smudge but creates a more intentional darker root area for contrast and visual interest.
#5. Maintenance & Longevity
Maintaining your foiled highlights is key to keeping them looking their best:
- Salon Timing: Touch-ups are typically needed every 6-12 weeks, depending on how much new growth you want to cover and the desired level of brightness.
- Toner/Gloss Refresh: Toners help maintain the desired tone and add shine. Glosses seal the cuticle for added luminosity. These can be done in between highlight appointments (every 4-8 weeks).
- Grow-Out Behavior: The line of demarcation between your natural roots and highlighted sections will become more noticeable over time. Regular touch-ups help to blend this transition.
- Budget/Time Planning: Foil highlights are generally a longer, more involved process than balayage (expect 2-4 hours). They also tend to be pricier due to the precision and materials required.
#6. At-Home Care Tips
Proper care extends the life of your color:
- Wash Cadence: Wash hair less frequently (2-3 times a week) using sulfate-free shampoo.
- Heat Protection: Always use a heat protectant spray before applying any styling tools.
- Color-Safe Care: Use conditioner and masks specifically formulated for color-treated hair to keep strands hydrated and vibrant. Consider purple shampoos/conditioners (for blondes) to neutralize brassiness, but use sparingly as they can be drying.
#7. Pros & Cons of Foil Highlights
Pros:
- Precise placement and control over the final result
- Can achieve a wide range of looks from subtle dimension to dramatic lightening
- Allows for more even lifting compared to some other techniques
Cons:
- Longer processing time than balayage or foilyage.
- More expensive than less involved techniques.
- Requires more frequent salon visits for maintenance
#8. Salon Consultation Script: Questions Your Stylist Might Ask
To ensure you get the highlights of your dreams, be prepared to discuss these topics with your stylist:
- What is your desired level of lightness? (Show pictures!)
- Do you prefer warm or cool tones?
- Are there any areas you want to avoid highlighting?
- How much time and money are you willing to commit to maintenance?
- What's your current hair care routine like?
- Have you had highlights before, and if so, what was the experience like?
#9. FAQs About Foil Highlights
- Can I get foil highlights on previously colored hair? Yes, but a strand test is essential to assess how your hair will react to the lightener.
- Will foil highlights damage my hair? Lightening always causes some degree of lift and can potentially weaken hair. A skilled stylist uses gentle products and techniques to minimize damage. Deep conditioning treatments are crucial afterward.
- How long do foil highlights last? The color itself will fade gradually over time, but the root line will become visible as your natural hair grows in. Expect touch-ups every 6-12 weeks.
- Can I get highlights if my hair is very dark? Yes, but it may require multiple sessions to achieve significant lightening.
- What’s the difference between a toner and a gloss? Both are used after highlighting to adjust tone, but a gloss typically provides more shine and seals the cuticle better than a toner.
- Can I do foil highlights at home? While possible, it's strongly discouraged unless you're an experienced colorist. The risk of uneven results or damage is high.
- What if my hair turns brassy after getting foil highlights? Brassiness occurs when underlying warm tones are exposed. A purple shampoo/conditioner can help neutralize this, but use it sparingly to avoid unwanted ashiness. Your stylist can also apply a toner during your next appointment.
- How do I prepare for my foil highlight appointment? Don't wash your hair 24-48 hours before the appointment. This allows natural oils to protect your scalp and hair during processing.