#Ombre Hair: A Complete Guide
Ombre hair has been a popular trend for years, and it’s easy to see why! It offers a beautiful, low-maintenance look with lots of visual interest. But what exactly is ombre? Let's dive into everything you need to know about this gorgeous technique.
#1. What is Ombre & How Does It Work?
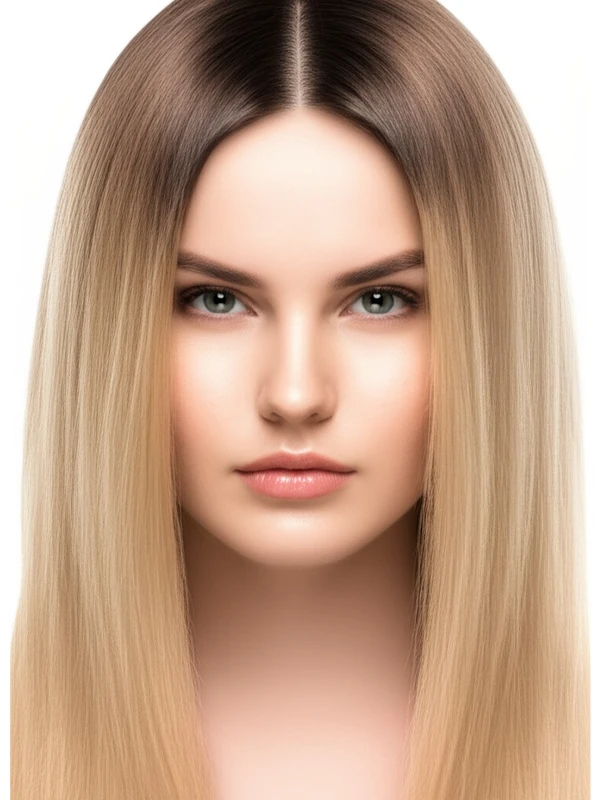
Ombre (pronounced "ohm-bruh") comes from the French word meaning “shaded.” In hair, it’s a gradual transition from darker roots to lighter ends. Unlike highlights that are often focused on individual strands, ombre creates an overall blended effect.
How it's done:
- Tools: The stylist will use bleach (or a lightener) and developer – the strength of which is determined by your natural hair color and desired lightness. They’ll also need brushes, foils (sometimes), sectioning clips, gloves, and potentially a toner to adjust the final shade.
- Placement: The stylist determines where the transition begins based on your face shape, features, and goals. It can be lower or higher up on the hair shaft.
- Timing: Processing time depends heavily on your starting color, desired lightness, and hair’s condition. It typically takes between 30-90 minutes for the lightening process alone, plus additional time for toning. Multiple sessions may be needed to achieve a significant color change.
#2. What Goals Does Ombre Achieve?
Ombre isn't just about having lighter ends; it’s about achieving specific looks:
- Dimension: It adds depth and visual interest to flat hair colors, making them appear richer and more vibrant.
- Root Blur: The gradual transition softens the line between your natural roots and the lighter ends, creating a less harsh look compared to blunt highlights.
- Face-Framing: Strategic placement of lighter pieces around the face can brighten your complexion and highlight your features.
- Coverage (Partial): While not its primary purpose, ombre can help camouflage grays or cover previously colored hair that’s grown out unevenly – especially if the transition is placed lower down on the hair.
#3. Who Suits Ombre?
Ombre can be adapted to almost anyone, but here's a breakdown of what typically works best:
- Natural Color Level: Works well on levels 2-7 (light brown to dark blonde). Those with darker starting colors (levels 1 or 2) will need more sessions and potentially higher lift.
- Undertone: Warmer undertones (golden, yellow, red) often look stunning with caramel or honey ombre effects. Cooler undertones (ashy, blue, violet) can rock icy or platinum ombre looks. Your stylist can help determine the best tones for your skin.
- Hair Type/Texture:
- Straight Hair: Shows off a clean and defined transition.
- Wavy Hair: The waves add natural movement and dimension to the ombre effect, making it appear softer.
- Curly & Coily Hair: Ombre can enhance curl definition and create stunning pops of color throughout the curls or coils. Careful consideration is needed for even saturation – a skilled stylist is crucial here!
- Hair Density: Works on both fine and thick hair, although adjustments to placement and product usage may be necessary. Fine hair might require gentler lightening techniques.
- Hair Length: Looks great on all lengths, from bobs to long layers. Longer hair allows for a more gradual transition.
- Lifestyle: Ideal for those who want a low-maintenance look that grows out gracefully and doesn't require frequent salon visits (compared to traditional highlights).
#4. Ombre vs. Similar Techniques
It’s easy to get these techniques confused! Here's how ombre differs:
- Balayage: Like ombre, balayage is a freehand technique that creates dimension. However, balayage focuses on strategically placed pieces throughout the hair for a more scattered and sun-kissed look. Ombre has a clear transition zone.
- Foilyage: A combination of foiling (traditional highlights) and balayage techniques. It allows for greater control over lift and creates brighter results than either technique alone. Ombre generally doesn't use foils, or uses them sparingly.
- Highlights: Traditional highlights involve weaving strands of hair and applying lightener to create pops of brightness throughout the head. Ombre is a more gradual transition with less defined individual streaks.
- Root Smudge/Shadow Root: A root smudge involves blending the line between darker roots and lighter ends, creating a softer grow-out. It’s often used in conjunction with ombre to further soften the transition. Shadow roots achieve a similar effect using a more subtle application technique.
#5. Maintenance & Longevity
Ombre is designed for low maintenance, but some upkeep is still required:
- Salon Timing: Initially, expect 2-3 salon visits spaced several weeks apart to achieve your desired lightness and tone. After that, touch-ups are typically needed every 6-12 months (or longer!).
- Toner/Gloss Refresh: The lighter ends may fade over time. Toners or glosses can be applied at home or in the salon to refresh the color and maintain vibrancy.
- Grow-Out Behavior: Ombre grows out beautifully! The gradual transition means you won't have harsh lines of demarcation as your roots grow in.
- Budget/Time Planning: Initial ombre process can cost $150 - $400+ depending on hair length, density and stylist experience. Touch-up appointments are typically $75-$200+.
#6. At-Home Care Tips
Protecting your ombre color is key to its longevity:
- Wash Cadence: Wash your hair less frequently (2-3 times per week) to prevent fading.
- Heat Protection: Always use a heat protectant spray before using any hot styling tools (blow dryers, straighteners, curling irons). Heat accelerates color fade.
- Color-Safe Care: Use shampoos and conditioners specifically formulated for colored hair. These are gentler and help preserve the pigment. Consider purple shampoo to neutralize brassiness on lighter ends.
#7. Pros & Cons of Ombre Hair
Pros:
- Low maintenance compared to traditional highlights
- Gradual grow-out with no harsh lines
- Adds dimension and visual interest
- Versatile – can be adapted to many hair types and colors
- Face-framing effect that brightens complexion
Cons:
- Can require multiple salon visits initially
- Lightening process can damage hair if not done correctly (always choose a skilled stylist!)
- May not be suitable for very dark starting colors without significant processing.
#8. Salon Consultation Script Prompts
To help your stylist understand your vision, consider these questions:
- What is my desired level of lightness on the ends? Show pictures!
- Do I want a subtle or dramatic transition?
- Should the ombre start higher or lower on my hair?
- What tones would complement my skin tone (warm, cool)?
- How important is maintaining healthy hair during this process?
- Am I comfortable with potential damage and what steps can be taken to minimize it?
#9. FAQs About Ombre Hair
- Can I do ombre at home? While possible, it’s risky! Achieving even color saturation and avoiding damage requires skill and experience. A professional is highly recommended.
- How long does ombre last? The color itself will fade gradually over several months. Root touch-ups are typically needed every 6–12 months to blend new growth.
- Is ombre damaging to my hair? Lightening always causes some degree of damage, but a skilled stylist can minimize it by using appropriate products and techniques. Regular deep conditioning treatments are essential afterward.
- What if I don't like the color after getting ombre done? A color correction may be necessary to fix unwanted tones or levels. This is best left to an experienced professional.
- Can I go from ombre back to a solid hair color? Yes, but it will require multiple sessions and potentially significant processing. The stylist needs to carefully assess the existing pigment and condition of your hair.
- How do I prevent my ombre ends from turning brassy? Use purple shampoo or conditioner once a week to neutralize yellow tones. Rinse with cool water after washing.
- Can ombre be done on previously bleached hair? It’s possible, but the stylist needs to carefully assess the hair's condition and adjust the lightening process accordingly to avoid further damage.
- What is the difference between a dark ombre and a reverse ombre? A traditional ombre transitions from darker roots to lighter ends. A reverse ombre does the opposite - it starts with darker ends and gradually lightens towards the roots.